Introduction
Turning a color image into black and white can add a touch of elegance or a professional tone to your design. While Adobe InDesign doesn’t offer a direct grayscale conversion tool, you can achieve this effect using the blending modes and properties panel.

This article will guide you through the steps to transform a colored image into a black-and-white one within Adobe InDesign.
Step 1: Insert a Color Image
- Create a New Document:
- Start by opening Adobe InDesign and creating a new document.
- Use the Place option (File > Place) to insert your color image into the document.
- Select the Image:
- Double-click on the image within the frame to ensure it is selected.
Step 2: Access the Properties Panel
- Open the Properties Panel:
- Navigate to Window > Properties to open the Properties Panel.
- The panel will display various settings related to the selected image.
Step 3: Adjust the Blending Mode
- Locate the Opacity Settings:
- In the Appearance section of the Properties Panel, find the Opacity option and click on it.
- Change the Blending Mode:
- In the opacity settings, change the Blending Mode to Luminosity.
Step 4: Apply the Paper Fill
- Select the Image Frame:
- Click outside the image to deselect it.
- Then, single-click on the image frame (not double-click).
- Modify the Fill Color:
- With the frame selected, go to the Fill option in the Properties Panel.
- Set the Fill Color to Paper (which represents white in InDesign).
- Observe the Transformation:
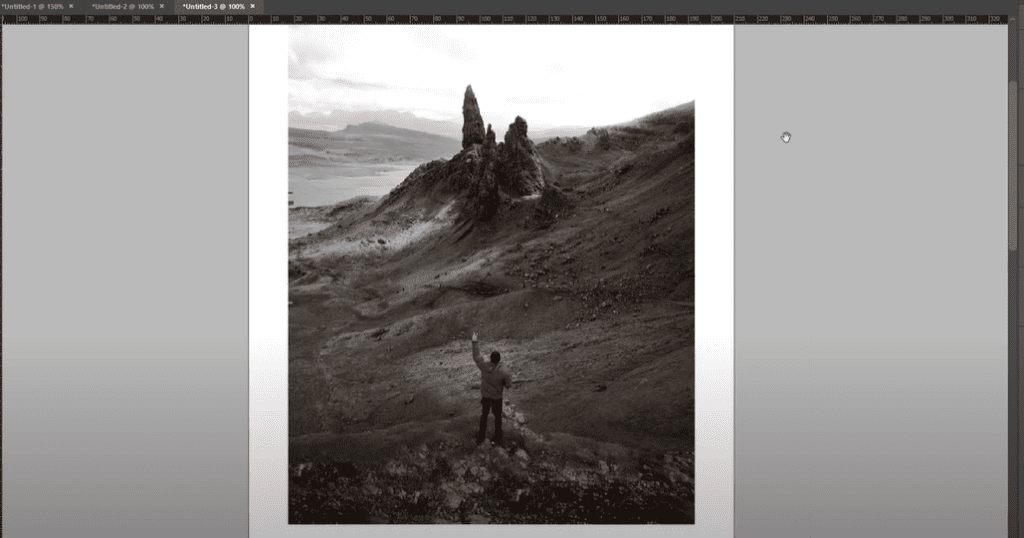
- Once you apply the Paper fill, the image will instantly convert to black and white.
Step 5: Finalize and Save
- Close the Properties Panel:
- Once the desired effect is achieved, close the Properties Panel.
- Save Your Work:
- Save your document to preserve the changes.
Conclusion
With just a few adjustments in the Properties Panel, you can transform any color image into black and white in Adobe InDesign. This method uses blending modes and fill settings to achieve a non-destructive grayscale effect, maintaining the image’s quality.
Experiment with this technique to enhance your designs, whether for print layouts, brochures, or digital projects.
Hashtags: #AdobeInDesign #InDesignTips #GraphicDesign #BlackAndWhiteImage #InDesignTutorial


