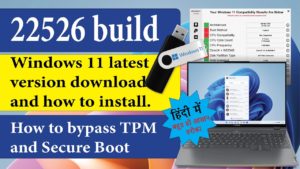
Microsoft’s Windows 11 24H2 introduces new features and optimizations, but many older PCs still don’t meet the strict hardware requirements (TPM 2.0, Secure Boot, supported CPU). Fortunately, there are workarounds to install Windows 11 24H2 on unsupported hardware—both upgrades and clean installs.

In this guide, we’ll cover:
✔ Two methods (USB installer & command-line upgrade)
✔ Bypassing TPM, Secure Boot, and CPU checks
✔ Fixing Microsoft account requirements
Method 1: Create a Modified Windows 11 24H2 USB Installer
What You’ll Need:
- A USB drive (8GB+)
- Rufus (latest version) – Download Here
- Windows 11 24H2 ISO – Download from Microsoft
- Windows 11 23H2 ISO (for Rufus patching)
Step-by-Step Process:
1. Download Windows 11 24H2 & 23H2 ISOs
- Get the 24H2 ISO from Microsoft’s official site.
- Use the MediaCreationTool.bat script to download 23H2 ISO (required for Rufus patching).
2. Use Rufus to Modify the Installer
- Open Rufus (as Administrator).
- Select your USB drive.
- Choose the 23H2 ISO (not 24H2 yet).
- Set:
- Partition Scheme: MBR (for BIOS/Legacy boot)
- File System: NTFS
- Under “Windows Installation”, check:
- ✅ Remove requirements for TPM/Secure Boot
- ✅ Skip Microsoft account requirement (Note: This may not work in 24H2—see workaround later)
- Click Start and wait for Rufus to finish.
3. Replace the Install.wim File
- Mount the 24H2 ISO (double-click it).
- Open the USB drive (in File Explorer) → Go to \sources\install.wim.
- Delete the 23H2 install.wim and copy the 24H2 install.wim into the folder.
Now, your USB will install Windows 11 24H2 while bypassing hardware checks!
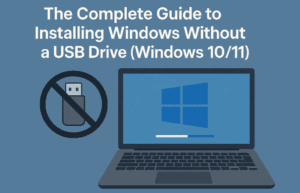
Method 2: Upgrade Using the “Server” Installer Trick
If you’re already running Windows 10 or an older Windows 11 build, you can upgrade without a USB using this method:
- Mount the 24H2 ISO (double-click it).
- Open Command Prompt (no admin needed).
- Run:
D:\setup.exe /product server
(Replace D: with your mounted ISO drive letter.)
- Follow the installer—it will bypass hardware checks (even though it says “Windows Server”).
- After installation, you’ll have Windows 11 24H2 (Home/Pro, not Server).
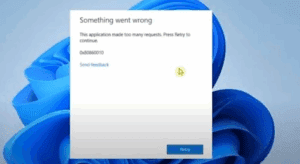
⚠ Note: Microsoft may patch this in future updates, but it works as of June 2024.
Fixing Microsoft Account Requirement (24H2 Workaround)
The Rufus “skip Microsoft account” option no longer works in 24H2, but you can still bypass it:
- Disconnect from Wi-Fi/Ethernet during setup.
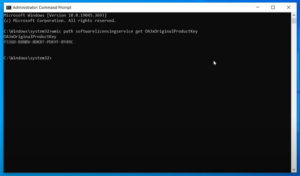
- At the “Let’s connect you to a network” screen, press Shift + F10 to open CMD.
- Type:
OOBE\BYPASSNRO- The PC will reboot. Now, select “I don’t have internet” and continue with a local account.
Final Thoughts & Performance
✅ Windows 11 24H2 runs surprisingly well on older hardware (tested on an AMD FX-6300).
✅ Security updates still work (despite Microsoft’s warnings).
❌ Build updates (e.g., 24H2 → future versions) require manual upgrades.
🔹 Best for:
- Light productivity
- Older gaming PCs
- Users who don’t want to buy new hardware
🔹 Not recommended for:
- High-end gaming (DirectStorage, Auto HDR need modern CPUs)
- Workstations needing full security compliance
Tags
Windows 11 24H2, Unsupported Hardware, Bypass TPM, Rufus Guide, Windows 11 Upgrade, No Secure Boot


Hashtags
#Windows11 #24H2 #TPMBypass #Rufus #WindowsInstall #TechGuide
Disclaimer:
- This guide is for educational purposes only.
- Microsoft does not officially support Windows 11 on unsupported hardware.
- Future updates may break these methods.
Need help? Drop a comment below! 🚀


