Creating a Gmail ID has become an essential part of our digital lives. Whether you want to sign up for services, manage your business communications, or just stay connected, having a Gmail account is a must. In this article, we’ll walk you through the step-by-step process of creating a new Gmail ID directly from your smartphone.
Let’s get started!
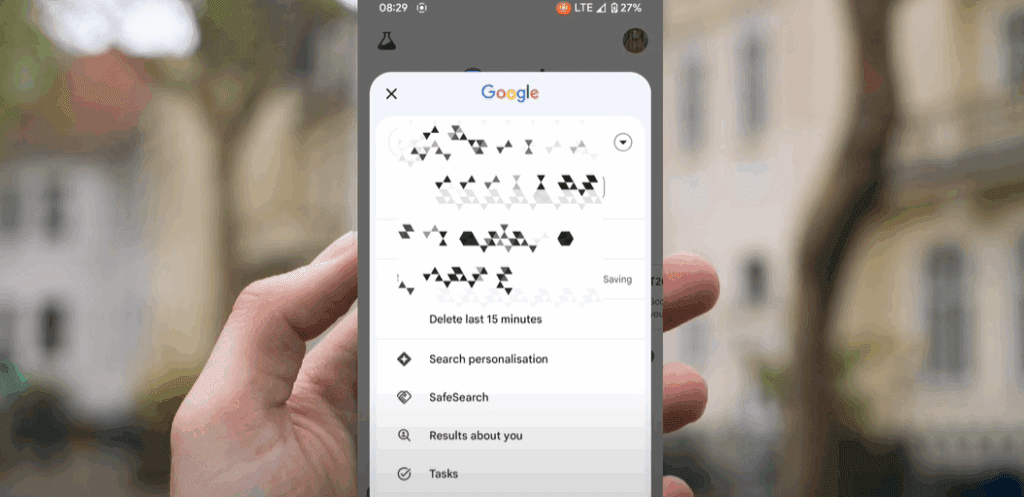
Step 1: Open Google
The first step is to open the Google app or Google Chrome browser on your phone.
Once you open it, you’ll see the Google homepage. If you’re already logged in with another ID, your profile icon will appear at the top right corner.
Step 2: Access Account Options
- Tap on the profile icon in the top right corner of the screen.
- A dropdown menu will appear.
- Scroll down and tap on the “Add another account” option or the small dot icon (⋮) if visible.
- This will take you to a new interface where you can start the process to add or create a new account.
Step 3: Authenticate Using Your Device
Your device may prompt you to verify your identity using the screen lock password, fingerprint, or face unlock for security purposes. Complete this step to proceed further.
Step 4: Start Creating Your Account
- Once the authentication is successful, you’ll be taken to a page with options.
- Tap on the “Create account” button.
- You’ll now see two options:
- For myself
- To manage my business
Choose “For myself” if you’re creating a personal Gmail ID.
Choose “To manage my business” if it’s for work purposes.
Step 5: Enter Personal Information
You’ll be asked to fill out your basic details:
- First Name
- Last Name
After entering these, tap on the Next button.
Step 6: Enter Your Birth Details
On the next screen, you’ll need to enter:
- Date of Birth
- Gender
Tap Next to proceed.
Step 7: Choose a Gmail Address
Now, you’ll be presented with suggestions for your Gmail ID, or you can choose to create your own.


- Type your desired Gmail ID.
- If the chosen ID is already taken, try making small changes like adding numbers or initials.
Once you’re satisfied with the ID, tap Next.
Step 8: Set a Password
You will now create a strong password for your new Gmail ID.
Tips for a good password:
- Use a mix of uppercase and lowercase letters.
- Add numbers and special characters for strength.
Enter the password, confirm it, and tap Next.
Step 9: Final Steps
Congratulations! Your Gmail ID is now created. You’ll be taken through a few more steps like:
- Enabling or skipping personalization settings.
- Accepting Google’s Terms and Conditions.
Once done, tap Next, and your account will be ready to use.
Summary
Creating a new Gmail ID on your phone is a quick and simple process. By following the steps mentioned above, you can easily set up a Gmail account for personal or business use. Whether you’re signing up for the first time or need an additional account, this guide makes it easy.
If you ever forget the process, just revisit this article for reference.
Tags:
gmail account setup, create gmail id, how to make gmail account, new gmail id, gmail for beginners, google account create, gmail tutorial, android gmail setup, personal gmail account, business gmail account
Hashtags:
#GmailSetup #CreateGmail #GmailAccount #GoogleAccount #TechGuide #DigitalTips #EmailTutorial #BeginnerGuide #GmailID


