Windows 10 Install using Pen Drive – The method explained in the below video is one of the easiest method to install Windows.
Subscribe to Desktop Publishing Tips
I hope you have watched the above video, now the time is to download the software used in the above video.
Create a bootable USB drive with Rufus
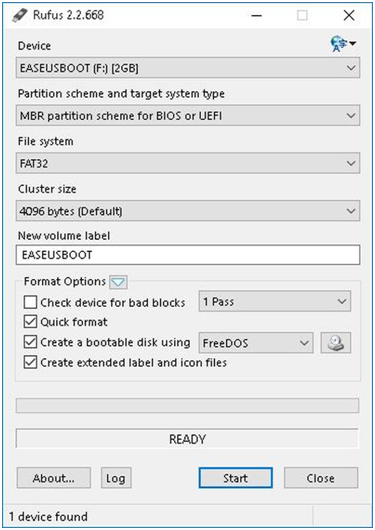
Now, let’s create our first bootable UFD using Rufus, shall we? Follow these steps:
Rufus requires to run as administrator to make the necessary changes to pen drive. After authenticating, insert the USB flash drive and launch Rufus. It will detect the drive almost immediately.
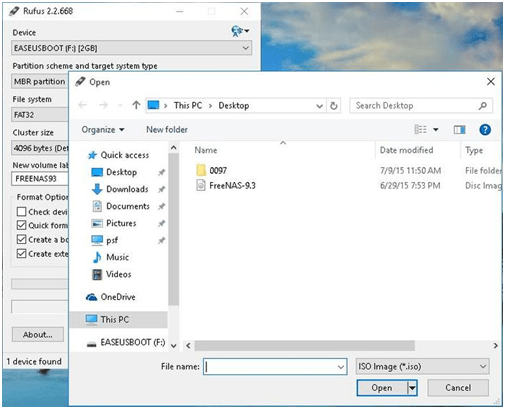
Click the optical drive button next to the create a bootable disk using checkbox, and you’ll be prompted to search for the ISO image to use.
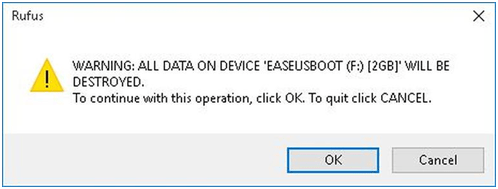
Rufus automatically modifies the settings according to ISO files you select. Click the Start button to begin the process. You’ll be prompted with a warning that all data on the UFD will be destroyed. Click OK to proceed with the creation process.
Depending on the ISO image size, the process may take several minutes to complete. For the log readout of each step in the process, click the Log button to open a side window and save the output details.
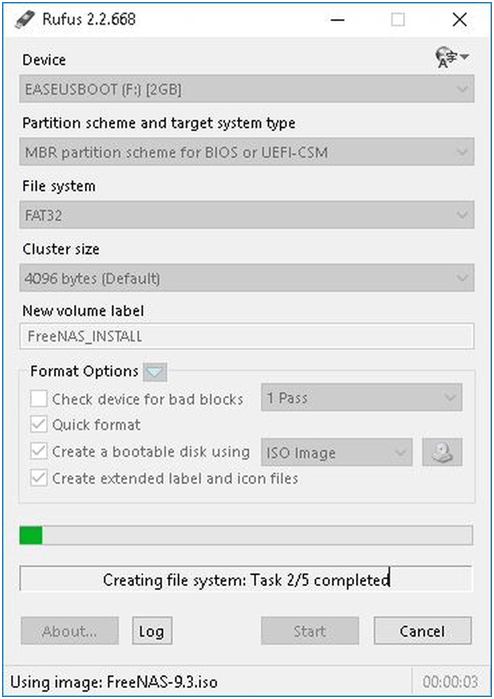
The longest part of the entire process is the file copy portion. Don’t worry, this is only file copy process. from ISO image to Pen drive.
Boot your pc using removable media or pen drive
To do this on my Dell laptop, I have to restart it and keep pressing the F2 key to enter the Boot Options Setup. Here you will have to change the boot order. If your device uses Secure Boot / UEFI, you will have to change it to Legacy. This is how the default setting looked on my laptop.
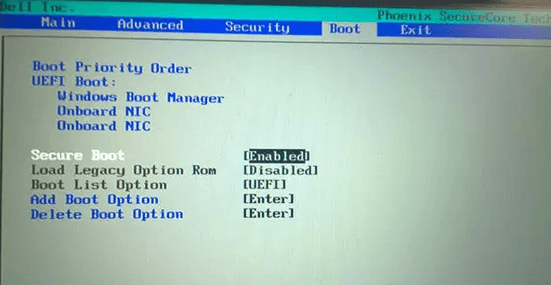
Use the 4 arrow keys of your keyboard, navigate to the Boot tab and change the settings. Disable Secure Boot, enable Legacy option and set Boot List option to Legacy. Next move USB Storage Device to the first position and set it to be the first device to boot from. After making the changes, the setting on my Dell laptop looked as follows. It may be a bit different in your laptop.
After you set these settings, restart your laptop, with the pen drive connected to USB port.
Install Windows 10 from USB
Now your PC or Laptop should boot from Pen drive. The next screen will be as shown below. If you need to see the larger version of any image, please click on the images.
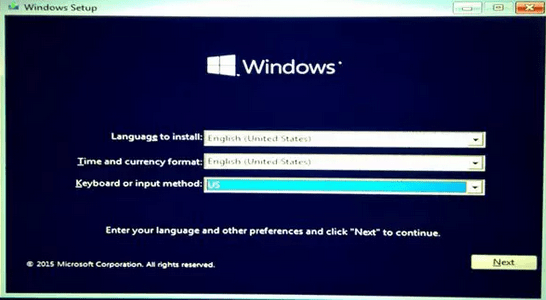
Choose the Language to install, the Time & Currency format and the Keyboard or Input method, and click on Next.
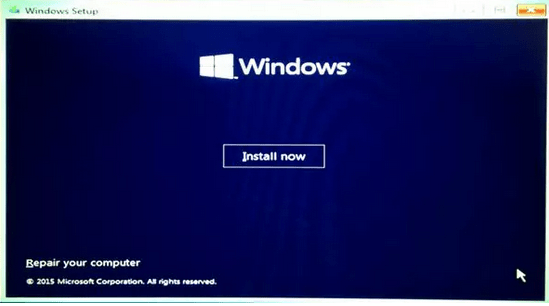
On next screen as shown below screen. Click on Install now.
The setup will start.

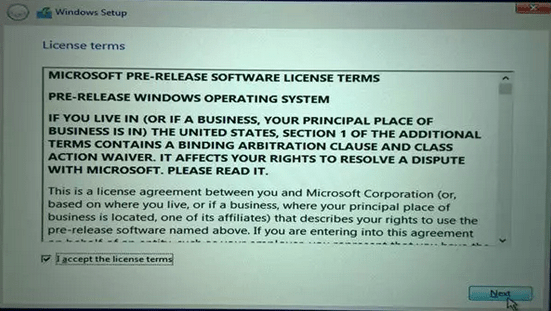
You will be presented with the License terms. Accept it and click on Next.
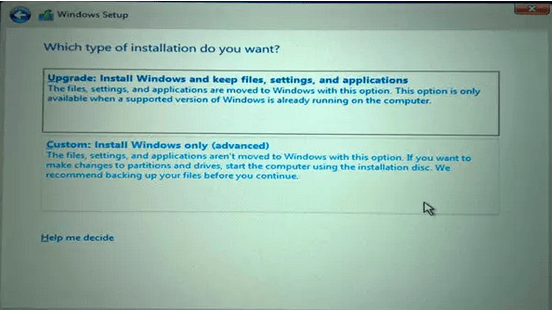
You will be asked, the type of installation you want. Do you want to upgrade your existing Windows installation and keep the files and settings, or do you want to Custom install Windows. Here, for a fresh or clean install, we will choose Custom Install.
Next you will be asked the Partition where you want to install Windows 10. Select your partition carefully and click Next. In case if you don’t have any partition then, you can also create a new partition and choose that partition to install windows.
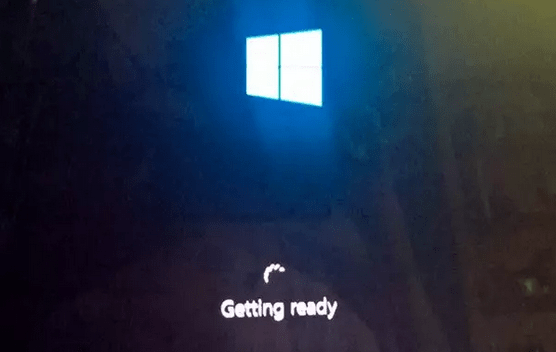
Windows 10 installation will start. It will copy setup files, install features, install updates. With in few minutes setup cleans up the residual installation files. After copying files, setup will restart.

Soon you will get the following screen.
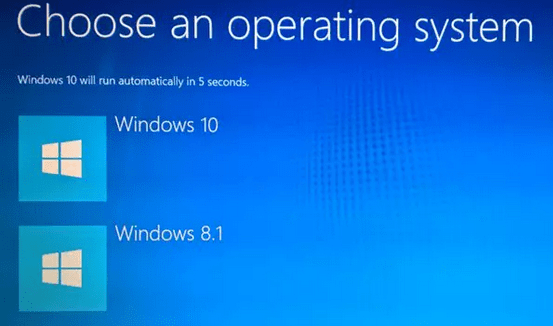
Choose an operating system
If you are using dual-booting, choose the desired option, as shown in following screen. If there is only Windows 10 operating system, then, you will find the log in screen directly.
Windows 10 will ask you a few basic questions about your preferences. Finish all these configuration to complete the installation and proceed to the Windows 10 desktop.

After installation is completed, remember to reverse the changes in the Boot Option setup.