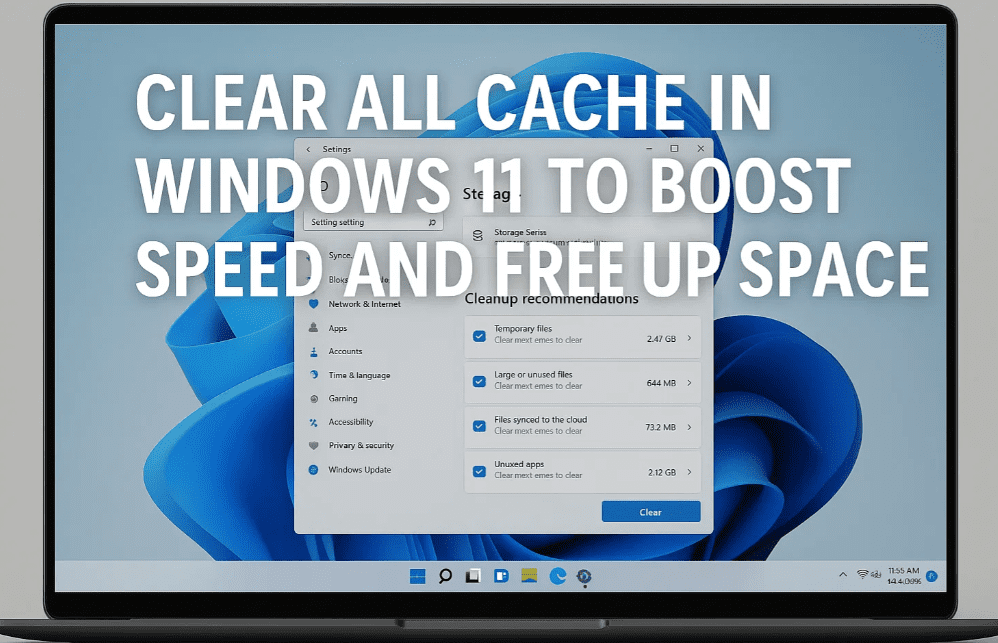
Is your Windows 11 PC slowing down or running out of disk space? Over time, various types of cached files accumulate and consume both memory and storage. This detailed guide will help you safely clear all types of cache in Windows 11, including temporary files, browser cache, Windows Update cache, GPU cache, and more — resulting in better performance and extra free space.
🔧 Why Clearing Cache Is Important
Cache files are temporary data created by Windows and installed applications to speed up certain processes. However, when these files pile up over time, they can:
- Slow down your system
- Consume valuable disk space
- Cause lag in apps and games
Regularly clearing cache ensures your system stays clean, fast, and efficient.
🧹 Step-by-Step Guide to Clear All Cache in Windows 11
Step 1: Clear Temporary Files
- Press
Windows + Rto open the Run dialog box. - Type
tempand press Enter. - Select all files (
Ctrl + A), then pressShift + Deleteto permanently remove them. Skip files that can’t be deleted. - Repeat the process with
%temp%to clear your user-specific temp folder.
💡 These folders store leftover junk from apps. Clearing them can instantly improve performance.
Step 2: Clear Prefetch Cache
- Open the Run box again (
Windows + R). - Type
prefetchand hit Enter. Allow permission if prompted. - Select all files and press
Shift + Delete.
Prefetch helps apps launch faster but often stores outdated data.
Step 3: Clear Windows Update Cache
- Navigate to
C:\Windows\SoftwareDistribution\Download. - Select all files and press
Delete.
This cache stores old Windows update files, sometimes taking up several GBs.
Step 4: Use Disk Cleanup for System Junk
- Search for Disk Cleanup in Start Menu and open it.
- Select
C:drive and click OK. - Check all boxes (Temporary Files, Recycle Bin, Thumbnails, etc.)
- Click Clean up system files for advanced options like Windows Update Cleanup.
- Recheck all boxes and click OK → Delete Files.
💡 This built-in tool can free up multiple GBs of space.
Step 5: Clear Microsoft Store Cache & File Explorer History
- Microsoft Store Cache
- Press
Windows + R, typewsreset, and press Enter.
- Press
- File Explorer History
- Open File Explorer → Click the three dots → Select Options
- Under Privacy, click Clear next to “Clear File Explorer history”.
Step 6: Clear Browser Cache (Edge, Chrome, Firefox)
- Microsoft Edge
Go to: Settings → Privacy, Search & Services → Clear Browsing Data
Set Time Range: All time → Check Browsing History, Cookies, Cached Images - Google Chrome
Settings → Privacy & Security → Clear Browsing Data
Set Time Range: All time → Check necessary options - Mozilla Firefox
Settings → Privacy & Security → Cookies and Site Data → Clear → History → Clear All
Step 7: Clear DNS Cache & Location History
- Open Command Prompt as Administrator.
- Type the following command and hit Enter:
ipconfig /flushdns
This step refreshes your network DNS settings, which can resolve browsing and connectivity issues.
Step 8: Clear GPU Cache (NVIDIA/AMD)
- Press
Windows + R, type%localappdata%, and press Enter. - Look for NVIDIA or AMD folders.
- Inside, open
DXCacheandGLCachefolders. - Select all files and press Delete.
💡 Helpful for gamers and creators facing lag in games or editing software.
Step 9: Use BleachBit for Quick Cleanups
If you’d like to automate or simplify these cache cleaning processes, try using BleachBit — a free, open-source tool for system cleaning.
- Portable version available (no installation needed)
- Clears browser cache, system logs, temporary files, and more
- Safer alternative to many third-party “PC Cleaners”
✅ Final Thoughts
You’ve now cleaned:


- Temporary & Prefetch files
- Windows Update and Microsoft Store cache
- Browser and DNS cache
- File Explorer history
- GPU cache
Your PC should now be significantly faster and lighter. Many users report freeing up 2–5 GB of space after following this process.
💬 Tell Us!
How much space did you free up? Share in the comments and let others know your results.
📌 Tags:
Windows 11 cache clean, speed up Windows 11, clear temp files, free up disk space, disk cleanup, browser cache clear, update cache clear, DNS flush, NVIDIA cache, AMD cache, BleachBit, system optimization
🔖 Hashtags:
#Windows11 #SpeedUpPC #CacheClear #FreeUpSpace #PCOptimization #TempFiles #BleachBit #DiskCleanup #DNSFlush #TechTips
🔐 Disclaimer:
This article is intended for educational purposes. While all the steps provided are safe when followed correctly, proceed with caution and create backups when necessary. The author is not responsible for any unintended system changes or data loss.
Your Windows 11 system is now refreshed and ready to perform at its best!


