Centering text in Adobe InDesign is a simple yet essential skill for creating balanced and professional designs. Whether you’re working on a brochure, a flyer, or a book layout, aligning your text correctly can enhance the overall appearance of your project. This article explains, step by step, how to center text in InDesign.

Step 1: Create a New Document
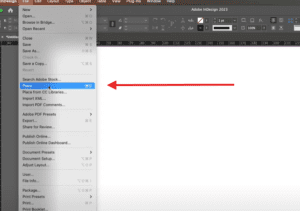
- Launch Adobe InDesign and create a new document.
- Adjust your document settings as needed and press OK.
Step 2: Add a Text Box
- Select the Type Tool:
- Find the Type Tool in the toolbar or press T on your keyboard.
- Draw a Text Box:
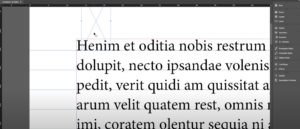
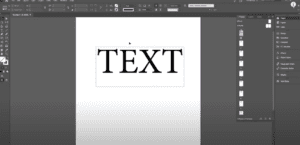
- Click and drag to create a text box on your document.
- Enter Text:
- Type in a few words or sentences to use as an example.
Step 3: Center the Text
- Select the Text:
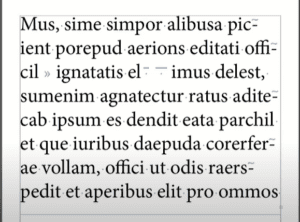
- Highlight all the text in the text box using Ctrl+A (Windows) or Cmd+A (Mac).
- Alternatively, use your mouse to manually select the text.
- Align the Text:
- Go to the top bar of your workspace, where alignment options are available.
- In the alignment section, select the Center Align option (represented by three lines with a centered alignment icon).
Step 4: Additional Alignment Options
- Align to the Right:
- To align your text to the right, select the Right Align option from the same alignment section.
- Align to the Left:
- To revert to left alignment (default), select the Left Align option.
- Justify Options:
- You can also choose from various justify options depending on your design requirements.
Step 5: Tips for Centering Text within a Frame
If you need your text to be centered both horizontally and vertically within the text box:
- Vertical Alignment:
- Go to the Text Frame Options by right-clicking on the text box and selecting Text Frame Options (shortcut Ctrl+B or Cmd+B).
- Under the Vertical Justification section, select Center.
- Adjust the Frame Size:
- Resize your text frame if necessary to ensure the text fits neatly within it.
Why Center Text?
- Aesthetic Appeal: Creates a visually balanced design.
- Versatility: Useful for creating headers, titles, and important content sections.
- Professional Look: Gives your layouts a polished and organized appearance.
Conclusion
Centering text in Adobe InDesign is a fundamental skill that every designer should master. By following the steps outlined in this article, you can easily align text to the center, left, or right, depending on your design needs. Experiment with different alignment settings to see what works best for your project.
#InDesign #AdobeInDesign #GraphicDesign #TextAlignment #DesignTips #CenterText #InDesignTutorial #LayoutDesign #TypographyTips
