Adding a gradient to text in Adobe InDesign is a simple yet effective way to enhance your designs. This guide provides detailed steps to apply and customize gradients on text for stunning visual effects. Follow along to learn how to achieve this effortlessly.
Steps to Add Gradient to Text in Adobe InDesign
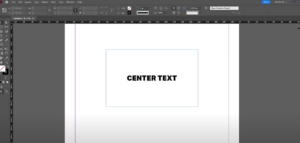
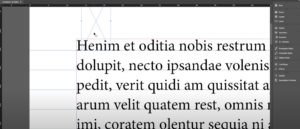
1. Create or Select the Text
- Open your Adobe InDesign document.
- Use the Type Tool located on the left side of the screen (or press
Ton your keyboard). - Select the text you want to apply a gradient to by clicking and dragging across it.
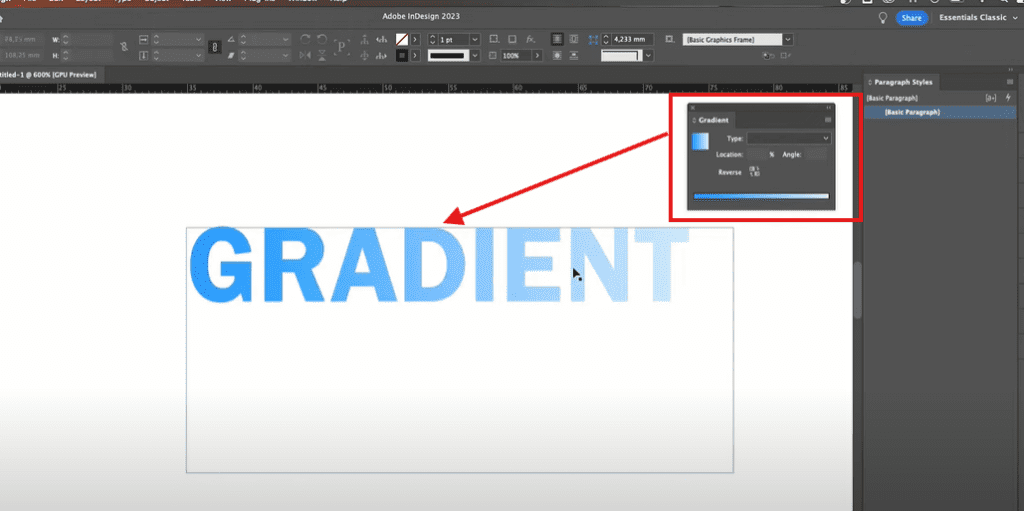
2. Open the Gradient Panel
- If the Gradient Panel is not visible, navigate to the top menu:
- Go to Window > Color > Gradient.
- The Gradient Panel will appear, allowing you to customize the gradient.
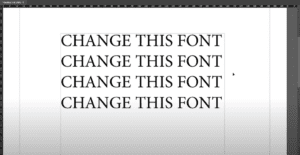
3. Apply a Gradient to the Text
- With your text selected, click on the gradient bar in the Gradient Panel.
- By default, a black-to-white gradient will be applied to your text.
4. Customize the Gradient Colors
- To change the gradient colors:
- Click on one of the gradient stops (circles) located at either end of the gradient bar.
- Go to the Fill option in the top bar and double-click it to open the Color Picker.
- Select your desired color and click OK. For example, you can set the first stop to blue.
- Repeat the process for the second stop, choosing another color, such as light red.
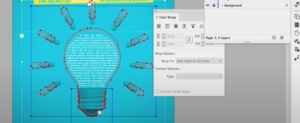
5. Adjust the Gradient Type
- In the Gradient Panel, you can switch between gradient types:
- Linear Gradient: Creates a straight gradient transition between the selected colors.
- Radial Gradient: Creates a circular gradient effect.
- Select the desired type to see the changes applied instantly.
6. Modify the Gradient Angle
- To adjust the angle of the gradient:
- Use the Angle Field in the Gradient Panel.
- Enter a specific angle value (e.g., 45 degrees) or drag the angle slider to your preference.
Additional Tips
- Experiment with the Gradient Feather Tool to add more subtle effects to your gradient.
- Combine gradients with other design elements for a cohesive look.
By following these steps, you can easily add and customize gradients on text in Adobe InDesign, giving your designs a professional and eye-catching finish.
Tags: gradient text, Adobe InDesign tutorial, how to add gradient, text effects, graphic design tips, gradient panel, InDesign gradient text, design tutorial, Adobe Creative Cloud, customizing text gradient
Hashtags: #GradientText #AdobeInDesign #DesignTips #GraphicDesign #TextEffects #InDesignTutorial #CreativeCloud #DesignInspiration #Typography #GradientEffects