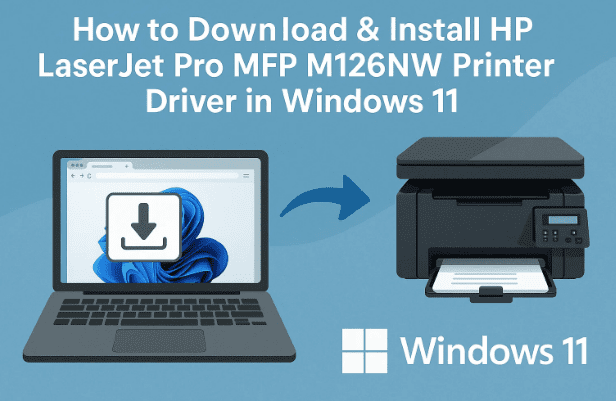
If you’re setting up your HP LaserJet Pro MFP M126NW printer on a Windows 11 PC or laptop, you may have noticed that things can get a little confusing. HP offers different driver packages, Windows often tries to install its own generic drivers, and sometimes the installation doesn’t go as smoothly as we’d like.
Don’t worry — in this guide, I’ll walk you through the entire process of downloading, extracting, and manually installing the HP LaserJet Pro MFP M126NW driver. Along the way, I’ll explain why each step is necessary, what to do if something goes wrong, and answer some common questions at the end.
Let’s dive right in!
⚙️ Why Installing the Right Driver Matters
The driver is the “translator” between your PC and the printer. Without it, Windows doesn’t know how to talk to your HP LaserJet Pro MFP M126NW. Using a wrong or outdated driver can cause:
- Printer not being detected.
- Missing functionality (e.g., scanning doesn’t work).
- Print jobs stuck in the queue.
- Frequent error messages.
That’s why it’s always best to download the official driver package from HP’s support website.
✅ Step 1: Download the Driver from HP’s Official Website
Let’s start by downloading the correct driver.
- Open any web browser (Google Chrome, Edge, or Firefox).
- In the search bar, type:
HP LaserJet Pro MFP M126NW driver download - From the results, click on the official HP support page: support.hp.com.
or you can visit the page direcly here : https://support.hp.com/in-en/drivers/hp-laserjet-pro-mfp-m126-series/model/5303411 - On the HP page, ensure your printer model is correctly listed.
- Check the Operating System dropdown. If Windows 11 is not selected, choose Windows 11 (64-bit).
- Click Update to refresh the driver list.
- Expand Driver – Product Installation Software.
- Choose between:
- Full Driver Package (recommended, includes full functionality, scanning, and software tools).
- Basic Driver (just enough for printing, fewer features).
- Click Download.
Depending on your internet speed, the file may take a few minutes. Be patient.
✅ Step 2: Extract the Driver Files
Once the driver has downloaded:
- Open your Downloads folder.
- Locate the driver package (usually a
.zipor.exefile). - Right-click and select Extract All (or use WinRAR/7-Zip to extract).
- Choose Desktop as the destination for easier access.
- Wait for the extraction to finish. A new folder containing the drivers will appear.
So far, we’ve prepared the installation files. Now let’s move to the installation part.
✅ Step 3: Open Printers & Scanners in Windows 11
Windows has a built-in control panel for managing printers.
- Press Windows + S to open the search box.
- Type Printers & Scanners and hit Enter.
- In the window that opens, click on Add a printer or scanner.
- Wait for a few seconds. If your printer is not detected automatically, don’t panic.
- Click The printer that I want isn’t listed.
This takes us to the manual setup wizard.


✅ Step 4: Start Manual Installation
In the Add Printer Wizard:
- Select Add a local printer or network printer with manual settings.
- Click Next.
This allows us to manually point Windows to the extracted driver files.
✅ Step 5: Select the Correct USB Port
This step is very important.
- If your HP LaserJet Pro MFP M126NW is connected via USB, you’ll see options like:
- USB001 (Virtual Printer Port).
- USB002, USB003, etc.
- If you see an option mentioning HP (for example, DOT4_001 HP Printer Device), select that.
- Otherwise, select USB001 to start.
Click Next to continue.
✅ Step 6: Load the INF Driver File
This is where we link the drivers we downloaded.
- On the “Install the printer driver” screen, click Have Disk.
- Then click Browse.
- Navigate to the folder you extracted earlier.
- Open the folder and look for files ending in
.INF. - Select one INF file and click Open → OK.
Windows will now recognize the driver and display a list of compatible printers.
✅ Step 7: Name and Install the Printer
- From the list, select HP LaserJet Pro MFP M126NW Series.
- Click Next.
- You’ll be asked to name your printer. You can keep the default name or set something simple like Office Printer.
- Click Next again.
- Windows will now install the driver. This may take a minute.
✅ Step 8: Share Settings & Test Page
Once installation completes:
- You’ll be asked if you want to share the printer.
- If it’s for personal use → select Do not share this printer.
- If you’re on a network → enable sharing so other PCs can use it.
- Finally, click Print a test page to confirm everything is working.
✅ Step 9: Verify Printer Installation
To double-check:
- Go back to Printers & Scanners.
- Look for HP LaserJet Pro MFP M126NW in the list.
- If it’s listed, your installation was successful.
- Try printing a simple document to be sure.
🔧 Troubleshooting Common Issues
- Printer not detected → Try another USB port or use a different cable.
- Driver not loading → Ensure you extracted the files before browsing for INF.
- Generic driver installed instead → Uninstall the generic driver and reinstall using the official package.
- Scanning doesn’t work → Make sure you downloaded the full driver package, not just the basic one.
- Wi-Fi installation issue → If using Wi-Fi, ensure the printer is on the same network as your PC.
❓ Frequently Asked Questions
Q1: Does the HP LaserJet Pro MFP M126NW support Windows 11?
Yes. Even if Windows 11 isn’t listed directly, Windows 10 (64-bit) drivers work perfectly.
Q2: Can I connect this printer via Wi-Fi?
Yes. The M126NW supports both USB and network connections. For Wi-Fi setup, HP Smart App or web-based setup is recommended.
Q3: What’s the difference between Full Driver and Basic Driver?
- Full Driver → Includes print, scan, fax (if supported), and additional software.
- Basic Driver → Only allows printing, no extras.
Q4: Do I need to uninstall old drivers first?
Yes, if you had a failed installation earlier, it’s best to remove old drivers before reinstalling.
🏁 Conclusion
Installing the HP LaserJet Pro MFP M126NW on Windows 11 is straightforward once you know the steps. The key is downloading from the official HP support site, extracting the files, and manually pointing Windows to the correct INF driver.
By following this guide, you’ll have your printer ready for work — whether it’s for office documents, school projects, or home printing.
⚠️ Disclaimer
This guide is for educational purposes only. Always download drivers from HP’s official support site: https://support.hp.com. Avoid third-party driver websites, as they may contain outdated or unsafe files.
🏷️ Tags & Hashtags
Tags: HP LaserJet Pro MFP M126NW driver, Windows 11 printer installation, HP printer manual setup, HP M126NW USB driver, install HP printer manually
Hashtags: #HPLaserJet #PrinterDriver #Windows11 #HPPrinter #DriverInstallation