In this blog post, we will explore how to effectively work with outlines and contours in CorelDRAW. Whether you’re a beginner or a seasoned designer, understanding how to customize and configure contours will significantly enhance your design workflow. This guide will take you through the fundamental and advanced settings of contours step by step.
Introduction to Outlines and Contours
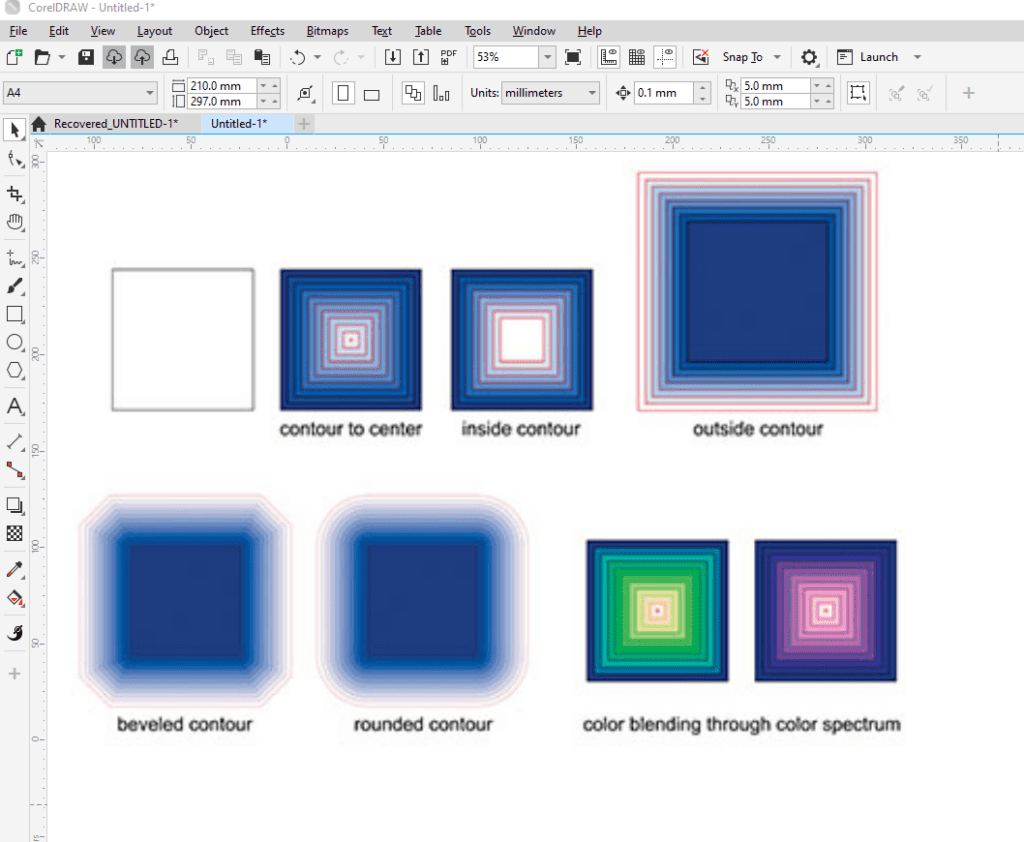
Outlines, also known as contours in CorelDRAW, are the defining edges of vector shapes. These can be adjusted to enhance designs or create specific effects. Before diving into advanced features, let’s begin with the basics.
Step 1: Drawing and Adding Outlines
- Start with Basic Shapes:
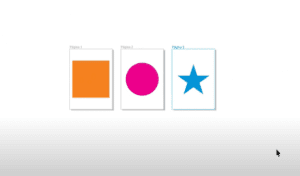
- Create a shape such as a square, circle, or even text.
- To add an outline, remove the fill by clicking the No Fill option and assign an outline by right-clicking on a color in the color palette.
- Understanding Vector Representation:
- Outlines define the edges of your vector shape.
- If you remove the outline (e.g., by right-clicking the red “No Outline” box), the shape will still exist but will only be visible through its fill color.
Step 2: Adjusting Outline Thickness
- Select the Object:
- Click on the object and navigate to the toolbar above.
- Use the Outline Width dropdown to select predefined widths or input a custom value.
- Example:
- Apply different thicknesses, such as 2pt, 10pt, or 36pt, to see how the outline changes.
- For text, you may need to convert it to curves to adjust the outline similarly to shapes.
Step 3: Customizing Line Styles
- Changing Line Types:
- Open the Outline Pen settings and choose from a variety of line styles (e.g., dashed, dotted).
- This is particularly useful for creating designs like coupons or stylistic borders.
- Applying End Styles:
- You can add elements to the line ends, such as arrows or dots, to enhance the design.
Step 4: Working with Advanced Contour Settings
- Access the Properties Panel:
- If not visible, enable it via Window > Dockers > Properties.
- Here, you can manipulate the outline settings more precisely.
- Key Features:
- Place Outline Behind Fill: Moves the outline behind the fill to avoid overlapping issues.
- Scale with Object: Ensures the outline scales proportionally when resizing the object.
- For example, enabling this maintains balance in logo designs during resizing.
- Adjusting Corners:
- Options include Mitered, Rounded, or Beveled corners.
- Rounded corners are especially useful to smooth out harsh edges in designs.
Step 5: Modifying Open Paths
For open paths (e.g., freehand lines):
- End Cap Styles:
- Choose between Square, Rounded, or Extended ends.
- This is ideal for creating clean and polished open path designs.
- Positioning the Outline:
- Define whether the outline should be placed inside, outside, or centered on the path.
Step 6: Troubleshooting and Tips
- Fixing Overlaps:
- If outlines obscure fills or overlap, use the Place Outline Behind Fill option.
- Consistency Across Designs:
- Always use the Scale with Object feature to maintain proportionality.
- Creating Custom Effects:
- Combine line styles, corner adjustments, and scaling options to achieve unique visual effects.
Conclusion
Mastering the use of outlines and contours in CorelDRAW opens up a world of creative possibilities. From basic adjustments to advanced configurations, these tools allow designers to create polished and professional designs with ease. By following the steps outlined in this guide, you can confidently manipulate contours to enhance your projects.
Tags
CorelDRAW, graphic design, vector shapes, contours, outlines, design tips, CorelDRAW tutorial, vector graphics, graphic design tools
Hashtags
#CorelDRAW #DesignTips #GraphicDesign #VectorShapes #Outlines #Contours

