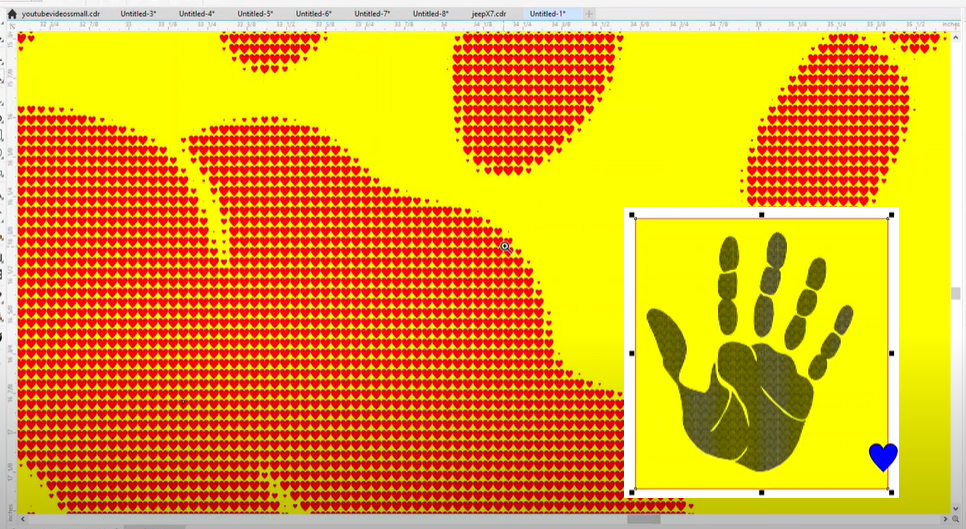
In this tutorial, we will explore how to transform a simple hand image into a pattern filled with hearts using CorelDRAW’s custom shape features. This technique is perfect for creating personalized designs or adding decorative elements to your artwork. Whether you’re making a fun print or experimenting with shapes, this guide will walk you through the steps.
Steps to Create a Handprint with Heart Pattern:
1. Start with Your Hand Image:
- Begin by importing the hand image into CorelDRAW or drawing a simple hand shape. Ensure that the image is clean and clear so the design will look sharp.
- If you received a fuzzy picture, as described in this scenario, you might need to enhance the image by tracing or redrawing the hand outline to maintain quality.
2. Create a Heart Shape:
- Go to Common Shapes and select the heart shape from the dropdown menu.
- Draw the heart to your desired size, then fill it with color (such as red) by using the Fill tool. Remove the outline by right-clicking on the no outline option in the color palette.
3. Determine the Pattern Density:
- The size of the heart doesn’t matter too much since it can be scaled later. You will now determine the density of the pattern. The density controls how many hearts will be included within the handprint.
- Go to Fill and select Custom for creating a pattern fill. Then choose Custom again in the fill options and select the heart you just created.
4. Apply the Heart Pattern to the Hand:
- With the heart selected, click on the hand shape and apply the heart pattern.
- Initially, the hearts may appear at an angle. If you prefer the hearts to be aligned straight up and down, adjust the rotation to 0 degrees.
- Press Apply to fill the handprint with hearts. Now you should see the hearts forming the shape of the hand.
5. Adjusting the Density and Scale:
- If the heart pattern looks too sparse or too dense, you can modify the density setting. Experiment with different density values to see what works best for your design.
- For example, setting the density to 30 will create a tighter arrangement of hearts, while a lower number will space them out more. You might need to test a few different values to get the look you’re after.
6. Refine the Pattern and Colors:
- Once you’re happy with the arrangement, check for any areas where the hearts may overlap or leave gaps. You can adjust the scale or reposition the hearts if needed.
- You can change the color of the hearts by selecting them and applying a new fill color. For example, you could switch to red hearts for a more striking look.
7. Test Your Pattern and Check for Hidden Elements:
- After completing the pattern, ensure that there are no hidden elements or unwanted shapes behind the design. Use the Order tool to move the hand shape or hearts to the back or front layers as needed.
- For a quick check, draw a yellow rectangle, then go to Object > Order > To Back of Page to see if there are any other elements beneath your hearts.
8. Final Touches and Export:
- When you are satisfied with the design, make any final adjustments, such as changing the handprint fill color, resizing the hearts, or adding additional effects like shadows or outlines.
- Once complete, you can export the design for print or use it in digital projects.
This method allows you to create a unique and customizable pattern fill for any shape, making it perfect for adding a personal touch to your designs.
#CorelDRAW #GraphicDesign #PatternFill #CreativeDesign #VectorArt #HeartPattern #DesignTips #CorelDRAWTutorial
Visited 45 times, 1 visit(s) today
