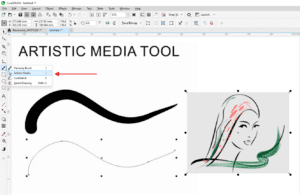
If you’re just starting with CorelDRAW, understanding its interface is the first step toward mastering this versatile design software. This blog walks you through the various elements of the CorelDRAW interface, helping you navigate and utilize its features effectively.

Step 1: Creating a New Document
To begin, you can create a new document by clicking the “New Document” button on the toolbar. Here, you’ll encounter options to configure the document, such as:
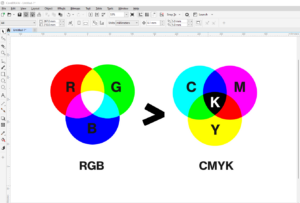
- Color Mode: Choose between CMYK (ideal for printing) or RGB (better for digital media).
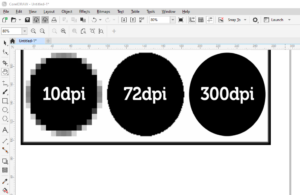
- Resolution: Typically, 300 DPI is recommended for high-quality output.
These configurations ensure your project aligns with its intended medium.
Step 2: Exploring the CorelDRAW Interface
1. The Toolbar
The toolbar, located on the left side of the screen, contains tools you’ll frequently use. These tools are grouped logically for easy navigation:
- Selection Tools: Includes tools for selecting and manipulating objects.
- Zoom and Pan Tools: Allows you to adjust your view of the workspace.
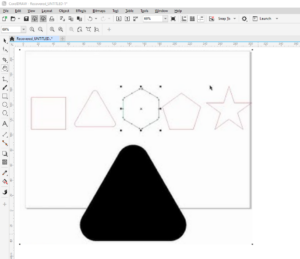
- Shape Tools: Provides options to draw shapes and freehand lines.
- Text Tool: Lets you add and edit text elements.
- Effect Tools: Offers tools for adding shadows, transparency, and other effects.
- Fill Tools: Includes the Smart Fill tool for applying colors or gradients to shapes.
Each tool often has additional options that can be accessed by clicking the small arrow next to it.
2. The Property Bar
At the top of the screen, the Property Bar changes dynamically based on the selected tool. For example:
- When using the Text Tool, options for font, size, and alignment appear.
- For shapes, options like fill, outline, and dimensions become accessible.
This feature streamlines your workflow by providing relevant settings at your fingertips.
3. Menus and Options
The top menu bar includes common options such as File, Edit, View, and Layout. Some highlights include:
- File: Save, export, or import your projects.
- View: Switch between wireframe, pixel, and enhanced modes.
- Layout: Adjust your workspace, including grids and guidelines.
4. Customizing the Workspace
CorelDRAW allows you to tailor the interface to suit your needs:
- Workspaces: Found under the gear icon, workspaces like “Illustration” or “Touch Screen” adjust the layout for specific tasks.
- Dragging Panels: Move panels like the color palette to your preferred position by clicking and dragging them.
- Adding Color Palettes: You can add palettes for CMYK or RGB to optimize for print or web projects.
Step 3: Working with Colors
CorelDRAW offers an intuitive way to manage colors:
- Color Palettes: Drag and position palettes where they’re most convenient. For example, place CMYK on one side for print and RGB on the other for digital projects.
- Adding Palettes: Go to
Window > Color Palettes > Default Palettesto add new ones.
Step 4: Advanced Features
Some advanced features worth exploring include:
- Export Options: Easily export selected elements in formats like PNG or PDF.
- Dockers: Access additional tools like Object Properties and Effects via the Docker panel under the Window menu.
Tips for Beginners
- Don’t hesitate to experiment with settings—everything is reversible.
- Familiarize yourself with shortcuts to enhance your productivity.
- Customize your workspace to match your workflow preferences.
By understanding and customizing the CorelDRAW interface, you’ll create a more efficient and enjoyable design experience. Use this guide to explore the tools and features that make CorelDRAW a powerful ally in your creative journey.
Tags: CorelDRAW, graphic design, CorelDRAW interface, design software, CorelDRAW tips, vector design, workspace customization, design tools, CMYK, RGB
Hashtags: #CorelDRAW #GraphicDesign #DesignTools #VectorArt #WorkspaceCustomization #CMYK #RGB #CorelDRAWTips


