Looking for a high-performance gaming PC that also handles video editing, 3D rendering, and AI workloads? This ₹2 lakh budget build features the latest AMD Ryzen 7 9800X3D and NVIDIA RTX 5070, delivering 2K/4K gaming, smooth multitasking, and future-proof performance.
Build Overview
✅ Budget: ₹2,00,000 (approx.)
✅ Best For: Gaming, Content Creation, AI Workloads
✅ Key Features:
- AMD Ryzen 7 9800X3D (Fastest gaming CPU)
- NVIDIA RTX 5070 (Ray Tracing & DLSS 3.5 support)
- MSI X870 Gaming Plus WiFi (PCIe 5.0, DDR5)
- Kingston Fury Beast RGB 32GB DDR5
- MSI MAG CoreLiquid i360 AIO Cooler
- Kingston NV3 2TB PCIe 4.0 SSD
- MSI MAG A1250GL PSU (80+ Gold, PCIe 5.0)
- MSI MAG Pano 100R PZ Case (Premium airflow & aesthetics)
Step-by-Step PC Build Guide
1. Unboxing & Components Overview
CPU: AMD Ryzen 7 9800X3D
- 8-Core, 16-Thread | 4.7GHz Base Clock
- 3D V-Cache for Gaming Performance
- Best for high-FPS gaming & multitasking
🔗 Buy on Amazon | Official Site
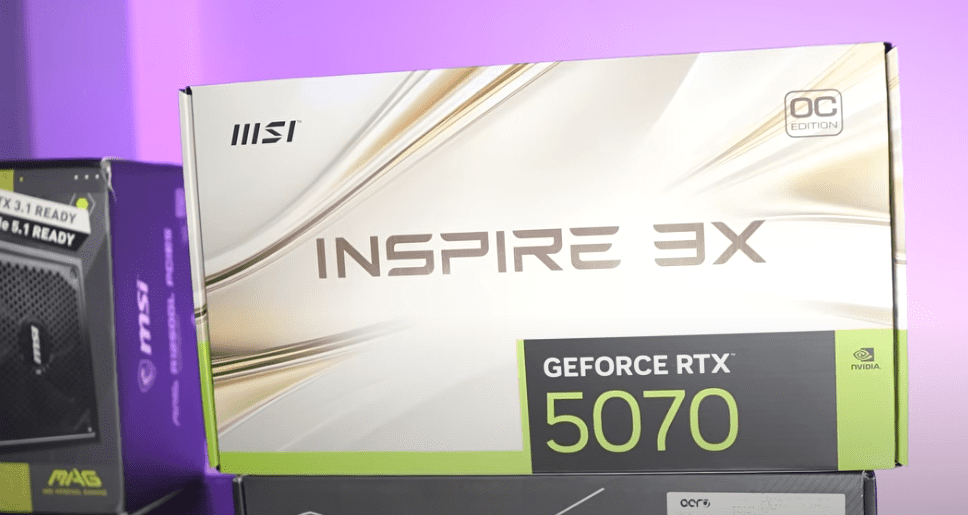
GPU: MSI RTX 5070 INSPIRE 3X OC
- 12GB GDDR6X | PCIe 5.0
- 4K Gaming Capable (DLSS 3.5, Ray Tracing)
- Optimized for AI workloads & 3D rendering
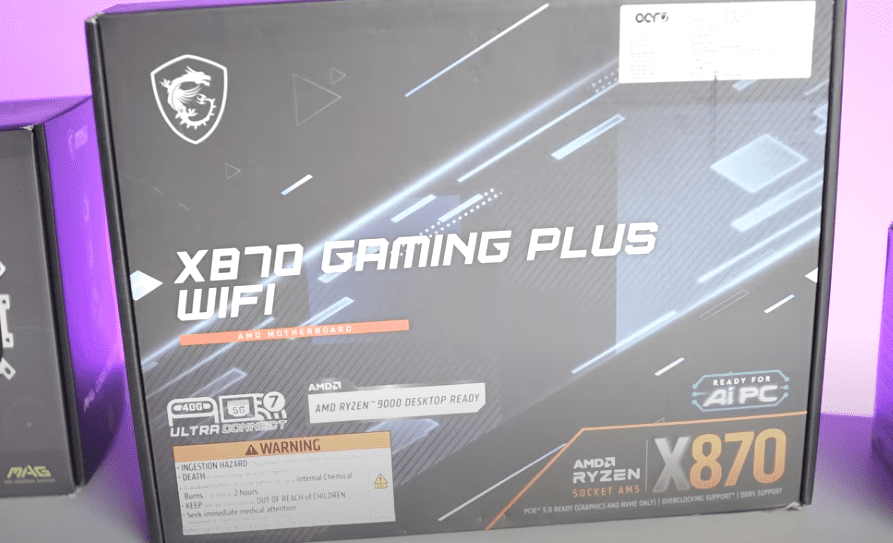
Motherboard: MSI X870 Gaming Plus WiFi
- PCIe 5.0 & DDR5 Support
- Dual M.2 Slots (Gen 4 & Gen 5)
- WiFi 6E & Bluetooth 5.2
🔗 Buy on Amazon | Official Site
RAM: Kingston Fury Beast RGB 32GB (6000MHz)
- Low Latency (CL36) | AMD EXPO Optimized
- RGB Lighting with Heat Spreader
🔗 Buy on Amazon | Official Site
Storage: Kingston NV3 2TB PCIe 4.0 SSD
- 6000MB/s Read & 5000MB/s Write
- Gen 4 NVMe for Fast Load Times
🔗 Buy on Amazon | Official Site
PSU: MSI MAG A1250GL (80+ Gold, PCIe 5.0)
- Fully Modular | ATX 3.1 Compatible
- 16-pin 12VHPWR for RTX 5070
🔗 Buy on Amazon | Official Site
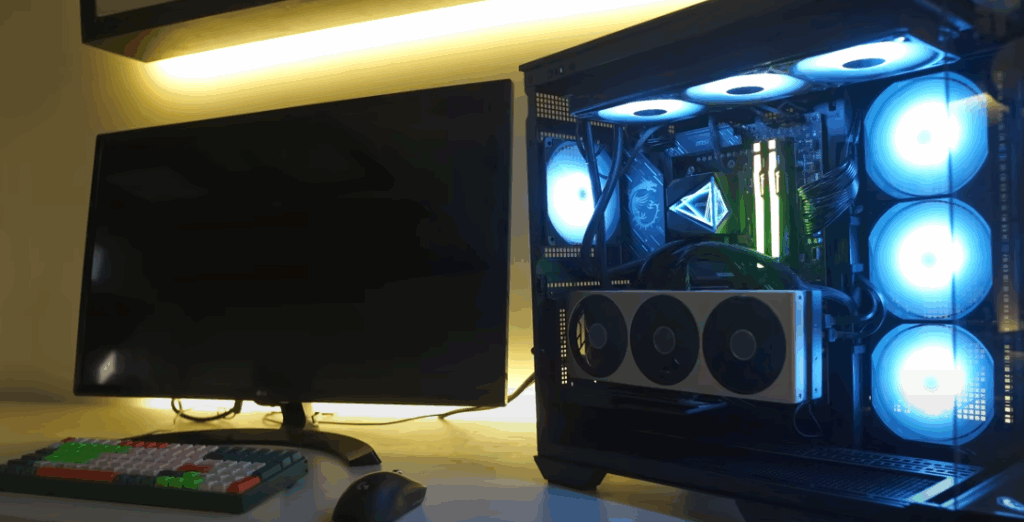
Case: MSI MAG Pano 100R PZ
- Dual-Chamber Design | Tempered Glass Panels
- Pre-installed RGB Fans | Vertical GPU Mount
🔗 Buy on Amazon | Official Site
Building the PC – Step-by-Step
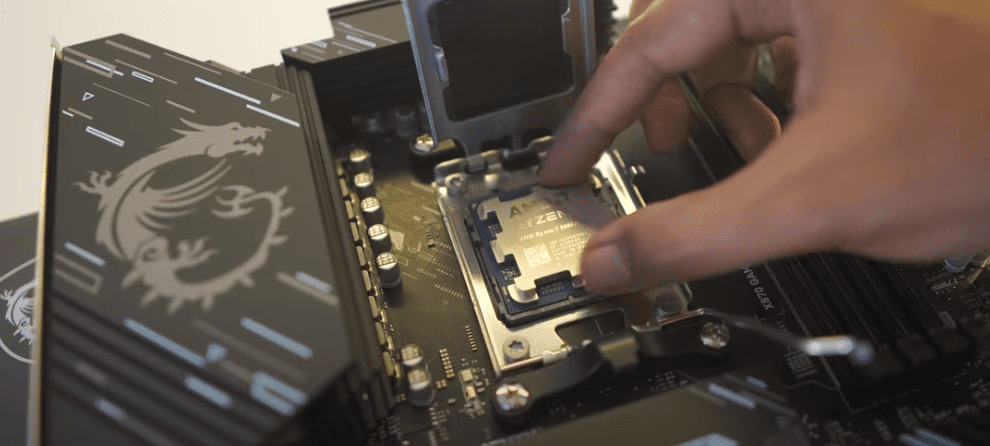
Step 1: Install CPU & Cooler
- Open the AM5 socket on the motherboard.
- Align the golden triangle on the CPU with the socket.
- Install the MSI MAG CoreLiquid i360 AIO (pre-applied thermal paste).
Step 2: Install RAM
- Use slots A2 & B2 for dual-channel performance.
- Push down until click sound confirms installation.
Step 3: Mount Motherboard in Case
- Secure with 9 screws (included with case).
- Connect 24-pin power & CPU 8+4 pin cables.
Step 4: Install GPU (Vertical Mount)
- Use PCIe 5.0 x16 slot.
- Connect 16-pin 12VHPWR cable from PSU.
Step 5: Storage & Cable Management
- Install Kingston NV3 SSD in the top M.2 slot.
- Use cable shrouds for a clean look.
Performance Benchmarks
Gaming (1440p & 4K)
🎮 Cyberpunk 2077 (RT Ultra + DLSS 3.5)
- 2K: 120+ FPS | 4K: 70-80 FPS
🎮 Assassin’s Creed Valhalla
- 2K: 144 FPS | 4K: 90 FPS
🎮 Call of Duty: Warzone


- 2K: 160+ FPS | 4K: 100 FPS
Content Creation & AI Workloads
- Blender Rendering: 50% faster than RTX 4070
- Premiere Pro 4K Export: Under 5 mins
- Stable Diffusion AI: Faster than RTX 4080
Final Verdict – Should You Build This?
✅ Pros:
✔ Excellent 2K/4K gaming
✔ Great for video editing & AI tasks
✔ Future-proof (PCIe 5.0, DDR5, DLSS 3.5)
❌ Cons:
❌ RTX 5070 slightly overkill for 1080p
❌ No Gen 5 SSD (yet)
🔹 Alternative Options:
- For Budget Gamers: RTX 4060 + Ryzen 7 7700X (~₹1.2L)
- For Pure Gaming: RTX 5080 + Ryzen 9 9950X3D (~₹2.5L)
Tags:
Gaming PC Build, RTX 5070, Ryzen 7 9800X3D, Best PC Under 2 Lakhs, MSI MAG Pano 100R
Hashtags:
#GamingPC #RTX5070 #Ryzen9800X3D #PCBuild #TechGuide
Disclaimer:
- Prices may vary based on availability.
- Always check compatibility before purchasing.
- Overclocking may require better cooling.