YouTube remains one of the most powerful platforms for content creators, but optimizing your uploads can significantly impact your video’s performance. In this guide, we’ll walk you through every setting in the YouTube upload page to ensure your videos get the best possible reach and engagement.
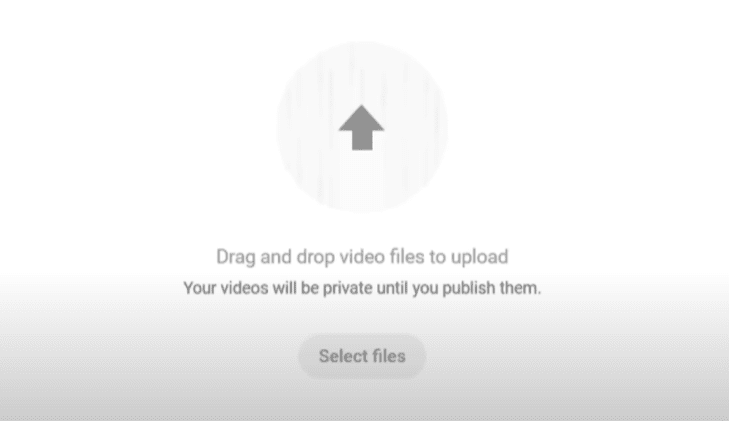
Step 1: Sign In & Upload
Before anything else, make sure you’re signed in to your YouTube account. Then:
- Click on “Create” and select “Upload Video.”
- Choose your video file (works on both desktop and mobile—just ensure you’re using YouTube’s desktop site if uploading from a phone).
Step 2: Crafting the Perfect Title
Your title is the first thing viewers see, even before the thumbnail. A strong title should:
- Be clear and engaging.
- Include target keywords (e.g., “Right Way to Upload Videos on YouTube in 2025”).
- Stay under 70 characters to avoid truncation in search results.
Pro Tip: Avoid clickbait—misleading titles can hurt long-term performance.
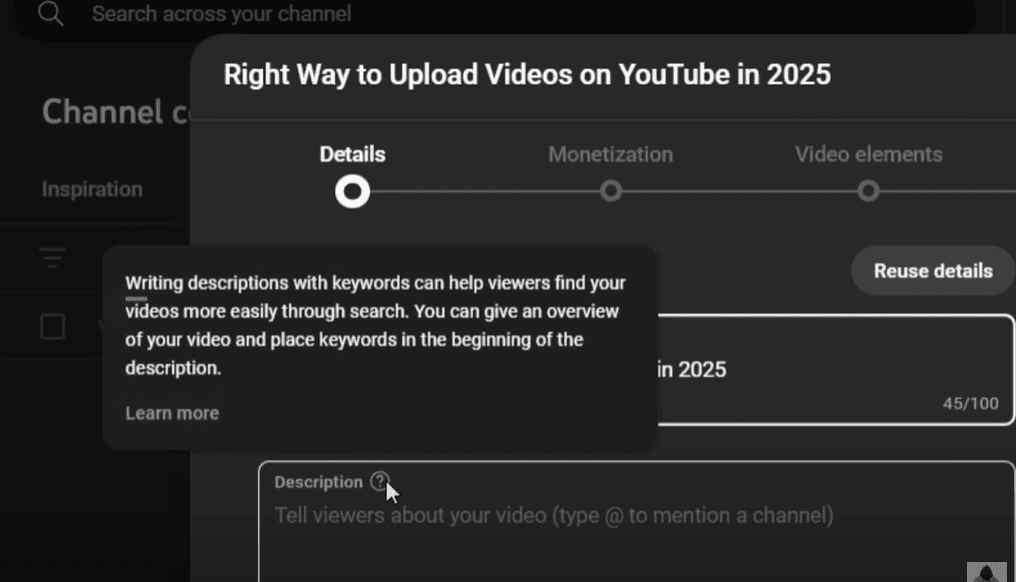
Step 3: Writing an SEO-Friendly Description
Your description helps YouTube understand your video’s content. Here’s how to optimize it:
- First Line: Include your main keyword phrase (e.g., “Right Way to Upload Videos on YouTube in 2025”).
- Expand with Related Keywords: Use tools like TubeMagic to find popular search terms.
- Video Summary: Briefly explain what your video covers.
- Channel Intro & Links: Add social media handles (Instagram, Twitter) and a business email for collaborations.
Bonus: Set a default description in YouTube Studio > Upload Defaults to save time.
Step 4: Thumbnail Optimization
YouTube now allows up to 3 thumbnails per video. Choose the best-performing one by:
- Using high-contrast, readable text.
- Ensuring facial expressions (if applicable) are engaging.
- Testing different designs with A/B testing.
Step 5: Playlists & Audience Settings
- Playlists: Add your video to a relevant playlist to boost watch time.
- Made for Kids: Select “No” unless your content is specifically for children.
- Paid Promotion: Disclose sponsorships if applicable (adds a small label).
Step 6: Tags & Metadata
- Tags: Use 5-10 relevant keyword phrases (e.g., “YouTube upload tutorial 2025”).
- Language & Captions: Select your video’s primary language.
- Recording Date & Location: Optional but helpful for context.
Step 7: Monetization & Ad Suitability
- Enable Ads: Turn on monetization if eligible.
- Mid-Roll Ads (for 8+ minute videos): Manually adjust ad placements for better revenue.
- Ad Suitability Checklist: Accurately rate your video’s content to avoid demonetization.
Step 8: Video Elements (Subtitles, Cards, End Screens)
- Subtitles: Improve accessibility by adding captions (manual or auto-generated).
- Cards & End Screens: Promote other videos, playlists, or your channel.
- Best practice: Link to your most recent upload or a highly relevant video.
Step 9: Visibility Options
Choose when and how your video goes live:
- Private/Unlisted: Use for pre-release reviews (only those with the link can view).
- Public: Instantly publishes the video.
- Scheduled: Best for consistent upload times.
- Premiere: Creates hype with a live countdown (ideal for special content).
Step 10: Final Checks & Publishing
Before hitting “Publish,” ensure:
- No copyright issues (YouTube’s checks will flag problems).
- SEO elements (title, description, tags) are optimized.
- End screens/cards are properly set up.
Final Thoughts
By following these steps, you can maximize your video’s performance on YouTube. Remember, consistency and optimization are key to growing your channel.
Tags:
YouTube optimization, video upload guide, YouTube SEO, YouTube growth, content creation


Hashtags:
#YouTubeTips #VideoSEO #ContentCreation #YouTubeGrowth #2025YouTube


