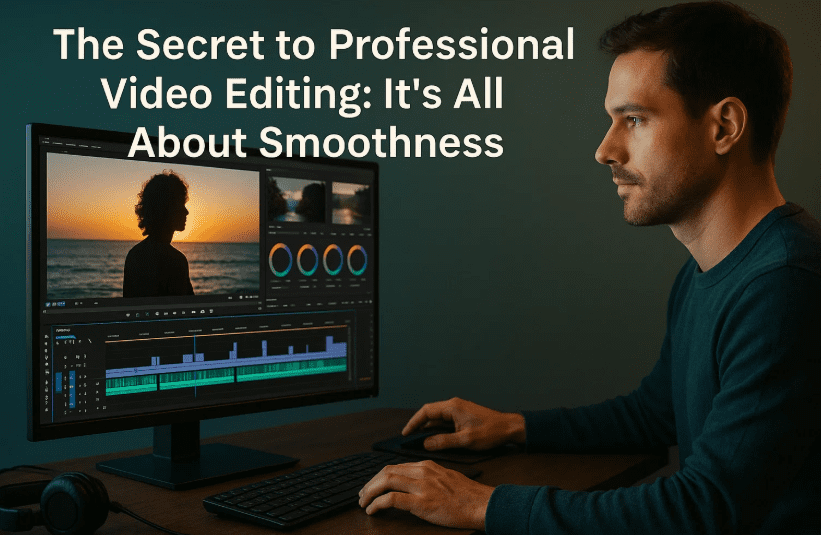
If you’re a content creator, filmmaker, or YouTube enthusiast, you’ve probably spent countless hours tweaking colors, adding transitions, and layering effects. Yet somehow, your video still doesn’t feel “professional,” right?
Well, here’s the truth most pros won’t tell you upfront—the real secret isn’t in the effects or the plugins. It’s in the smoothness. Let’s break that down together and make your edits buttery-smooth.

1. Smooth Animations: The Foundation of Pro-Level Videos
Let’s begin with the basics. Imagine moving an object from point A to point B. If it just jumps or slides stiffly, it feels robotic. But with smooth animation, it glides like it belongs.
Before we dive into software settings, understand this:
- Keyframes are your start and end points.
- Your editing tool fills in the frames in between.
- If this happens at a uniform speed, it can feel unnatural.
Here’s what to do instead:
Apply “Ease In” and “Ease Out”
- Ease Out: Use this at the beginning of the movement—it starts slow and speeds up.
- Ease In: Use this at the end—it slows down before stopping.
These small tweaks in your keyframe animation can turn stiff transitions into fluid motions. Apply these to:
- Position
- Scale
- Rotation
- Opacity
2. Learn to Use Animation Curves
So far, so good? Great—let’s level it up a notch.
Every professional editor knows animation curves are the real deal. They allow you to control the rate at which motion happens between keyframes.
- Want fast starts and slow ends? Use a curve that rises sharply and flattens.
- Prefer slow starts with punchy exits? Go for a flat start and steep rise.
Different editing tools like Adobe Premiere Pro, After Effects, and DaVinci Resolve allow you to visualize and customize these curves easily.
Example: In Premiere, press the arrow next to the keyframe to adjust the curve manually.
3. Keep Motion in One Direction (Uni-Directional Motion)
Consistency is key. One of the biggest rookie mistakes is having elements fly in randomly—from the left, then the right, then the top.
This confuses the viewer’s eyes and breaks flow.
Here’s what to do:
- Maintain a consistent motion direction in consecutive scenes.
- If one clip has movement from left to right, the next should too.
- If not, flip the next clip horizontally to match.
It’s a simple trick, but it helps keep the visual flow intact and smooth.
4. Add Motion Blur for Natural Feel
Have you ever paused a video mid-motion and noticed the blur? That’s natural motion blur, and it exists in real-world physics.
In Editing Tools:
- After Effects: Just click the motion blur button.
- Premiere Pro: Use the “Transform” effect and set shutter angle to 180°.
- DaVinci Resolve: Search for “Motion Blur” in Effects and apply it.
- CapCut & Filmora: Look for motion blur filters or apply via manual transitions.
- LightMotion: Available under blur effects.
Motion blur bridges frames visually and adds realism to your animations.
5. Trim Unwanted Micro-Movements
This one is often overlooked even by big YouTubers. When you start recording, your hand might shake slightly. Same at the end when you stop the camera.
What you should do:
- Scrub through the clip and trim the first 1-2 seconds and the last 1-2 seconds if there’s shaky movement.
- These micro-movements can ruin an otherwise polished video.
Yes, it’s a small thing—but that’s what separates professionals from amateurs.
Bonus Point: Smooth Music Flow = Smooth Video Flow
Here’s the secret no one talks about—music is your glue.
Using jarring music transitions or off-beat background tracks can disrupt the entire flow of your edit.
Fix it with:
- Matching music BPM to your editing rhythm
- Avoiding sudden shifts in mood unless it serves a purpose
- Using fade-ins, fade-outs, or tempo ramps between music sections
Frequently Asked Questions
Q1: What’s the best software for applying animation curves?
A: Adobe After Effects and DaVinci Resolve offer the most intuitive curve editors.
Q2: Can I apply motion blur in free editors like CapCut?
A: Yes, CapCut offers motion blur filters under the effects tab.
Q3: Why does my video still feel amateur even after these tips?
A: Often, it’s a combination of audio, editing rhythm, and storytelling. Start with smooth transitions, and your work will already feel 10x more polished.
Final Thoughts
The journey from amateur to professional editing doesn’t require fancy gear or expensive plugins. All it takes is attention to smooth transitions, consistent motion, smart trimming, and cohesive music.
Apply these five tips—plus the bonus one—and you’ll see a massive jump in the quality of your content.
Disclaimer: This blog is based on general video editing principles. Results may vary depending on the software used. Always follow licensing and platform usage guidelines for third-party assets and tools.
Tags: professional video editing tips, smooth video transitions, video animation curves, motion blur in editing, micro motion removal, YouTube editing tips, how to animate keyframes, CapCut smooth edits, Premiere Pro motion blur, DaVinci Resolve editing, LightMotion video editing
Hashtags: #VideoEditing, #SmoothEdits, #ProfessionalLook, #AnimationTips, #MotionBlur, #PremierePro, #CapCut, #DaVinciResolve, #LightMotion, #EditingTips, #YouTubeEditing


