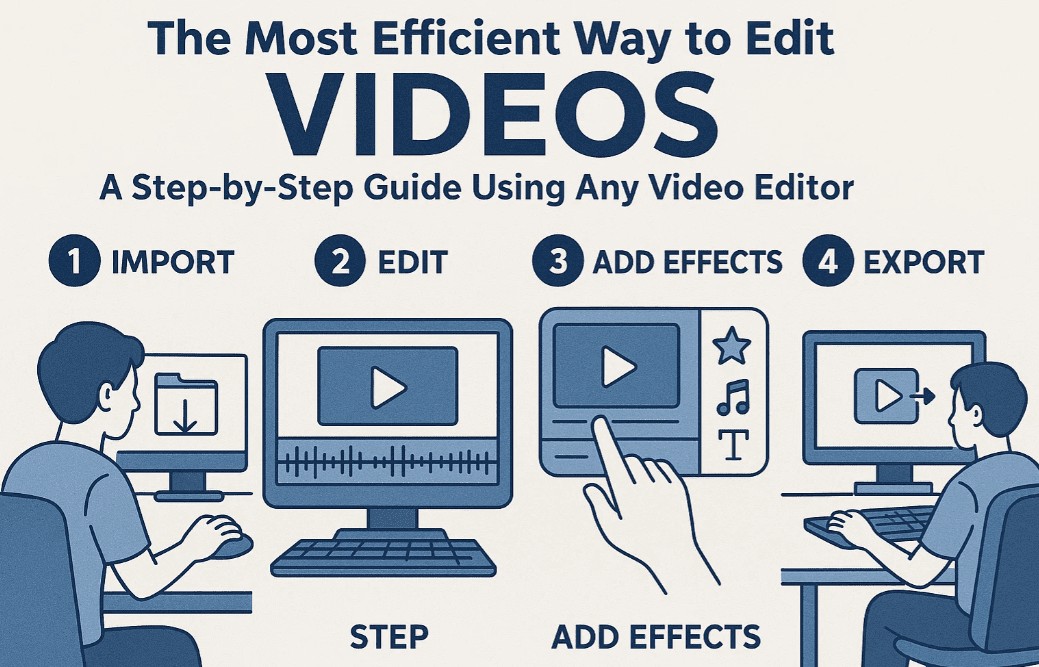
If you find video editing overwhelming or time-consuming, you’re not alone. Many creators struggle because they jump into styling and effects before laying down the core of the video—the story. This article breaks down the most efficient step-by-step video editing process you can use with any editor, whether it’s VN Video Editor, CapCut, or something else.
We’ve also included an AI prompt to help automate this workflow using tools like ChatGPT, Gemini, or Claude.
🛠 Try VN Video Editor for free here: https://www.vlognow.me
📄 Bonus: Download the printable PDF checklist of these steps to follow while editing!
✅ Step-by-Step Efficient Video Editing Workflow
1. Create and Set Up a New Project
- Open your video editor and create a new project.
- Choose your video format:
- For YouTube: Use 16:9 widescreen.
- For Instagram Reels or TikTok: Use 9:16 portrait.
- The video resolution and frame rate will often auto-adjust based on your first video clip (e.g., 1080p at 30fps).
2. Import Primary Footage (Main Camera)
- Drag your main video footage into the timeline.
- Ignore text, effects, or B-roll for now. Focus only on your main content/storyline.
3. First Pass Edit (Trim the Fat)
- Delete bad takes, silent moments, and mistakes.
- Use waveforms to visually identify where no one is talking.
- Split and trim clips to keep only the useful parts.
- Rearrange clips if necessary to create a better story flow.
4. Add B-Roll and Overlays
- Import and drag B-roll or extra footage (e.g., screen recordings, StoryBlocks clips) above the main timeline layer.
- Use these to visually enhance what’s being said in the main footage.
- Trim and position them where relevant.
5. Insert Text and Titles
- Use the text tool to add:
- Video titles
- Lower thirds
- Captions or keywords
- Customize fonts, colors, and durations.
- Keep the style consistent with your brand.
6. Transitions and Basic Effects
- Apply transitions (like fade, zoom, swipe) between clips only when necessary.
- Use effects after your storyline is complete, such as:
- Slow motion
- Stabilization
- Zoom-in cuts to emphasize sections
- Background removal or overlays
7. Add Music and Sound Effects
- Import your background music (BGM) and sound effects (SFX).
- Drop them into the audio layer of your timeline.
- Sites like:
- offer royalty-free, copyright-safe music.
⚠️ Disclaimer: Do not use in-app music tracks unless you’re sure they are safe for commercial use. Always check licensing for YouTube, Instagram, etc.
8. Adjust Volume Levels
- Start by adjusting dialogue clarity first.
- Lower background music to 30% or less (as a starting point).
- Use headphones for better judgment.
- Some tools like VN Video Editor offer built-in volume sliders for individual tracks.
9. Color Grading & Enhancement
- Save this step until last to reduce lag during earlier editing.
- Adjust:
- Brightness/Exposure
- Color temperature (fix warm/cold tones)
- Contrast
- Saturation/Vibrance
- Apply changes to all clips for visual consistency.
10. Final Playback & Export
- Do a final watch-through.
- Check:
- Audio clarity
- Smooth transitions
- Correct timing of overlays
- Export using recommended settings:
- 1080p 30fps for YouTube
- Use built-in presets (YouTube, TikTok, etc.)
- Watch the exported video on multiple devices (PC, mobile) to ensure quality.
🤖 Bonus: Use AI to Automate This Workflow
Download and run our free AI prompt in ChatGPT, Gemini, or Claude to:
- Generate a personalized editing checklist
- Get custom suggestions for each clip
- Maintain logical order and editing structure
🔗 Download AI Prompt PDF Here
📝 Compatible with ChatGPT, Gemini, Claude, and more!
🙋 Frequently Asked Questions
Q: Which video editor is best for beginners?
A: VN Video Editor (vlognow.me) and CapCut are great beginner-friendly options, both available on desktop and mobile.
Q: Should I add transitions to every clip?
A: No. Use transitions sparingly—between major scene shifts or topic changes. Overusing them can distract viewers.
Q: My video looks dull. Should I color grade first?
A: No. Finish editing the content first, then color grade. Doing this early may cause lag and slowdowns in your editor.
Q: Can I use music included in the editing app?
A: Be careful. Only use music marked for royalty-free commercial use. When in doubt, use trusted sources like Artlist or Epidemic Sound.
Q: Can this method be used on mobile editors?
A: Yes! The process is universal. Whether you use VN, CapCut, InShot, or Kinemaster—the steps remain the same.


🧠 Final Thoughts
Editing doesn’t have to be overwhelming. By breaking down your workflow into logical steps, focusing on story before style, and leveraging modern tools and AI, you can edit smarter—not harder.
Make your editing efficient and enjoyable again by sticking to this structured approach. Whether you’re making YouTube content, Instagram reels, or client work, this process will save you hours of frustration.
📌 Tags:
video editing workflow, efficient video editing, VN Video Editor tutorial, edit videos fast, beginner video editor, YouTube editing guide, AI video editing tools, CapCut, InShot
📢 Hashtags:
#VideoEditing #EditingTips #VNTutorial #CapCut #AIEditing #YouTubeTips #ContentCreation #EditFaster #VideoEditingWorkflow