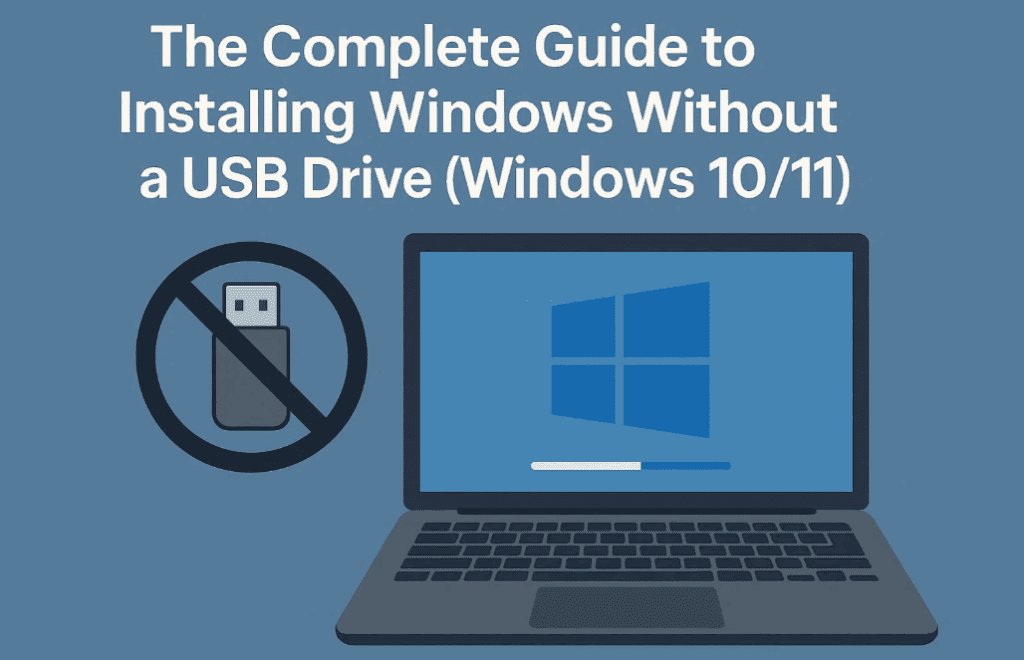
For years, installing a fresh copy of Windows required a USB flash drive or DVD. But what if I told you there’s a way to perform a clean Windows installation without any external media? This comprehensive guide will walk you through every step of this little-known method that works for both Windows 10 and 11, even on unsupported hardware.
📌 Why Install Windows Without a USB?
- No need for external storage devices
- Works when USB ports are faulty
- Ideal for devices without optical drives
- Faster than traditional installation methods
- Perfect for emergency situations when you don’t have a USB handy
🔧 Prerequisites
- At least 10GB of free space on your hard drive/SSD
- Windows ISO file (download links provided)
- Basic familiarity with Command Prompt
- Backup of important files (recommended)
🛠️ Step 1: Create a Partition for Installation Media
1. Open Disk Management
- Press
Win + Xand select Disk Management. - Identify the drive where you want to create the installation partition.
2. Shrink Existing Partition
- Right-click your main partition (usually C:) → Shrink Volume.
- Enter 10240 (10GB) in the “Enter the amount of space to shrink” field.
- Click Shrink.
3. Create a New Partition
- Right-click the unallocated space → New Simple Volume.
- Follow the wizard (keep default settings).
- Assign a recognizable label like “WinInstall”.
✅ Pro Tip:
If installing on a secondary drive, ensure it’s initialized (GPT for UEFI, MBR for Legacy BIOS).
📥 Step 2: Download Windows ISO
For Windows 11:
- Visit Microsoft’s Official Download Page.
- Scroll to “Download Windows 11 Disk Image (ISO)”.
- Select “Windows 11 (Multi-edition)” → Download.
For Windows 10:
- Go to Microsoft’s Windows 10 Download Page.
- Click “Download tool now” and use the Media Creation Tool to get the ISO.
💿 Step 3: Mount ISO & Copy Files
- Right-click the downloaded ISO → Mount.
- Open the mounted drive in File Explorer.
- Select all files → Copy.
- Navigate to your “WinInstall” partition → Paste.
- Unmount the ISO when done.
⚡ Advanced Tip:
Add an autounattend.xml (answer file) to automate installation settings.
⚙️ Step 4: Boot into Recovery Mode
Method 1: Shift + Restart
- Hold Shift while clicking Restart in the Start menu.
- Navigate to Troubleshoot → Advanced Options → Command Prompt.
Method 2: Via Settings
- Open Settings → System → Recovery.
- Click Restart now under Advanced startup.
💻 Step 5: Start Installation via Command Prompt
- In Recovery, open Command Prompt.
- Identify the installation partition:
- Type
notepad→ File → Open → Check drive letters. - (Usually C: or D:)
- Navigate to the partition:
   C:
dir (to verify setup.exe exists)- Start Setup:
- For standard install:
cmd setup.exe - To bypass Windows 11 requirements:
cmd setup.exe /product server
🔄 Step 6: Complete Installation
- Select “I don’t have a product key” (activate later).
- Choose Windows Edition (Home/Pro).
- Delete old partitions (except the installer partition).
- Select Unallocated Space → Next.
⚠️ Warning:
Deleting partitions erases all data. Backup first!
🔐 Step 7: Skip Microsoft Account (Local Account Setup)
- Disconnect internet (unplug Ethernet/turn off Wi-Fi).
- At setup, press Shift + F10 to open CMD.
- Run:
regedit- Navigate to:
HKEY_LOCAL_MACHINE\SOFTWARE\Microsoft\Windows\CurrentVersion\OOBE- Create a DWORD (32-bit) named BypassNRO → Set value to 1.
- Reboot → Select “I don’t have internet” → Continue with local account.
🔧 Post-Installation Optimization
- Reconnect internet → Check for updates.
- Change region (if set to “English World”):
- Settings → Time & Language → Region → Set correct country.
- Remove bloatware (optional):
Get-AppxPackage *Microsoft.YourPhone* | Remove-AppxPackage⚠️ Limitations of This Method
- Cannot extend C: drive (recovery partition blocks expansion).
- No easy way to remove installer partition (keep it for future repairs).
- Not as clean as USB install (but works in a pinch).
❓ Frequently Asked Questions (FAQ)
Q1: Does this work on unsupported Windows 11 PCs?
✅ Yes! The /product server trick bypasses TPM/CPU checks.
Q2: Can I reuse the installer partition?
✔️ Yes, it remains as a recovery tool for future reinstalls.
Q3: What if setup.exe fails?
🔧 Verify the ISO isn’t corrupted. Redownload if needed.
Q4: How to activate Windows after install?
🔑 Use a retail key or link a digital license via Microsoft account later.
🎯 Final Thoughts
This method is a lifesaver when you lack a USB drive but need a fresh Windows install. While not as clean as USB-based installation, it’s 100% functional and great for emergencies.
🔗 Need more help?
📌 Tags: Windows Installation, No USB Install, Windows 11, Windows 10, Tech Guide, PC Repair
🚀 Hashtags: #WindowsWithoutUSB #CleanInstall #TechHacks #WindowsTips #PCSetup


Disclaimer: This guide is for educational purposes. Modify system files at your own risk. Always back up data before reinstalling Windows.
By following these steps, you can install Windows without a USB drive and enjoy a fresh OS in no time! 🚀


