Are you looking for a streamlined version of Windows 11 that removes unnecessary bloatware and bypasses the typical hardware requirements? The new, lightweight Windows 11 24H2 offers just that—a clean start menu, no unnecessary pre-installed apps, and a completely automated installation process. In this guide, we’ll walk you through how to create a fully unattended installation of Windows 11 using an Auto Attended XML file. This setup not only simplifies the installation but also ensures that your system remains light and fast, making it ideal for gamers, video editors, and everyday users.
Step-by-Step Guide: Installing Windows 11 24H2
- Generating the Auto Attended XML File
- Start by visiting the appropriate website where you can generate an Auto Attended XML file. This file acts as the answer file for your installation and automates the entire setup process.
- You will be prompted to choose your settings for the installation.
- Choosing Language and Region Settings
- Select the default language settings or customize them as per your preference (e.g., “English – United States”).
- No changes are required for the region unless you prefer a different locale.
- Processor Architecture Settings
- The system will display options for both Intel and AMD processors, with 32-bit and 64-bit architectures. Since Windows 11 requires 64-bit, leave it selected by default.
- Bypassing Windows 11 Requirements
- Windows 11 comes with certain requirements such as TPM and Secure Boot, which can be bypassed. Check the box to bypass the Windows 11 requirement checks.
- Also, select the option to allow installation without an internet connection. This allows you to install Windows offline, which can be incredibly useful.
- Computer Name and Partition Settings
- You can either allow Windows to generate a random computer name or set a custom name. For example, you could name it “Sand Tech Tips.”
- When it comes to partitioning, leave the settings as default to partition the disk interactively during the setup. This ensures you don’t accidentally wipe out your entire hard drive.
- Selecting Windows Edition
- Choose the Windows edition you want to install—Pro, Home, or Education. If you have a product key, you can enter it, or use a generic key if needed.
- User Account Setup
- Choose to create a local account instead of using a Microsoft account. For the administrator account, leave the password field blank if preferred, and make sure the user account is set to “Administrator.”
- Check the box to log in automatically to this administrator account after installation.
- Optimizing Account Policies
- Enable the “Do not expire” password policy to prevent password expiration.
- Keep the default account lockout policy settings to ensure secure logins.
- Disabling Unnecessary Features
- If you want to permanently disable Windows Defender, check the box to do so. This will improve system performance, especially if you are using third-party antivirus software.
- Disable unnecessary Windows features like app suggestions, widgets, and device encryption, which can slow down the system.
- Enable the option for the classic right-click menu, if you prefer the Windows 10 context menu style.
- Removing Bloatware
- Windows 11 comes with several built-in apps like 3D Viewer, Camera, and others. You can select the option to remove all bloatware.
- Keep useful apps like Snipping Tool, Notepad, and Paint, while removing others like Bing Search, Windows Media Player, and Clipchamp. This step ensures your system stays lean and fast.
- Downloading and Preparing the Bootable USB
- Once you’ve customized your Auto Attended XML file, download it.
- Next, download the official Windows 11 ISO file from Microsoft’s website here.
- Use Rufus software to create a bootable USB. Insert a USB drive with at least 8GB of space and select the ISO file. Choose GPT for partition style and click Start.
- Final Steps: Automated Windows Installation
- Copy the Auto Attended XML file into the bootable USB.
- Insert the USB into the system where you want to install Windows 11 and boot from the USB drive.
- The entire installation process will now be fully automated. Simply sit back and let Windows handle the installation.
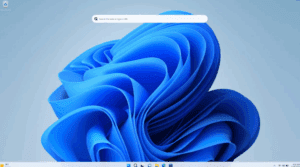
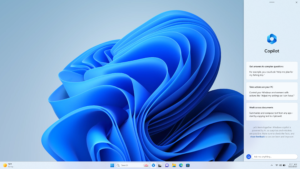
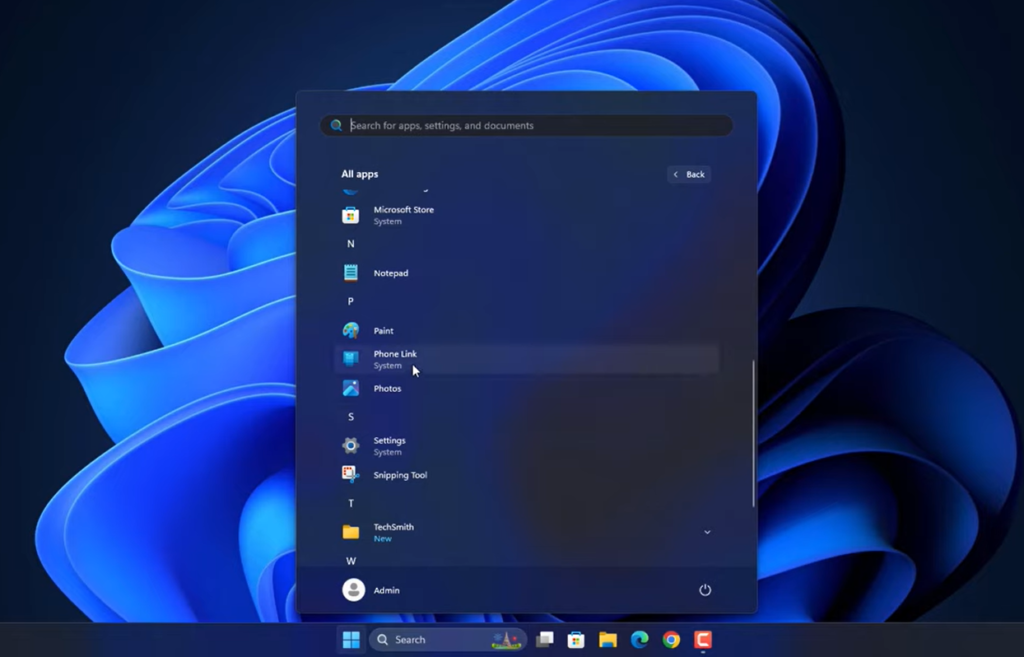
The Cleanest Windows 11 Experience
Once the installation is complete, you will have a lightweight, optimized version of Windows 11 that is free from unnecessary apps and services. The start menu will be clean, featuring only the essential apps like Calculator, Notepad, and any others you’ve selected. Your system will run faster, with fewer background processes and lower memory usage.
In Task Manager, you’ll notice significantly reduced CPU and RAM usage, even while running essential programs. For instance, the system could be using as little as 1.8 GB of RAM with less than 2% CPU usage under normal conditions.
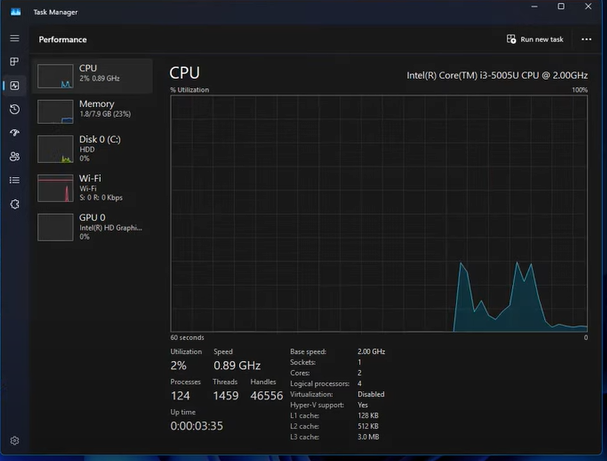
This version of Windows 11 is ideal for gamers, video editors, and any user who needs a clean, fast, and highly efficient operating system.
Conclusion
The Windows 11 24H2 version offers a streamlined experience by removing bloatware and unnecessary features while ensuring full compatibility with your system. By following the steps above, you’ll have an automated, lightweight Windows installation that can cater to all your needs. Whether you’re installing it on real hardware or a virtual machine, this version ensures optimal performance. Let us know your thoughts and experiences with this process in the comments!
#Windows11 #LightweightWindows #BootableUSB #WindowsSetup #Windows11Pro #TechGuide #BypassTPM #CleanWindows #WindowsOptimization #ProTips #Windows11Install