If you’re new to graphic design and wondering how professional packaging designs are created for printing — not just for screen display — you’ve come to the right place.
Many beginners struggle with questions like:
- How do I start a design meant for printing?
- What are dielines, bleeds, and CMYK modes?
- How do I prepare a file correctly for the client or a printing press?
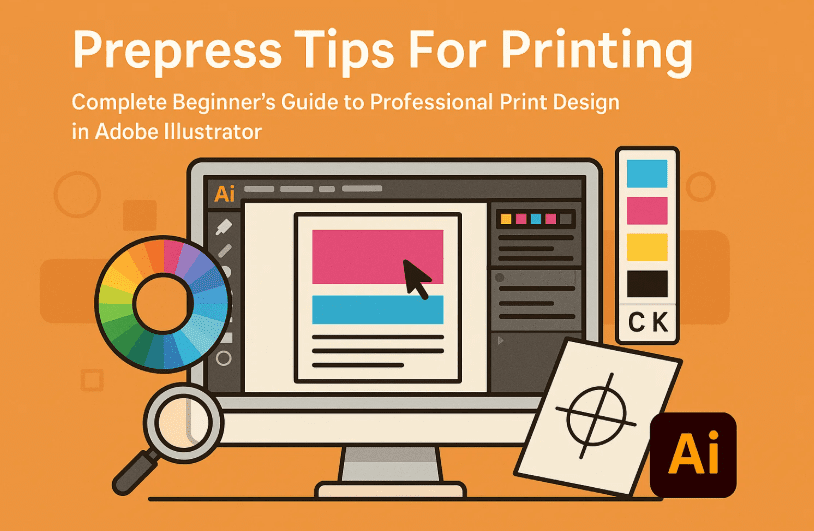
In this detailed guide, I’ll walk you through every step of designing a product box in Adobe Illustrator, covering all the essential practices used in the print industry. We’ll go from understanding dimensions to exporting a high-quality PDF.
Let’s dive in — one step at a time.
🏁 Step 1: Understand the Product and Take Proper Measurements
Before you even open Illustrator, start by getting your product dimensions right.
Let’s say you’re designing a mobile box or any physical product packaging. You’ll need:
- Width (Left to Right)
- Height (Top to Bottom)
- Depth (Front to Back)
Take a measuring scale and write these down in inches, centimeters, or millimeters — based on your client or press requirements.
🧱 Step 2: Create the Box Structure (Dieline)
Now that you have the measurements, it’s time to build the dieline — a layout that shows all box faces and flaps.
Here’s how to begin:
- Open Adobe Illustrator and create a new document.
- Go to Window > Layers to keep your design organized.
- Create 3 layers:
- Dieline
- Cutting Marks
- Final Design
Now let’s draw the dieline using the Rectangle Tool:
- Suppose the front of the box is 2 inches wide and 3 inches high.
- Create a rectangle of 2×3 inches.
- Use Alt + Drag to duplicate it 3 times to create the 4 sides (front, back, left, right).
- Arrange them in order using Align tools.
Also add the Top Flap and Bottom Lock Flap using the same measurement logic. The bottom lock flap usually uses a formula:
Half the second wall’s height + 0.5 inch buffer = lock flap height.

Lock this layer when done, so you don’t move it by mistake.
📏 Step 3: Add Cutting Marks (Trim Line or Registration Marks)
Now that the box shape is ready, let’s add cutting marks to help the printing press trim it accurately.
Here’s what to do:
- Create a new layer called Cutting Marks.
- Use the Line Segment Tool and press Shift to draw straight lines.
- Set their height to 0.125 inches (or 3mm).
- Move them vertically and horizontally using:
- Object > Transform > Move
- Use 0 in one axis and 0.125 in the other.
- Repeat for all 4 edges of the dieline.
- Rotate the lines where needed and group them.
These lines mark the safe zones for cuts and are part of what we call bleed setup.
🩸 Step 4: Add Bleed Area (Safety Margin for Printing)
Let’s talk about an important term in print design — Bleed.
Bleed is the area that extends beyond the edge of your design. It’s used to ensure that when the paper is trimmed, there’s no white space or unprinted edge.
How to add bleed:
- Extend your design elements beyond the box edges by 0.125 inches (3mm).
- This can be done manually or via Document Setup > Bleed in Illustrator.
- Add the extra color or artwork that should continue to the edge.
Doing this avoids printing errors like white borders or cutoff artwork.
🧩 Step 5: Start the Actual Design Work
So far, we’ve set up the framework — now let’s move to the creative part: designing the artwork.
Steps to follow:
- Unlock the Final Design layer and start placing your:
- Brand Logo
- Product Photos
- Text (specs, instructions, disclaimers)
- Icons (e.g., “Recyclable,” “Fragile,” etc.)
- Make sure your color mode is CMYK and not RGB:
- Go to File > Document Color Mode > CMYK Color
- Never send RGB files to the printer — colors will shift badly.
- You can import client logos or trace them manually if needed.
- Use product photos shot by you or provided by the client.
- Align content within the box panels using guides and rulers.
Tip: Use Symbols or Graphic Styles to keep repeated artwork consistent.
🧭 Step 6: Creating the Layout for Printing (Multiple Copies)
You’re doing a great job so far! Now let’s move toward finalizing the layout that will go to the printing press.
Printers don’t print a single box at a time — they print multiple on large sheets.
Here’s what you need to do:
- Select your entire designed box.
- Use Alt + Drag or Copy > Paste in Place to duplicate it.
- Rotate the second copy by 180 degrees.
- Align it beside the first so that the flaps overlap correctly.
- Repeat this to fit 2, 4, 6, or more boxes depending on your paper size.
You can use Object > Transform > Rotate and Align > Distribute Spacing to help.
This full layout becomes your Print Sheet.
📤 Step 7: Exporting for Print (PDF with Press Quality)
Finally, it’s time to save your artwork in a format the print house can use.
Here’s the correct way:
- Go to File > Save As
- Choose Adobe PDF as file type.
- In the PDF Preset dropdown, select:
- [Press Quality]
- Click on Marks and Bleeds, then:
- Check Trim Marks
- Set Bleed to 0.125 inches on all sides
- Click Save PDF
Alternatively, if you’re using custom artboard size:
- Select Fit to Artwork Bounds before export.
- Otherwise, your design might get cropped.
✅ Now you have a clean, high-quality, print-ready file to send via email or upload to your printer’s portal.
💬 Frequently Asked Questions (FAQ)
Q1: What’s the difference between CMYK and RGB?
A: CMYK is used for print (physical ink), while RGB is for screens. Always switch to CMYK for print designs.
Q2: How do I get packaging symbols like fragile, recyclable, or barcode?
A: Your client can provide them, or you can find free ones on Flaticon or use standardized packaging symbol sets.
Q3: Can I do this in Photoshop?
A: Technically yes, but Illustrator is far better for print design due to its vector capabilities, scalability, and precision layout tools.
🧾 Tags:
adobe illustrator, print design, packaging design, dieline setup, bleed area, cmyk mode, export pdf for printing, beginner graphic design, print layout, illustrator tutorial
📢 Hashtags:
#IllustratorTips #PackagingDesign #PrintDesign #CMYKWorkflow #DielineDesign #GraphicDesignBasics #AdobeIllustrator #BleedAndTrim #PrintReadyPDF #DesignForClients
⚠️ Disclaimer:
This guide is intended for educational purposes and aimed at beginner designers entering the professional print industry. Always confirm file requirements with your print service provider, as specifications can vary based on the printer’s hardware and software.
Want a ready-made Illustrator template with dielines, bleeds, and preset layers? Let me know — I’ll share one with you to speed up your workflow.