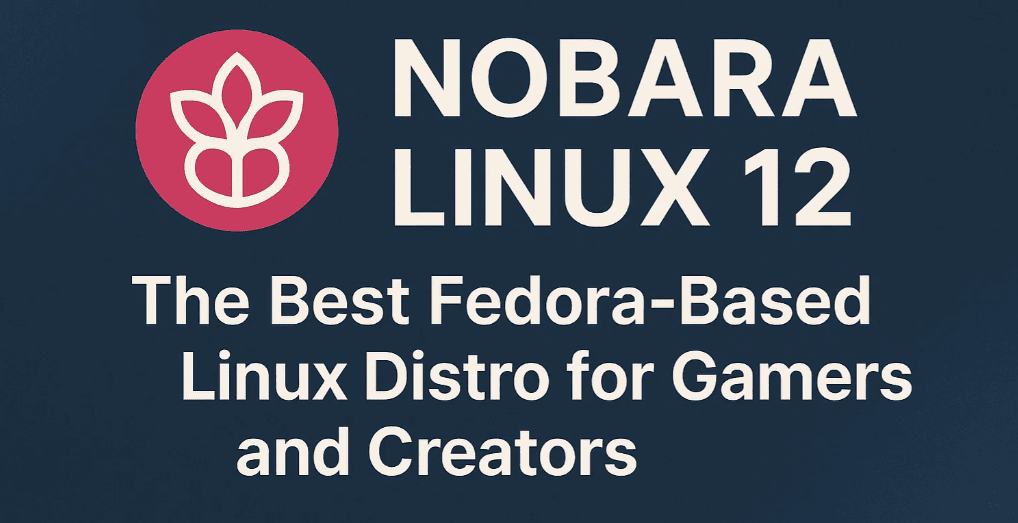
If you’ve ever struggled to set up Linux for gaming or content creation, you know the pain: drivers missing, codecs broken, and apps you need just aren’t there by default. This is where Nobara Linux comes in — a Fedora-based distribution designed to work out of the box for gamers, streamers, and content creators.
In this article, we’ll go through everything step by step — from downloading the ISO to creating a bootable USB, verifying integrity, running the live environment, and finally installing Nobara permanently. Along the way, we’ll explain why this distro is such a strong choice and how it compares to others.
Let’s get started!
📑 Table of Contents
- 1. What is Nobara Linux?
- 2. Who Should Use Nobara?
- 3. Why Choose Nobara Over Other Systems?
- 4. Downloading the Nobara ISO
- 5. Verifying the ISO File
- 6. Creating a Bootable USB Drive
- 7. Booting Into the Live Environment
- 8. Installing Nobara Step by Step
- 9. First Boot and Welcome Screen
- 10. Updating Nobara After Install
- 11. Installing Apps and Tools
- 12. Gaming on Nobara (Steam & Proton)
- 13. Nobara for Content Creators
- 14. FAQs
- 15. Final Thoughts
1. What is Nobara Linux?
Nobara is a customized version of Fedora Linux, but with one big difference: it comes pre-tuned for gaming and media production.
While Fedora itself is stable and polished, it doesn’t include proprietary drivers, multimedia codecs, or game-related tools out of the box. Nobara fixes this by packaging everything you’d normally spend hours setting up — making it ready for use immediately after installation.
2. Who Should Use Nobara?
This distribution is designed for:
- Gamers who rely on Steam, Proton, or Lutris to play Windows games on Linux.
- Streamers who use OBS Studio or Discord regularly.
- Content creators working with Blender, DaVinci Resolve, or video editors.
- Beginner Linux users who want an optimized system without endless terminal commands.
So whether you’re playing AAA titles or editing your next YouTube video, Nobara aims to give you a smooth, preconfigured Linux environment.
3. Why Choose Nobara Over Other Systems?
Let’s quickly compare Nobara with the big three alternatives:
- Windows: Great for gaming, but bloated, privacy-invasive, and requires licenses.
- macOS: Good for creators, but locked to Apple hardware.
- Other Linux Distros: Require extra setup (drivers, codecs, Proton, Wine, etc.).
With Nobara:
- Proprietary NVIDIA drivers are included if you choose the right ISO.
- Gaming tools like Proton, Wine, Lutris, and Steam are preinstalled.
- Codecs and multimedia libraries work immediately.
It’s essentially Fedora made beginner-friendly for gamers and creators.
4. Downloading the Nobara ISO
First step: get the ISO file.

- Visit the official site: https://nobaraproject.org
- Choose between several editions:
- Official Nobara (default theme)
- KDE and GNOME clean versions
- Steam HTPC / Handheld editions (for a Steam Deck-like experience)
- Pick either Standard ISO or NVIDIA ISO:
- Standard → open-source GPU drivers (AMD/Intel)
- NVIDIA → proprietary NVIDIA drivers built-in
💡 Tip: If you’re unsure and you own an NVIDIA GPU (e.g., RTX 3060), download the NVIDIA version for best performance.
The ISO file is about 4.5 GB, larger than many Linux distros, because it includes drivers and apps by default.
5. Verifying the ISO File
Before flashing it to USB, verify the ISO to avoid installation errors.
- Open PowerShell in Windows.
- Run:
certutil -hashfile nobara.iso sha256 - Compare the generated SHA-256 hash with the one provided on the Nobara website.
If they match, your ISO is safe to use. If not, re-download it.
6. Creating a Bootable USB Drive
Here’s where many new users make mistakes. Nobara officially recommends Ventoy, though tools like Rufus or Balena Etcher also work.
Why Ventoy?
- You don’t need to re-format USB every time.
- You can store multiple ISO files on one drive.
- Works with both UEFI and BIOS systems.
Steps:
- Download Ventoy from https://ventoy.net.
- Extract and run Ventoy2Disk.exe.
- Insert an 8 GB+ USB drive.
- Click Install (⚠️ this will erase the drive).
- Once complete, copy the Nobara ISO directly onto the USB.
That’s it! Your USB is ready.
7. Booting Into the Live Environment
Now let’s test Nobara before installing.
- Insert the bootable USB into your computer.
- Restart and enter the boot menu (usually F8, F12, ESC, or DEL depending on manufacturer).
- Select your USB drive.
- Choose Start Nobara in Normal Mode.
Within a few moments, you’ll enter the Nobara live environment. This allows you to explore the OS before committing.
8. Installing Nobara Step by Step
If you’re happy with the live system, let’s install it permanently.
- On the desktop, click Install Nobara.
- Select:
- Language (e.g., English)
- Time zone
- Keyboard layout
- Create your user account and password.
- Partitioning:
- Automatic (Erase Disk) → recommended for beginners (⚠️ deletes all data).
- Manual → for advanced users (dual booting).
- Swap options:
- No Swap → fine for 16 GB+ RAM.
- Swap with Hibernate → enables system hibernation.
- File system:
- EXT4 (stable and reliable) → recommended.
- Btrfs (snapshots and recovery features).
- Select the correct bootloader location (usually your main drive, e.g., /dev/sda).
- Click Install.
Installation takes about 15–20 minutes. When finished:
- Remove the USB stick.
- Reboot the system.
9. First Boot and Welcome Screen
On first boot, Nobara greets you with a Welcome Screen. This makes it easier for beginners to configure their system.
You’ll find options to:
- Run a system update (highly recommended).
- Adjust display, sound, and internet settings.
- Explore tweak tools for performance.
Though it’s optimized for both performance and ease of use, particularly for gamers who want a plug-and-play Linux experience. But still if you want to have a look for other distros perfect for gaming check them all at Linux Gaming Showdown: CachyOS vs. Nobara vs. Bazzite for Native PC Games or just Bazzite The Ultimate Guide to Installing Bazzite Linux: The Next-Gen Linux Gaming OS for Any PC or Laptop or CachyOs 🎮 CachyOS Review: The Best Linux Distro for Gaming in 2025.
10. Updating Nobara After Install
Even though you downloaded the latest ISO, updates will still be available.
- Open the Update Manager from the Welcome Screen.
- Enter your password when prompted.
- Let it install all updates (may include kernel and app patches).
This ensures you’re running the most secure and stable version.
11. Installing Apps and Tools
Nobara includes many essentials already, but you can expand further via the Software Manager.
Examples of apps you might want:
- Telegram Desktop (messaging)
- OBS Studio (streaming)
- Blender Suite (3D modeling and rendering)
- DaVinci Resolve (professional video editing)
- Discord (gaming communication)
Installing apps is simple:
- Open Software Manager
- Search for the app
- Click Apply → enter your password → done
12. Gaming on Nobara (Steam & Proton)
This is where Nobara really shines. It comes with Steam preinstalled, along with Proton enabled by default.
Steps to set up:
- Launch Steam.
- Log into your account.
- Enable Steam Play (Proton) in settings for all titles.
- Install your favorite games.
Thanks to Proton, even Windows-only games like GTA V, Cyberpunk 2077, and Elden Ring can run smoothly on Linux. Performance is comparable to Windows, often with fewer background resource hogs.
13. Nobara for Content Creators
Gamers aren’t the only ones who benefit. Nobara also targets professional users:
- OBS Studio for streaming and screen recording.
- DaVinci Resolve for video editing (requires proper GPU drivers).
- Blender Suite for 3D work.
- Proton-GE for running Windows-only creative tools.
This makes it a strong alternative to Windows or macOS for people who need both gaming and productivity on one machine.
14. Frequently Asked Questions (FAQs)
Q1. Is Nobara beginner-friendly?
Yes. Unlike raw Fedora, Nobara comes pre-tuned with drivers, codecs, and gaming tools.
Q2. Can I dual boot Nobara with Windows?
Yes. During installation, choose manual partitioning to keep your Windows drive intact.
Q3. Do I need to install NVIDIA drivers manually?
No. If you download the NVIDIA ISO, drivers are included.
Q4. How much space do I need for Nobara?
At least 30 GB free space is recommended for comfortable use.
Q5. Is Nobara better than SteamOS?
It depends. SteamOS is built for the Steam Deck, while Nobara works on desktops, laptops, and handhelds with a broader focus.
15. Final Thoughts
Nobara Linux proves that gaming and content creation on Linux no longer require endless tweaking. From the installer to the welcome screen, from preloaded drivers to Steam out of the box, everything feels polished and beginner-friendly.
If you’re a gamer tired of Windows updates slowing you down, or a content creator looking for a stable Linux workflow, Nobara deserves a serious look in 2025. It combines the reliability of Fedora with the practicality of a user-ready distro.
🔗 Useful Links
- 🔗 Nobara Project Official Website
- 🔗 Balena Etcher (USB Tool)
- 🔗 Rufus (USB Tool for Windows)
- 🔗 OBS Studio
- 🔗 Kdenlive
- 🔗 Blender
Disclaimer
Installation involves formatting drives if you select automatic partitioning. Always back up important data before proceeding. Game performance may vary depending on your hardware and game anti-cheat support.
Tags
nobara linux, linux gaming, install nobara, fedora based linux, linux for creators, steam proton linux, linux distro for gaming
📢 Hashtags
#NobaraLinux #LinuxGaming #OpenSource #FedoraBased #OBSStudio #KDEPlasma #Wine #ProtonDB #Blender3D #Kdenlive #GamingOnLinux
Disclaimer: This article is for informational purposes only. All trademarks and software mentioned belong to their respective owners. Always verify compatibility with your hardware before switching operating systems.