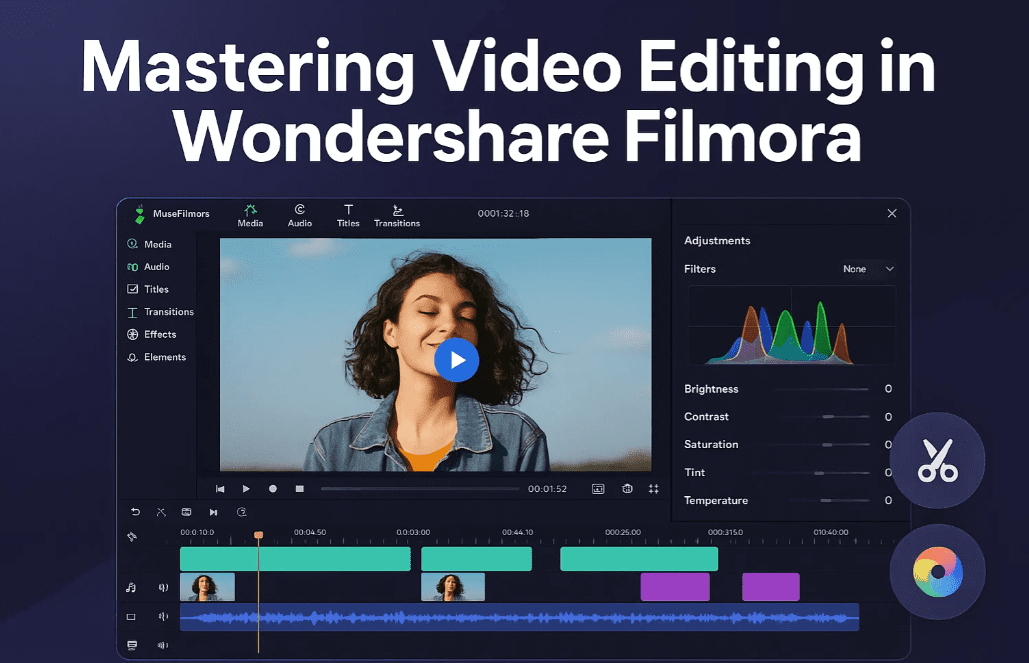
Welcome to Part 2 of our Filmora video editing guide! In the previous part, we covered the foundational aspects—interface walkthrough, media import, basic editing, color grading, and B-roll management. Now, let’s elevate your skills with advanced tools, visual enhancements, exporting options, and smart AI features.

✍️ Step 11: Text, Titles, and Overlays
- Click on the “T” (Titles) tab to access a wide variety of text presets.
- Use Quick Text or Preset Titles to add professional-looking headlines, captions, or lower thirds.
- Customize:
- Font style and size
- Letter spacing and line height
- Text color and background
- In/Out animations like Typewriter, Zoom, or Fade
🧠 Step 12: Using Smart Cutout (AI Masking)
- Select the clip → Go to AI Tools → Choose Smart Cutout.
- Outline the subject (e.g., yourself) and press Play.
- Filmora will automatically remove the background and track the subject.
- You can now add titles or overlays behind your subject for a cinematic effect.
✨ Step 13: Effects, Stickers & Cinematic Filters
- Go to the Effects tab.
- Drag and drop from categories like:
- Cinematic LUTs (color filters)
- Old Film, Retro, Glitch, Zoom Blur, TV Noise
- Use Stickers for callouts, emojis, or comic-style graphics
- Apply effects to a specific clip or an entire track.
🔁 Step 14: Seamless Transitions
- Switch to the Transitions tab.
- Drag your favorite transition (e.g., Zoom In, Flash, Whip Pan) between two clips.
- Adjust transition duration by dragging the edges.
- Tip: Use Flash Zoom or Spin Blur to mask sharp cuts.
🧩 Step 15: Using Built-in Templates
- Go to the Templates tab.
- Use intros, outros, or themed sequences like Spider-Man titles or Thank You End Cards.
- You can customize:
- Text
- Music
- Image/video placeholders
🎶 Step 16: Adding Sound Effects (SFX)
- Navigate to Audio > Sound Effects.
- Drag SFX like Camera Shutter, Typing, or Click Pop to your timeline.
- Combine with motion or text for engaging interaction.
- You can also download more from free SFX libraries and import them.
🎬 Step 17: Exporting Your Final Video
- Click on the Export button.
- Choose destination folder, resolution (e.g., 1080p, 4K), and file format.
- Use H.264 Encoder for compatibility with YouTube and social media.
🖼️ Bonus: Create a Thumbnail Inside Filmora
- While exporting, click “Create Thumbnail”.
- Choose a frame from your video → Customize it with text and layout presets.
- Save and use it for your upload thumbnail.
Here is part 1 – Mastering Video Editing in Wondershare Filmora (Part 1 of 2) – Beginner to Pro Guide
✅ Summary & Final Words
Filmora is packed with powerful yet beginner-friendly features that help you edit professionally without needing complicated workflows. From cut to color, sound to storytelling—everything is just a few clicks away.
Whether you’re making content for YouTube, Instagram, or your portfolio, Filmora gives you the creative control you need.
Happy editing!
Tags: advanced filmora tutorial, how to add text in filmora, smart cutout filmora, filmora transitions, cinematic editing, filmora templates, thumbnail in filmora
Hashtags: #FilmoraProTips #WondershareEditing #SmartCutout #FilmoraTransitions #VideoEditingTutorial #ContentCreation


