Welcome back to another engaging session of our Graphics & Designing course. In today’s lesson, we will dive into an essential concept that every designer should master—fitting an object to a path.
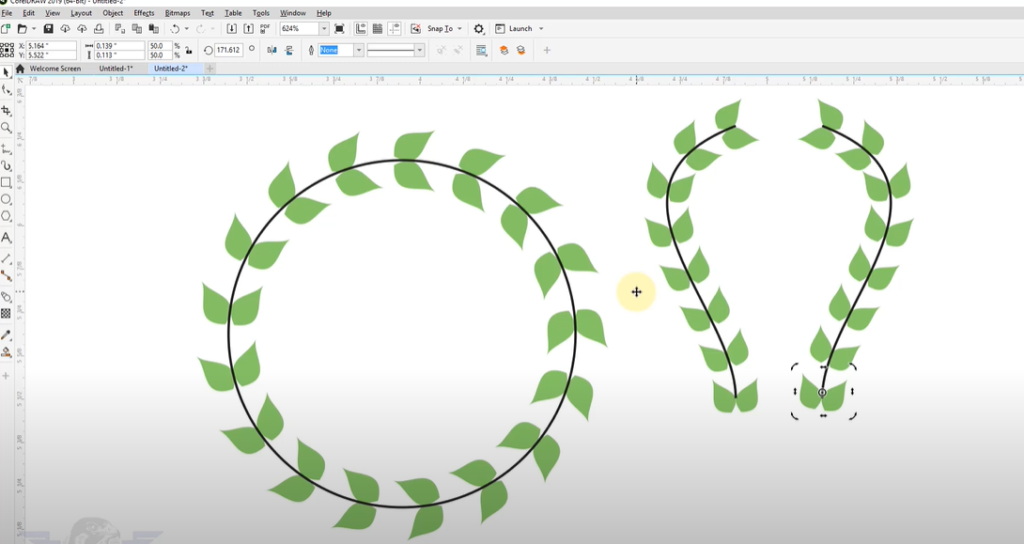
What is Object Fitting on a Path?
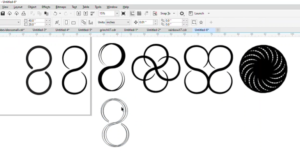
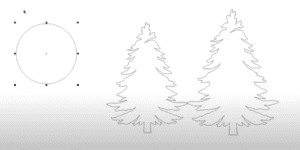
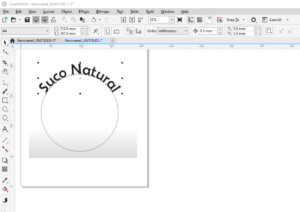
In design, it’s often necessary to adjust or arrange shapes or objects along a specific path. This technique is commonly used for text fitting, design enhancements, and pattern creation. The ability to fit objects to a path allows greater flexibility in design, enabling unique and custom visual effects. Let’s break down the steps to accomplish this task efficiently.
Step-by-Step Guide: How to Fit Objects on a Path
Step 1: Creating a New Document
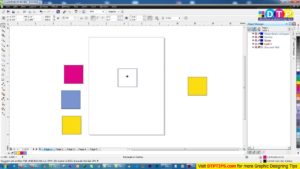
Start by creating a new file. In your design software, go to File > New and click OK to set up your canvas.
Step 2: Drawing a Path Using Freehand Tool
Next, select the Freehand Tool from the toolbar. Click anywhere on the page, hold down the Ctrl key, and drag to draw a straight line. This line will act as the path where we will later fit our object.
Step 3: Modifying the Path
To modify the path:
- Press
F5to activate the Shape Tool. - Double-click on the path or line to access additional adjustment points. You can hold
Shiftto move points along the path. - Right-click on the line and choose Convert to Curve. This will allow you to further manipulate the shape and fit objects along it.
Step 4: Applying the Object
Now, let’s add an object to the path:
- Select the Pick Tool.
- Right-click on the object and choose Fit to Path from the options.
- Adjust the object along the curve by dragging the object or using the control points to ensure it fits perfectly on the path.
Step 5: Adding Color
To make your design stand out, you can fill your object with color:
- Go to the Smart Fill Tool and click on the object.
- From the color palette, select your desired shade.
- Apply the fill to your object for a more vibrant and distinct look.
Step 6: Grouping and Copying Objects
Once satisfied with the arrangement, it’s time to group your objects for easy duplication:
- Select both the object and path by holding down
Ctrland clicking on them. - Press
Ctrl + Gto group them. - You can now duplicate your grouped object along the path for more complex designs. Simply right-click and select Copy to duplicate your elements.
Step 7: Adjusting and Finalizing the Design
Once everything is in place:
- Press
Shift + F4to zoom out and view your entire design. - Make any necessary adjustments to the object’s position along the path. You can also modify the rotation points if needed by clicking the center of the object and moving it to fit within the curve.
Step 8: Preparing for Printing
Before you finalize the design for printing:
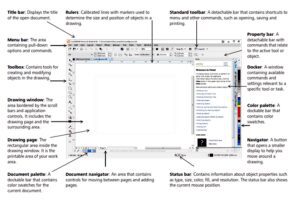
- Go to the Toolbox and select your output settings.
- Ensure your design aligns well within the print area.
- Use the Freehand Tool again to make any last-minute tweaks.
Conclusion
Fitting objects on a path is a powerful design technique that allows for creativity and precision. Whether creating patterns, designing custom typography, or arranging elements dynamically, mastering this skill will enhance your design workflow significantly. Practice these steps, and soon you’ll be able to adjust objects along paths effortlessly, adding a professional touch to your work.
Key Takeaways:
- Use the Freehand Tool for drawing paths.
- Convert lines to curves for greater flexibility.
- Group and duplicate objects for faster design repetition.
- Apply Smart Fill Tool to give your design a vibrant look.
Keep experimenting with different paths and shapes, and don’t hesitate to revisit this guide whenever you need a refresher. Happy designing!


