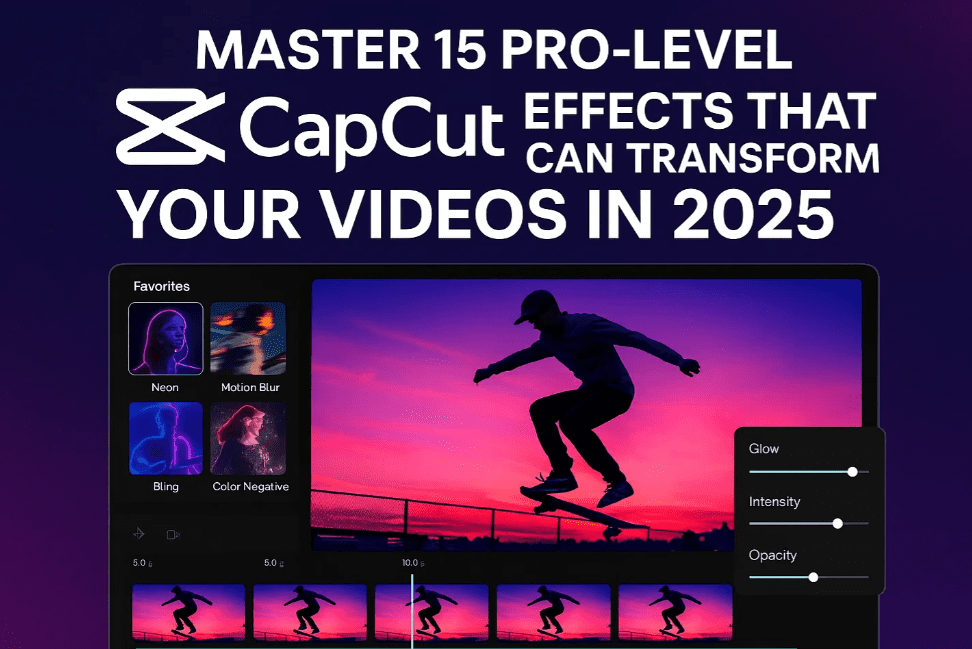
CapCut is no longer just a mobile app for basic edits—it’s evolved into a full-featured editor that rivals premium software. From cinematic zooms to advanced keyframe animations and AI-powered tools, mastering CapCut can take your video content from amateur to professional, without spending hundreds of dollars on software.
In this guide, we’ll walk you through 15 advanced CapCut effects and techniques that are beginner-friendly yet powerful enough for content creators, freelancers, and YouTubers.
🎨 1. Isolate a Single Color with HSL
Replicate trending effects like Jack Harlow’s single-color look:
- Go to Adjust > HSL
- Desaturate all unwanted colors except your target (e.g., keep only yellow/orange)
- You now have a stylized single-color video!
✅ Great for music videos, fashion reels, or artistic storytelling.
✍️ 2. Place Text Behind Subject (and Animate It)
- Duplicate your video.
- Use Remove Background on the top layer.
- Add a text layer between the two clips to place it “behind” the subject.
- Animate it with Keyframes on Scale (e.g., 100% → 110% → 90%) to simulate motion.
Pro Tip: Use compound clips and smooth fade-outs to enhance realism.
🧲 3. Motion Track Text or Elements
- Add text, go to Tracking > Motion Track
- Select the subject using the bounding box
- Disable “Scale” and “Distance” for smoother tracking
- The text will now follow the moving subject!
Ideal for sports, tutorials, or dynamic lower thirds.
🔗 4. Use the Play Pendulum Effect (Like After Effects)
- Go to Effects > Search “Play Pendulum”
- Apply to a compound clip for clean application
- Reduce “Twist” and “Sharpen” to zero
- Adjust Speed and Strength for different floaty effects
🌀 Works on text, images, or logos.
🎥 5. Add 3D Camera Flip to Static Images
- Go to Animation > Combo > Flip Series
- Try Flip #6 for a realistic 3D motion
- Combine with slight Zoom-in for a parallax effect
Perfect for screen recordings or photo slideshows.
🎬 6. Apply Cinematic Letterbox Bars + Reframing
- Use the Movie effect from the Effects tab
- Adjust vertical framing so your subject stays in focus
- Don’t let your content extend past the white cinematic bars
Achieves that Hollywood-style aspect ratio instantly.
🔍 7. Smooth Zooms with Curved Keyframes
- Add Scale Keyframes (e.g., 100% → 130%)
- Right-click the clip > Show Variable Speed Animation
- Change to “Order Curve”
- Adjust keyframe graph for fast-in/slow-out zooms
Great for storytelling, reactions, and YouTube commentary.
📹 8. Fake Camera Movement (Keyframe Panning)
- Add Position Keyframes at start and end
- Slightly move the video from left to right or vice versa
- Zoom in to avoid black borders
Gives still drone shots or B-roll life and motion.


🎙️ 9. Text-to-Speech with Custom Voices
- Go to Text > Text-to-Speech
- Paste your script and choose from voices like Adam or Mickey
- Use AI Rewrite or Expand to polish your text
- Hit Generate to auto-narrate your video
✅ No need for external tools like ElevenLabs.
🖼️ 10. Image Upscaler (Free 4K Conversion)
- Go to Magic Tools > Image Upscaler
- Upload a low-resolution image
- Select 4K, hit Upscale
Perfect for reviving blurry thumbnails or pixelated graphics.
📸 11. Create YouTube Thumbnails Within CapCut
- Go to Cover > New
- Choose from hundreds of free templates
- Edit using video frame elements or custom uploads
Skip Canva—design YouTube thumbnails directly in CapCut.
🌀 12. 3D Zoom Photo Effect (Parallax)
- Select your image
- Go to Video Effects > Motion > 3D Zoom
- Apply and preview—it creates separation between foreground and background
Looks great in documentary-style reels or montages.
✨ 13. Highlight Text with Masks + Feathering
- Duplicate the video layer
- Darken the top layer via Adjustments > Exposure
- Apply Mask > Rectangle to highlight area
- Invert and feather for smooth highlight
- Add a fade-in animation for subtle effect
Best for guiding viewer attention in educational content.
📊 14. Add an Animated Progress Bar
- Add default text and replace with underscores
- Adjust Height and Width for thickness
- Add Animation > Show Right
- Extend animation to match clip duration
- Color it red or your brand color
Helps indicate video progress visually and keeps viewers engaged.
🧩 15. Create Video Inside Text (Mask Effect)
- Add 3 layers: black background, text, and the video
- On the video layer, set Blend Mode to “Darken”
- The video will play inside the text
- Add animations to make it dynamic
A stunning effect for intros, outros, or promo screens.
❓ Frequently Asked Questions (FAQs)
Q: Is all of this available in free CapCut?
A: Yes! Almost every feature listed here (except some marked “Pro”) is free to use in CapCut’s desktop and web versions.
Q: Do I need CapCut Pro?
A: Only for premium templates and a few advanced AI tools. Most of the core editing functions, effects, and animations are free.
Q: Can I use these techniques on mobile?
A: Most techniques work across platforms, but some advanced features (like text-in-video or compound clips) are better on the desktop version.
✅ Final Thoughts
Mastering these 15 effects will transform how you edit content in CapCut. Whether you’re working on YouTube videos, reels, client content, or educational tutorials, CapCut gives you professional power at zero cost.
With AI tools, motion effects, cinematic elements, and advanced animations, you don’t need to jump to Premiere Pro or After Effects anymore.
🏷️ Tags:
capcut effects, capcut pro tricks, capcut animation, video in text effect, capcut youtube tutorial, 3d zoom capcut, cinematic editing, text to speech capcut, capcut keyframe, thumbnail maker
📣 Hashtags:
#CapCutTutorial #VideoEditing #CapCutEffects #CapCutTips #CapCutPro #CapCutZoom #CapCutTextToSpeech #CapCutThumbnails #FreeVideoEditor #CapCut2025
🎬 Recommended Gear for YouTube Content Creators (With Affiliate Links)
Whether you’re just starting your YouTube journey or upgrading your setup, these are some of the best tools you can invest in for creating high-quality videos:
🎥 Camera & Lenses I Use:
- Canon EOS R7 – Great for crisp 4K video and fast autofocus: Buy on Amazon
- Canon EOS R5 – Top-tier full-frame mirrorless camera: Buy on Amazon
- Canon RF 24mm Lens – Ideal for vlogging and wide shots: Buy on Amazon
- Canon RF 35mm Lens – Perfect for cinematic B-roll and portraits: Buy on Amazon
🎙️ Audio Gear (For Clear Sound):
- Shure SM7DB – Industry-standard mic for vocals and voiceovers: Buy on Amazon
- DJI Mic – Wireless mic system for mobile creators: Buy on Amazon
- Hollyland Lark M2 – Compact dual-channel wireless mic: Buy on Amazon
💡 Lighting Setup (For Professional Look):
- Godox SL60W – Reliable continuous light for video: Buy on Amazon
- Godox 120cm Softbox – Soft, even lighting for any subject: Buy on Amazon
📷 Tripods & Support:
Tygot Tripod – Budget-friendly option for beginners: Buy on Amazon
Manfrotto Befree Tripod – Lightweight yet sturdy for travel shoots: Buy on Amazon