Do you want to give your desktop a sleek, modern look? In just a few simple steps, you can transform your cluttered desktop into a clean, minimalist, and visually appealing workspace. This guide will walk you through how to customize your Windows desktop using TranslucentTB for a translucent taskbar, Rainmeter for widgets, and a beautiful wallpaper. By the end of this tutorial, your desktop will look professional, clean, and personalized to your style.
Step 1: Translucent Taskbar with TranslucentTB
The first step to creating a modern desktop is applying a translucent effect to your taskbar. Here’s how you can do it using a free third-party application called TranslucentTB.
Install TranslucentTB
- Download TranslucentTB: You can get it from either GitHub or the Microsoft Store. For this guide, we’ll download it from GitHub.
- Go to GitHub: Navigate to the Releases page on the TranslucentTB GitHub repository.
- Download and Install: Click on the latest release, download the installer file, and follow the prompts to install it.
- Launch Automatically: During installation, make sure to check the option to launch the app automatically when ready.
Customize the Taskbar
- Access TranslucentTB: After installation, TranslucentTB will appear in your system tray. Right-click the icon to access the customization options.
- Taskbar Settings:
- Go to the desktop settings and select the “Clear” option for transparency.
- Disable the “Show Taskbar Border” for a cleaner look.
- Repeat this process for all states (Desktop, Maximize Window, etc.), setting each to “Clear” and disabling the border.
- Final Touch: Your taskbar should now have a sleek, translucent look.
Improve Icon Visibility
- Go to Taskbar Settings: Right-click the taskbar, select “Taskbar Settings,” and navigate to the Colors tab under Personalization.
- Change Default Windows Mode: Switch your Windows mode to Dark for better icon visibility. Dark mode ensures that your icons turn white, which contrasts nicely with the translucent taskbar.
Step 2: Download Rainmeter for Widgets
Now that the taskbar is set, let’s enhance your desktop by adding widgets using Rainmeter, a powerful customization tool that allows you to display various system information and aesthetic widgets on your desktop.
Install Rainmeter
- Download Rainmeter: Visit Rainmeter.net and click the download button to get the latest version.
- Install Rainmeter: Run the installer, follow the prompts, and complete the installation. Rainmeter will automatically load a few default widgets on your desktop.
Remove Default Widgets
- Unload Widgets: Right-click each default widget and select Unload to remove them from your desktop.
- Find Custom Widgets: You can now search for custom widgets that suit your desktop style. We will use a MacOS-style widget pack called Monterey for this guide.
Step 3: Apply a Custom Wallpaper
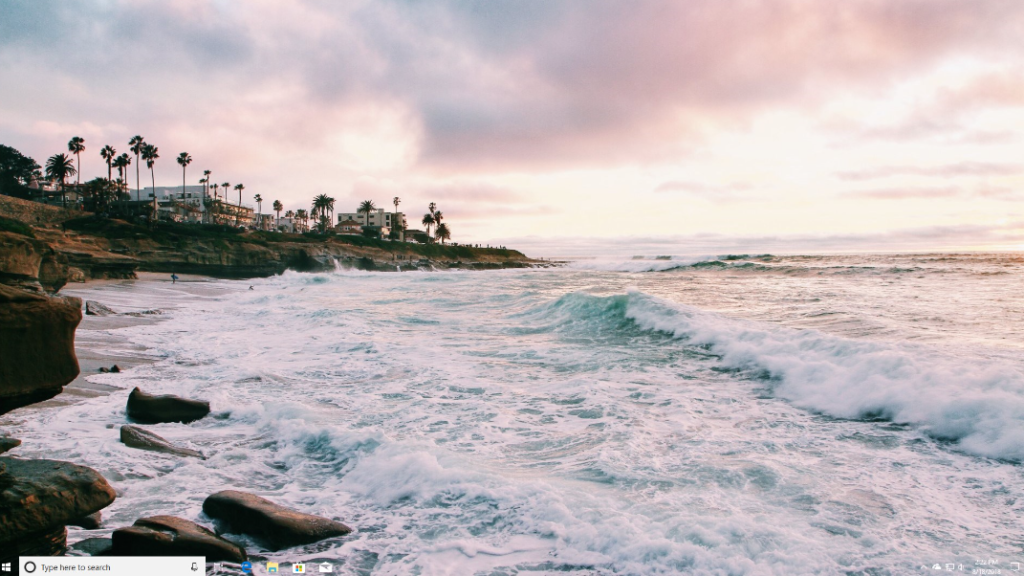
Choosing the right wallpaper can bring your desktop customization together. For a minimalist and modern look, we’ll use a clean, black wallpaper.
- Download Wallpaper: Visit a website like WallpapersHome or use the custom wallpaper pack featured in this article. Download the 5K version of the wallpaper for the best resolution.
- Set Wallpaper: Open your file explorer, locate the downloaded wallpaper, right-click on it, and select Set as Desktop Background.
Step 4: Add Widgets with Monterey Skin for Rainmeter
Now that we have a clean background, let’s install custom widgets that align with the modern aesthetic of your desktop.
Install Monterey Skin
- Download Monterey Widgets: Head to GitHub and download the Monterey widget pack for Rainmeter. Once downloaded, double-click the .rmskin file to install the widgets.
- Launch Widgets: Open Rainmeter from the system tray, go to the Monterey folder, and select Settings.inf to apply the widget pack.
- Choose Widgets: Start by adding your desired widgets such as the clock, calendar, notes, reminders, and system monitor.
Step 5: Customize Widget Appearance
Once you’ve added the widgets, you can further customize their appearance and layout to achieve a clean, cohesive look.
- Adjust Widget Size: Right-click on each widget and select options like Large for resizing. Position them neatly on your desktop, preferably in a centered layout.
- Change Widget Style: If the default widget appearance doesn’t match your theme, you can switch to color mode (though this may require restarting Rainmeter to apply changes correctly).
Step 6: Final Touches and Arrangement
After applying your widgets, you may need to tweak their alignment and size to create a balanced look. Make sure the widgets are centered and evenly spaced to maintain the minimalist aesthetic.
Conclusion
In just a few easy steps, you’ve transformed your desktop into a clean, modern, and functional workspace. By combining the translucent taskbar, a custom wallpaper, and MacOS-style widgets, your desktop now looks both professional and stylish.
Enjoy your new setup, and feel free to experiment with different widgets and wallpapers to further personalize your space!
#WindowsCustomization #MinimalistDesktop #TranslucentTaskbar #RainmeterWidgets #DesktopAesthetics #ModernWorkspace #ProductivityHacks #CustomTaskbar #CleanDesign #TechSetup