If you’re looking for an easy, powerful, and completely free video editor, Canva Video Editor is an amazing tool worth checking out. Whether you’re a YouTuber, content creator, business owner, or simply someone who wants to make stunning videos for social media, Canva’s video editor is designed to make professional editing accessible for everyone — even without any technical background.
In this step-by-step guide, we’ll walk you through exactly how to use Canva’s free video editor to create eye-catching videos with transitions, effects, overlays, and music. Plus, we’ll answer common questions along the way to make sure you feel confident using it.
🌟 Why Choose Canva Video Editor?
- ✅ 100% Free (with optional Pro upgrades)
- 🧰 Drag-and-drop interface
- 🎬 Supports YouTube, Instagram, TikTok, and more
- 🎨 Pre-designed templates and elements
- 🔤 Easy-to-add text, effects, transitions, and overlays
- 🎵 Built-in royalty-free music library
👉 Sign up for free: https://www.canva.com
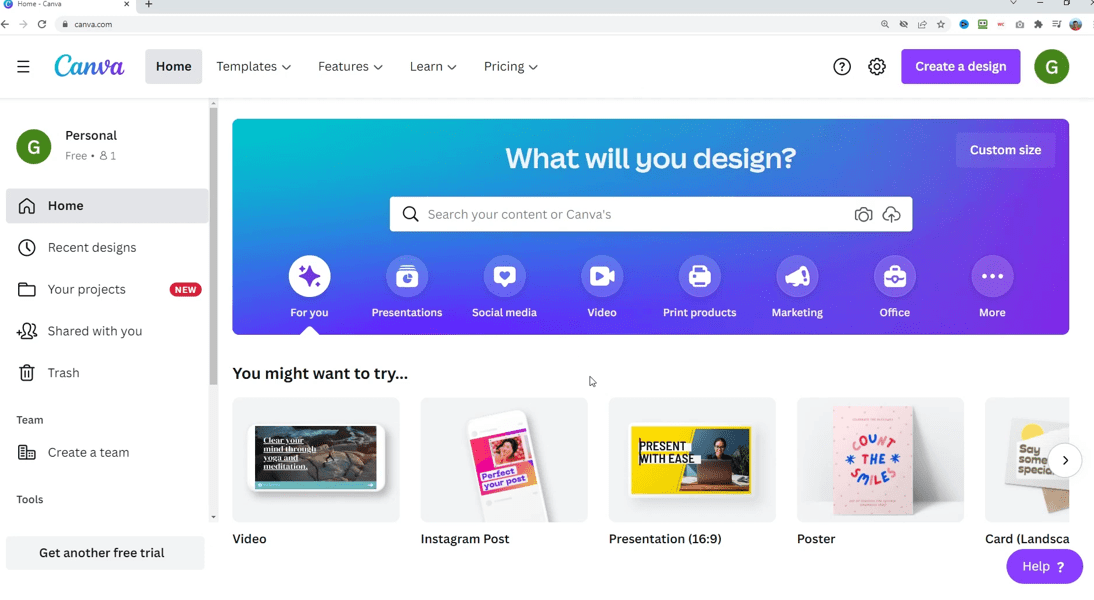
🖥️ Getting Started with Canva Video Editor
Step 1: Create a Free Canva Account
Go to canva.com and sign up using your email, Google, or Facebook account. You can use the video editor on both free and paid plans — and this guide is based on the free version.
Step 2: Choose a Video Template
Once you’re logged in:
- Click “Video” on the homepage.
- Choose from various preset sizes like:
- YouTube Video (1920×1080)
- Instagram Reel
- TikTok Video
- LinkedIn Video, etc.
For this tutorial, we’ll choose the YouTube Video format (1920×1080).
🧩 Understanding the Interface
Here’s what you’ll see:
- Left Panel: Templates, uploads, elements, text, audio, and more.
- Center Canvas: Video preview area.
- Bottom Timeline: Your main video structure; each “page” is a clip or section of your video.
📥 Uploading and Adding Video Clips
How to Add Your Own Footage:
- Click on Uploads → Upload Files
- Select your video(s) from your computer
- Drag and drop the uploaded clip into the timeline
You can also search and use free stock footage directly from Canva’s library (via the Elements or Videos section).
✂️ Editing Basics: Trim, Split, Rearrange
Splitting Clips:
- Move the cursor where you want to split
- Right-click → Split or press S
- Rearrange by dragging clips forward/backward
Trimming:
Click on the edge of the clip in the timeline and drag it inward to shorten from the start or end.
Deleting:
Click on the unwanted clip → Press Delete
🎞️ Adding B-Roll and Overlays
While Canva doesn’t have traditional video layers like some advanced software, you can simulate overlays:


- Search for videos (e.g., “water”) in the Videos tab
- Drag the clip into your canvas
- Resize and position it (e.g., top-left corner)
- To overlay for a short time, split your main clip and place the overlay in that section
Muting B-Roll Audio:
Click the overlay video → Click the speaker icon → Reduce volume to 0
✍️ Adding Text, Lower Thirds, and Titles
Adding Text:
- Go to Text tab on the left
- Choose a template or “Add a heading”
- Drag to timeline and customize
Timing Text:
- Split the clip where you want the text to start and end
- Apply the text only to the desired section
- Customize font, size, and colors
You can also use shapes (e.g., black rectangle) as text background for better readability.
💫 Using Effects and Animations
Click on any text → Go to Animate or Effects
Popular effects include:
- Typewriter
- Fade In/Out
- Scale
- Slide
These effects add polish without needing manual keyframes.
📌 You Might Be Interested in These Articles Too:
- Create Stunning AI-Powered Videos Without Lag: Best CapCut Alternative for PC Editing
- Beginner’s Guide to VSDC Free Video Editor: Step-by-Step Video Editing Tutorial for 2025
- How to Convert Text into Video with AI in Just 1 Minute Using InVideo AI (Mobile Guide)
- How to Create Faceless AI YouTube Shorts That Can Earn Up to $360,000 Per Month
- How to Find Viral YouTube Keywords Using SEMrush (And Rank Long-Term)
🔁 Creating Transitions Between Clips
- Click the + between clips
- Select Add Transition
- Choose from:
- Dissolve
- Slide
- Circle Wipe
- Line Wipe
Adjust the duration (default: 0.5s) for smoother or faster transitions.
🎵 Adding Audio and Background Music
Built-in Audio:
- Go to Audio tab
- Scroll to browse royalty-free tracks (Pro tracks are marked with a crown)
- Drag to timeline → Adjust volume by clicking the audio track
Upload Custom Audio:
- Go to Uploads → Upload your own music (e.g., from Epidemic Sound)
- Drag and adjust as needed
➕ Inserting Extra Content and Pages
To insert additional content in the middle:
- Right-click the timeline → Split
- Click + to add a new page
- Drag templates, text, images, or footage into the new section
This is useful for mid-roll messages like “Subscribe Now” or adding transitions.
📤 Exporting Your Final Video
Once done:
- Click Download at the top
- Choose format (usually MP4 Video)
- Select all pages
- Click Download
Your video will download to your computer and is ready to be uploaded anywhere.
❓ FAQs
Q: Is Canva’s video editor really free?
Yes! Most features are free, including uploading your own content, trimming, splitting, transitions, and exporting. Some templates and music are for Pro users, but there are plenty of free options.
Q: Can I use it for YouTube videos?
Absolutely. Canva is perfect for YouTube videos, especially intros, tutorials, reviews, and educational content.
Q: Does Canva support multi-layer editing like Adobe Premiere?
Not exactly. Canva supports basic overlaying using positioning and layering but doesn’t offer advanced timeline layering yet.
🎯 Final Thoughts
Canva Video Editor is a brilliant choice for anyone who wants to create beautiful, professional-looking videos without needing to learn complex software. Whether you’re making YouTube videos, social posts, or tutorials, Canva empowers you to do it easily and for free.
🔗 Helpful Links
- 👉 Try Canva Free
- 🎵 Get Premium Music at Epidemic Sound (Upload into Canva)
🏷️ Tags
canva video editor, how to use canva video editor, canva video editing tutorial, free video editing software, video creation for youtube, canva tips and tricks, video editing for beginners, youtube video editor free
📢 Hashtags
#CanvaVideoEditor #VideoEditingFree #YouTubeVideos #EditWithCanva #ContentCreation #VideoEditingTips #CanvaTips #RoyaltyFreeMusic #FreeEditor #CanvaTutorial
Disclaimer: This article is based on Canva’s features as available at the time of writing. Some advanced templates or audio files may require a Canva Pro subscription. Always review license terms for any third-party media or music you use in commercial content.