How to Upgrade to Windows 11 on Unsupported Hardware in 2025: A Safe and Complete Guide

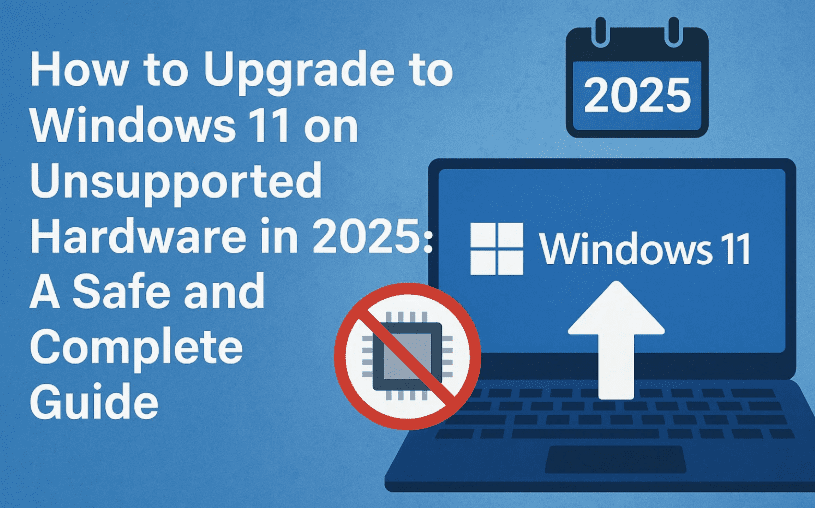
Upgrading to Windows 11 on unsupported hardware might sound risky, but with the right preparation and a reliable method, it can be done smoothly. In this detailed guide, we’ll walk you through each step—from checking your system version to running the upgrade using an official ISO file. This tutorial is beginner-friendly and doesn’t skip any crucial steps.

🚨 Disclaimer: Microsoft does not officially support Windows 11 on unsupported hardware. Proceed only if you’re aware of potential risks like lack of TPM, secure boot, or future update issues. Back up your files before proceeding.


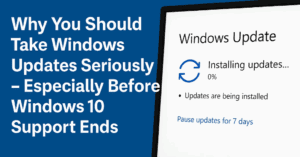
🔄 Step 1: Update Your Windows 10 to the Latest Version

Before upgrading, ensure your Windows 10 system is fully up to date:

  • Click the Start Menu and go to Settings
  • Select Update & Security > Windows Update
  • Click Check for Updates
  • Download and install any pending updates
  • Restart your PC to apply changes

To check your current version:

  • Press Windows + R, type winver, and press Enter.
  • You should ideally be on Windows 10 22H2.

💻 Step 2: Download the Official Windows 11 ISO File

  1. Open your browser and search “Windows 11 ISO download”.
  2. Click on the official Microsoft link: Download Windows 11.
  3. Scroll to “Download Windows 11 Disk Image (ISO) for x64 devices”.
  4. From the dropdown, select Windows 11 (multi-edition ISO) and click Download.
  5. Choose the same language as your current Windows 10 installation.

Not sure about your system language?

  • Open Command Prompt as Administrator:
    • Search for cmd > Right-click > Run as Administrator
  • Type: dism /online /get-intl
  • Check the values for System Locale and Installed Language

For example, en-US means English (United States).

  1. Return to the Microsoft page and select that language > Click Confirm
  2. Now click 64-bit Download to begin (file size: ~5.4GB)

🗃 Step 3: Mount the ISO and Prepare for Installation

Once downloaded:

  • Right-click the ISO file and select Mount
  • Note the new drive letter assigned (e.g., F:)
  • Open the mounted ISO and navigate to the Sources folder
  • Inside Sources, find any white space, Shift + Right Click, then select Open PowerShell window here

🔧 Step 4: Start the Setup with a Registry Bypass

Type the following command carefully into PowerShell:

setup.exe

Make sure there are no typos in the command. It’s setup.exe and not setup prep.exe as sometimes misquoted.

  • Click Yes if prompted by UAC
  • A setup screen will appear: click Next
  • The system will check for updates (may take time)

🌐 Step 5: Choose Install Options

  1. Accept license agreement
  2. Choose “Keep personal files, apps, and settings” (recommended)
  3. Click Next and wait for checks
  4. Once it shows “Ready to install Windows 11 Pro”, click Install

🚨 Important: Plug in your laptop and do not interrupt the installation. Power failure may cause boot issues.

The system will restart several times and finally boot into Windows 11.


🎉 Step 6: Verify the Installation

  • After installation, go to Settings > System > About
  • Confirm the Windows version is Windows 11 Pro

If everything worked smoothly, congratulations! You’ve upgraded to Windows 11 even on unsupported hardware.


❓ FAQ: Common Questions

Q1: Is this method safe for daily use?

Generally yes, but remember it’s unofficial. Updates may be blocked or glitchy.

Q2: Can I roll back to Windows 10?

Yes, within 10 days of upgrade using recovery options.

Q3: Will I receive future updates?

You will receive cumulative updates, but major upgrades may need to be re-applied manually.

Q4: Is it legal?

You are using an official ISO, so the method isn’t illegal—but it’s unsupported by Microsoft.


🔖 Tags & Hashtags

Tags: Windows 11 upgrade, unsupported hardware, Windows ISO setup, Windows 10 to 11, bypass secure boot

Hashtags:
#Windows11 #UpgradeGuide #UnsupportedPC #WindowsHack #TechTutorial #Windows10To11 #ISOUpgrade


Visited 41 times, 1 visit(s) today

Emily Carter

Emily Carter

Emily is a Windows power user and technical writer from the UK. She has spent 7+ years in IT consulting, helping businesses migrate to new Windows versions, optimize performance, and solve common errors. Emily’s articles combine professional experience with step-by-step clarity, making even registry hacks accessible to everyday users.

Leave a Reply

Your email address will not be published. Required fields are marked *

This site uses Akismet to reduce spam. Learn how your comment data is processed.