Looking for an affordable way to set up a home server? A budget mini PC can be a great solution, especially when running Proxmox VE, a powerful open-source virtualization platform.
In this guide, we’ll walk through:
✅ Choosing the right mini PC for a server setup
✅ Installing Proxmox VE on a Blackview MP60 mini PC
✅ Configuring storage and virtual machines
✅ Running lightweight services like a Plex server or home lab
Why Use a Mini PC as a Server?
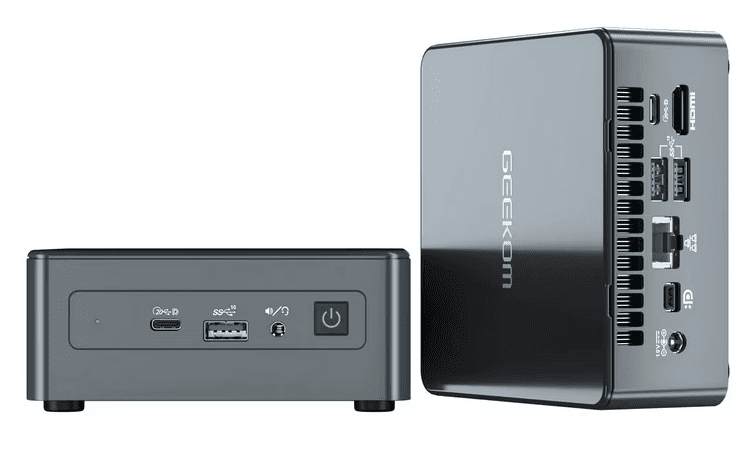
Mini PCs are compact, energy-efficient, and cost-effective for home server use. The Blackview MP60 we’re using features:
- Intel N150 processor (4 cores, 4 threads, 6W TDP)
- 16GB RAM & 512GB SSD (expandable with a 2TB SATA SSD)
- Windows 11 Pro pre-installed (but we’ll replace it with Proxmox)
- Low power consumption (ideal for 24/7 operation)
Perfect for:
🔹 Home labs & virtualization
🔹 Media servers (Plex, Jellyfin)
🔹 Network storage (NAS)
🔹 Development & testing environments
What You’ll Need
- Mini PC (e.g., Blackview MP60)
- USB flash drive (8GB+ for Proxmox installer)
- Ethernet connection (for stable networking)
- Monitor, keyboard & mouse (initial setup only)
Step 1: Download & Prepare Proxmox VE
- Download Proxmox VE ISO from the official site.
- Create a bootable USB using Rufus (select DD mode for compatibility).
Step 2: Install Proxmox on the Mini PC
- Insert the USB drive and boot into BIOS (press F2/DEL).
- Change boot order to prioritize the USB.
- Follow the installer prompts:
- Select disk (512GB SSD for Proxmox OS).
- Set country, password, and network settings.
- Assign a static IP (recommended for servers).
- Reboot and remove the USB.
Step 3: Access Proxmox Web Interface
- After booting, note the IP address displayed.
- On another PC, open a browser and go to:
https://[Proxmox-IP]:8006 - Log in with username
rootand your set password.
Step 4: Configure Storage & Virtual Machines
Expand Local Storage (Optional)
By default, Proxmox doesn’t use the full SSD. To reclaim space:
- Open the shell in Proxmox.
- Run:
bash lvextend -l +100%FREE /dev/pve/root resize2fs /dev/pve/root
Add Secondary Storage (2TB SSD)
- Go to Datacenter > Storage > Directory.
- Select the 2TB SSD, format as ext4, and mount it.
Create a Virtual Machine (e.g., Ubuntu Server)
- Upload an ISO (e.g., Ubuntu Server) to storage.
- Create a new VM:
- Assign 2-4GB RAM & 2 CPU cores.
- Attach the ISO and set boot priority.
- Install the OS as usual.
What Can You Run on This Setup?
- Plex/Jellyfin Media Server (with hardware transcoding)
- Home Assistant (smart home automation)
- Pi-hole (network-wide ad-blocking)
- Nextcloud (self-hosted cloud storage)
Final Thoughts
A budget mini PC like the Blackview MP60 is a fantastic way to start with home server virtualization. Proxmox VE provides enterprise-grade features for free, making it ideal for testing and production use.
🔹 Pros of this setup:
✔ Low power consumption (~10W)
✔ Compact & silent operation
✔ Expandable storage & RAM
🔹 Cons:
❌ Limited CPU power for heavy workloads
❌ No ECC RAM (for critical applications)
Tags
Proxmox, Mini PC Server, Home Lab, Virtualization, Blackview MP60, Plex Server
Hashtags:
#Proxmox #HomeServer #MiniPC #Virtualization #TechGuide
Disclaimer: This guide is for educational purposes. Ensure proper backups before modifying disk partitions. Proxmox VE is free but offers paid support via subscriptions.