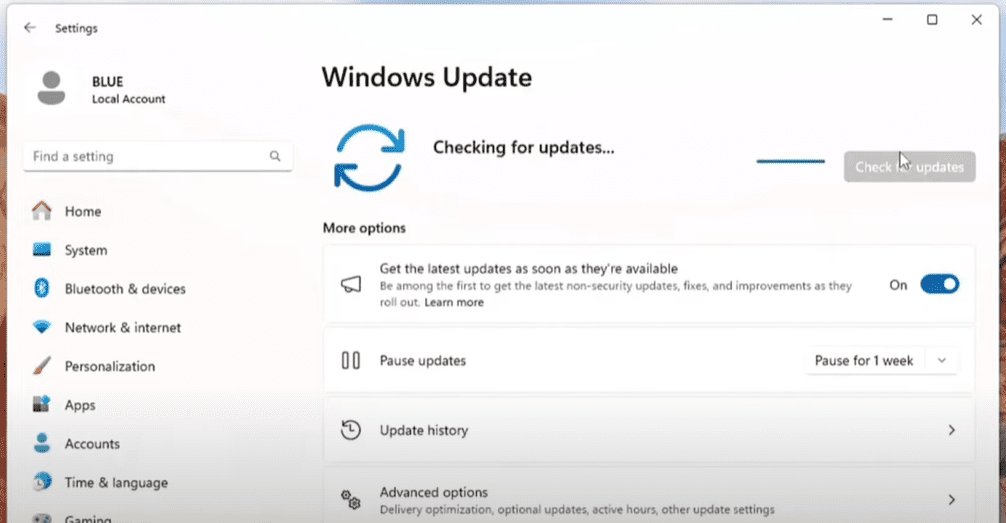
Windows 10 and 11 updates are essential for security patches, feature enhancements, and bug fixes. However, many users find that these updates can take an unexpectedly long time to download and install. If you’re frustrated with slow Windows updates, this article walks you through proven steps to speed up the process. These tips apply to both Windows 10 and Windows 11.
Why Do Windows Updates Take So Long?
Windows updates often include large files, cumulative patches, and new features. This can naturally slow things down—especially if your system has:
- A nearly full or fragmented drive
- A slow internet connection
- Other applications consuming network bandwidth
Let’s dive into the practical solutions you can use to boost your update speed.
✅ Step 1: Free Up Space on Your System Drive
Updates require sufficient free space on your system (usually C:) drive. If your drive is nearly full, the update may stall or take a long time.
How to Check and Clear Space:
- Open File Explorer and check how much space is left on your main drive.
- To clean up space:
- Right-click on the Start Menu > Settings
- Navigate to System > Storage
- Click on Temporary files
- Select unnecessary categories like Recycle Bin or Downloads (if not needed)
- Click Remove files
Repeat the process for other categories like Installed Apps, Documents, OneDrive, etc.
✅ Step 2: Optimize Your Network Connection
A slow or congested internet connection can drastically affect update speeds.
Network Optimization Tips:
- Use a wired Ethernet connection instead of Wi-Fi for better stability.
- Restart your modem/router to refresh the connection.
- Reboot your PC before starting the update.
✅ Step 3: Run CMD Commands to Improve Network Performance
Open Command Prompt as Administrator:
- Search for
cmd, right-click on it, and choose Run as administrator
Now, run the following commands one by one:
ipconfig /flushdns
netsh winsock reset
netsh int tcp set global autotuninglevel=normal
netsh int tcp set global congestionprovider=ctcp
These commands clear DNS cache, reset network sockets, and enable TCP tuning to optimize your internet connection.


✅ Step 4: Temporarily Increase Bandwidth for Windows Updates
Windows sometimes reserves bandwidth for system activities, limiting the speed available for updates.
To temporarily lift the limit:
- Press
Win + R, typegpedit.msc, and hit Enter. (For Windows Home Edition users, you may need to enable Group Policy Editor manually) - Navigate to:
Computer Configuration > Administrative Templates > Network > QoS Packet Scheduler - Double-click on Limit reservable bandwidth
- Select Enabled, and set Bandwidth limit (%) to 95
- Click Apply > OK
- Restart your PC and run the update.
⚠️ Important: After the update is complete, return here and reset the value to 80 (or Not Configured).
✅ Step 5: Monitor and Close Bandwidth-Hungry Applications
While updating Windows, other apps may be consuming valuable internet bandwidth.
To identify and close them:
- Open Resource Monitor (
Win + S> search for “Resource Monitor”) - Go to the Network tab
- Look at the “Processes with Network Activity” section
- Right-click on high-bandwidth apps (e.g.,
chrome.exe) > End Process
This ensures that most of your network bandwidth is dedicated to downloading the Windows update.
Final Thoughts
Applying these tips will significantly enhance the speed of your Windows updates. Whether it’s by clearing up drive space, optimizing your network, or increasing update bandwidth temporarily, each tweak plays a key role.
Once your update completes, don’t forget to revert any temporary changes, such as resetting the bandwidth limit in Group Policy Editor.
Tags:
windows update tips, windows 10 update slow, speed up windows update, optimize internet for windows update, cmd network tweaks, group policy bandwidth windows, windows 11 update performance
Hashtags:
#WindowsUpdate #Windows10 #Windows11 #TechTips #PCOptimization #SpeedUpUpdates #CMDTricks #BandwidthOptimization
Disclaimer:
This article is intended for educational purposes. Modifying Group Policy settings or executing system-level commands should be done with caution. If you’re unfamiliar with these operations, consult a professional or create a system restore point before proceeding.


