The Fire TV Stick is a powerful device that transforms your regular LED TV into a smart TV. Whether you have a Fire TV Stick Lite, 3rd Generation, 4K, 4K 2nd Generation, or 4K Max, this guide will help you set up your device effortlessly.
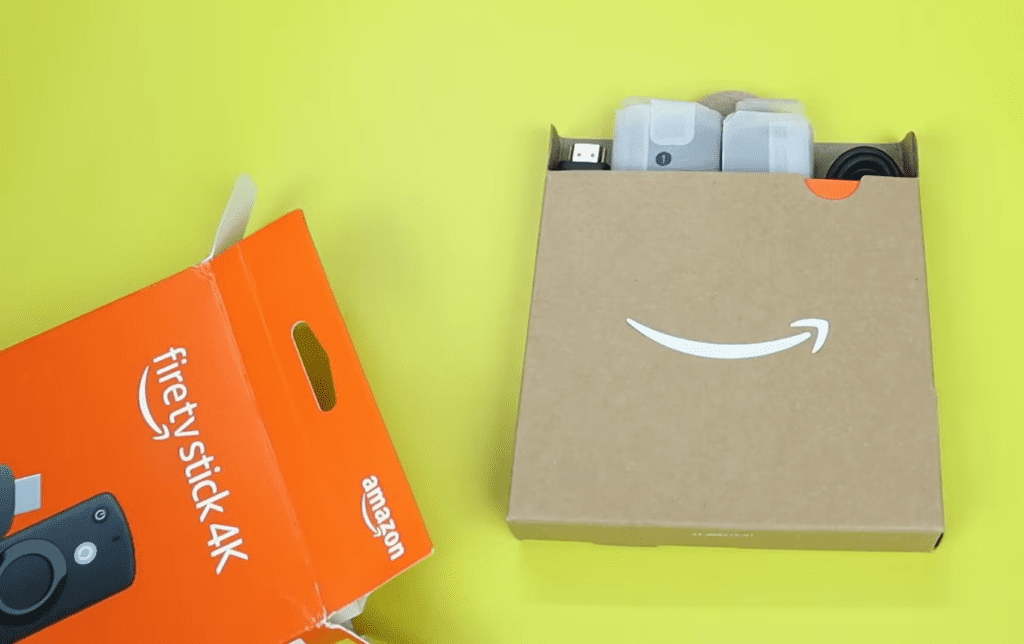
Unboxing Your Fire TV Stick
When you open the Fire TV Stick box, you will find:
- Fire TV Stick
- Remote control
- HDMI extender
- USB power cable
- Power adapter
- AA batteries for the remote
Step-by-Step Setup Guide
- Connect the Hardware:
- Plug the micro USB cable into the Fire TV Stick.
- Connect the other end of the USB cable to the power adapter.
- Important: Always use the provided power adapter. Using other power sources may damage the device and void the warranty.
- Insert the Fire TV Stick into an available HDMI port on your LED TV. Ensure proper ventilation to prevent overheating.
- Power On Your TV:
- Turn on your TV and select the HDMI input where the Fire TV Stick is connected.
- You will see the Fire TV logo as the device boots up.
- Pair the Remote:
- Insert the provided batteries into the remote.
- Press and hold the center button until the device detects the remote.
- Select Your Language:
- Use the remote to choose your preferred language.
- Connect to Wi-Fi:
- The Fire TV Stick will scan for available networks.
- Select your Wi-Fi network and enter the password.
- Software Updates:
- The device will check for updates automatically. Allow it to complete the update without unplugging the power source.
- Note: Software updates may take up to 20 minutes depending on your internet speed.
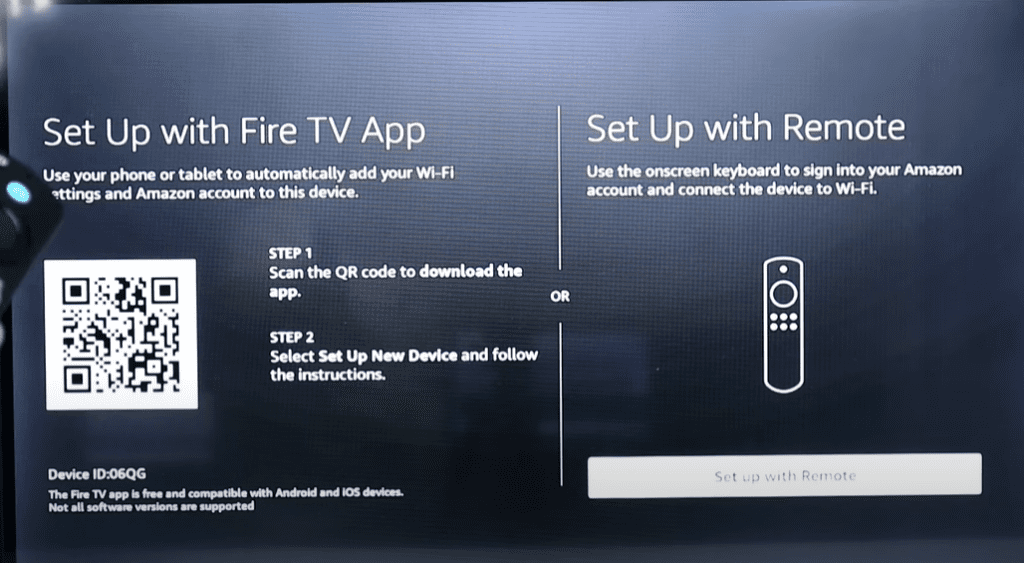
- Sign In to Your Amazon Account:
- If you already have an Amazon account, select “Sign In” and enter your credentials.
- If not, create a new account following the on-screen instructions.
- Remote Pairing with TV:
- The Fire TV remote can control your TV’s volume and power.
- Follow the prompts to pair the remote with your TV.
- Parental Controls:
- Enable parental controls if you want to restrict certain content.
- Final Setup:
- After completing the above steps, you will be directed to the Fire TV home screen.
Hidden Features You Should Know
- Profile Management:
- Press and hold the home button to switch between user profiles.
- App Management:
- Access installed apps quickly through the home button shortcut.
- Sleep Mode:
- Put the Fire TV Stick in sleep mode to save power.
- Screen Mirroring:
- Use the mirroring feature to display your smartphone screen on the TV without an internet connection.
- Enable “Screen Mirroring” from the Fire TV settings.
- On your smartphone, select “Smart View” or “Screen Cast” to connect.
Troubleshooting Tips
- Overheating Issues: Ensure proper airflow around the device.
- Remote Not Working: Replace the batteries or re-pair the remote.
- Wi-Fi Connectivity Problems: Restart your router and Fire TV Stick.
Conclusion
Setting up the Fire TV Stick is simple when you follow these steps. Enjoy streaming your favorite shows, movies, and games with ease. Refer to this article whenever you need guidance.
Tags: Fire TV Stick setup, Fire TV remote pairing, Fire TV screen mirroring, Fire TV troubleshooting, Fire TV parental controls
Hashtags: #FireTVStick #SmartTV #StreamingDevice #FireTVSetup #TechGuide
Visited 47 times, 1 visit(s) today
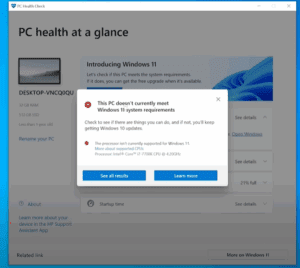


![How to Easily Reset or Format Your Windows 11 PC or Laptop [2025 Guide]](https://dtptips.com/wp-content/uploads/2025/04/image-443-300x192.png)