If you’re a content creator on YouTube, chances are you’ve considered going live at some point to engage your audience in real time. One of the best tools to help you do that with a professional touch is OBS Studio. This article will walk you through a complete step-by-step guide to set up a high-quality live stream using OBS Studio for your YouTube channel.
🧰 What is OBS Studio?
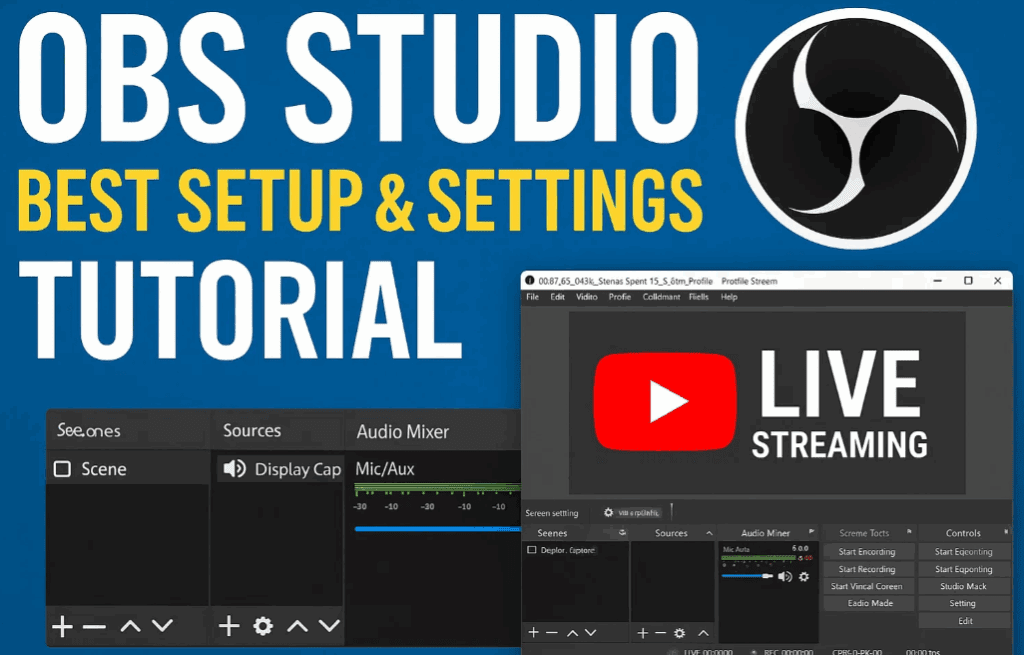
OBS Studio (Open Broadcaster Software) is a free, open-source application for video recording and live streaming. It’s compatible with Windows, macOS, and Linux. Whether you’re streaming games, tutorials, or face cam sessions, OBS Studio gives you full control over your live content.
🔗 Visit OBS Studio Official Website
🔽 Step 1: Download and Install OBS Studio
- Open your web browser (preferably Google Chrome).
- Go to the OBS Studio website.
- Select your operating system (Windows, macOS, or Linux).
- Click the download button.
- Once downloaded, open the file and proceed with the installation.
- After installation, launch OBS Studio.
⚙️ Step 2: Initial Setup
When you launch OBS Studio for the first time:
- You’ll be prompted with an auto-configuration wizard. Click “Cancel” for now to customize manually.
- The main interface has two key panels: Scenes and Sources. Scenes are like different layouts or camera setups; Sources are the media elements like webcam, window capture, etc.
🔧 Step 3: Configure Streaming Settings
- Click on Settings in the bottom-right corner.
- Go to the Stream tab.
- Select YouTube as your streaming service.
- Choose between:
- Connect Account (recommended for ease of use)
- Stream Key (manual option)
To Get Your Stream Key:
- Open YouTube.
- Click the “Create” button > Go Live.
- Once the YouTube Live dashboard opens, scroll down to find your Stream Key.
- Copy it and paste it into OBS under the Stream section.
- After entering the Stream Key, click Apply and then OK.
📤 Step 4: Configure Output Quality
Go to Settings > Output:
- Audio Encoder: Leave it at default or choose AAC.
- Video Encoder:
- If you have a graphics card, choose NVENC.
- If not, go with x264 (default).
- Bitrate:
- For 720p: set it to 2500–3000 kbps
- For 1080p: set it to 4500–6000 kbps
- CPU Usage Preset: Keep it on Very Fast (default for most systems).
- Click Apply and then OK.
🔉 Step 5: Set Up Audio Settings
In Settings > Audio:
- Keep the bitrate at 160 kbps for decent sound quality.
- Click Apply, then OK.
📺 Step 6: Add Sources to Your Scene
You need to tell OBS what to display in your stream:
To Add a Chrome Window or Application:
- In the Sources section, click the “+” (Add) button.
- Select Window Capture.
- Name it and select the desired Chrome tab or app window.
- Resize or position the window as needed.
To Add Gameplay:
- Click “+” > Game Capture.
- Select your game window and adjust the placement.
👤 Step 7: Add Webcam (Face Cam)
- Click “+” > Video Capture Device.
- Select your device (internal laptop cam or external webcam).
- Click OK to display your video feed.
To Crop the Webcam View:
- Hold Alt on your keyboard and drag the edges of the webcam box to crop.
🟩 Step 8: Add Green Screen Effect (Chroma Key)
If you’re using a green screen:
- Right-click your webcam source > Filters.
- Click the “+” under Effect Filters.
- Choose Chroma Key, then click OK.
- Adjust settings like similarity and smoothness to fine-tune the background removal.
You can also adjust brightness and contrast within the filter settings for better visuals.
📈 Step 9: Add Live Subscriber Count
- Open your channel analytics in Chrome.
- Navigate to the Live Subscriber Count.
- In OBS, click “+” > Window Capture again.
- Select the browser window showing your live sub count.
- Resize and position it on your stream.
✅ Final Touches Before Going Live
- Double-check audio levels.
- Test your camera and overlays.
- Ensure all sources are visible in your preview.
- Hit “Start Streaming” to go live!
🛑 Disclaimer
Disclaimer: This tutorial is for educational purposes only. Please ensure your system meets the minimum requirements for OBS Studio and streaming. Performance may vary depending on your hardware configuration.
📌 Conclusion
By following this guide, you can stream like a pro using OBS Studio without any prior experience. OBS provides powerful tools and customization to help you engage your YouTube audience in the most professional way possible — and best of all, it’s completely free.


🔖 Tags:
OBS Studio tutorial, YouTube live stream setup, OBS Studio YouTube, OBS settings guide, Live streaming software, YouTube face cam setup, Green screen OBS, OBS Studio installation, Free streaming software, Live subscriber count OBS
📢 Hashtags:
#OBSStudio #YouTubeLiveStream #LiveStreamingTutorial #OBSGuide #GreenScreenSetup #FaceCamOBS #StreamingTips #FreeSoftware #YouTubeCreator #LiveStreamSetup