Setting up a baseline grid in Adobe InDesign ensures that all your text is aligned consistently, creating a professional and clean layout. This guide walks you through the steps to configure a baseline grid based on your text settings.

Step 1: Create and Prepare Your Text
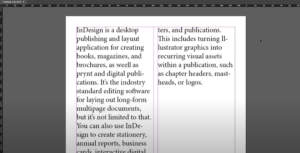
- Start by creating a new InDesign document and inserting a text box with some placeholder text.
- Adjust the font size and leading (line spacing) of your text to your desired specifications. For this example, let’s assume the leading is set to 15 points.
Step 2: Turn On the Baseline Grid
- Navigate to the View menu on the toolbar.
- Select Grids & Guides, and then click on Show Baseline Grid.
- The baseline grid will now appear in your document. However, the grid may not align with your text yet.
Step 3: Measure the Starting Point for the Baseline Grid
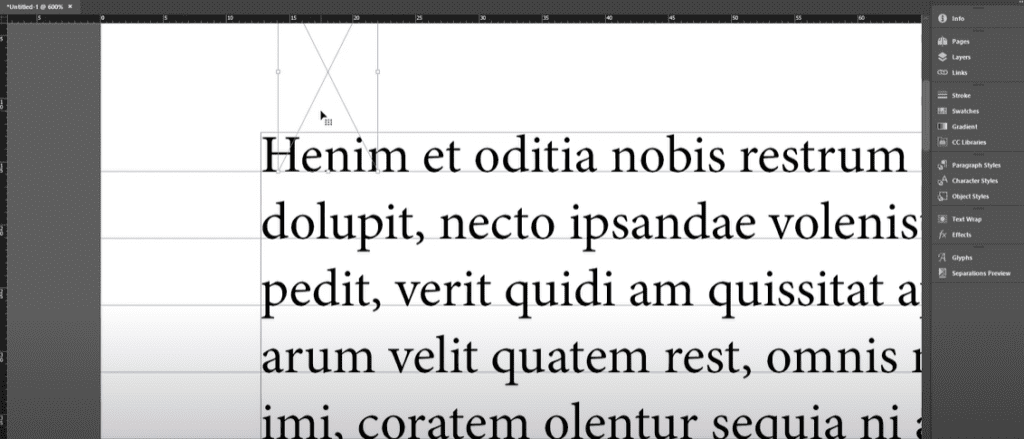
- Use the Rectangle Frame Tool (shortcut:
M) to measure the distance from the top of the document to the baseline of your text.- Drag and create a rectangle from the top of the document to the baseline of the first line of text.
- Select the rectangle and check its height in the Transform panel or the Properties panel.
- Copy this measurement value (e.g., 16 points).
Step 4: Adjust the Baseline Grid Settings
- Open the Preferences panel by navigating to Edit > Preferences > Grids (Windows) or InDesign > Preferences > Grids (Mac).
- In the Baseline Grid section:
- Set the Start field to the measurement value you copied earlier (e.g., 16 points).
- Adjust the Increment Every field to match the leading of your text (e.g., 15 points).
- Click OK to apply the settings.
Step 5: Align Text to the Baseline Grid
- Select all the text you want to align by pressing
Ctrl+A(Windows) orCommand+A(Mac). - Go to the Paragraph Formatting Controls in the top toolbar.
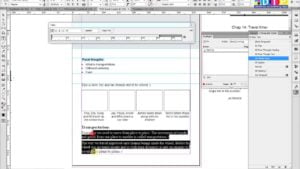
- Locate the Align to Baseline Grid button and click it.
- If the text aligns correctly to the grid, you’re done!
Troubleshooting
- If the text does not align properly, revisit the Preferences panel to ensure the starting point and increment settings are correct.
- Verify that your text’s leading matches the grid’s increment.
- Adjust the baseline grid settings incrementally if needed.
Setting up a baseline grid is a straightforward process that significantly improves the uniformity and readability of your design. Use this feature to maintain consistency across all text elements in your document.
Tags: Adobe InDesign, baseline grid, text alignment, document design, typography, design tips, graphic design, grid setup, professional layout
Hashtags: #AdobeInDesign #Typography #BaselineGrid #GraphicDesign #DesignTips #TextAlignment #ProfessionalLayout #InDesignTips


