Introduction
Saving a file with a transparent background in Adobe InDesign is a useful technique, particularly for graphics or designs you intend to overlay on other elements without a visible background. In this detailed guide, we’ll show you how to export your InDesign file with a transparent background using a simple process.
Step 1: Set Up Your InDesign File
- Create or Open Your Design:
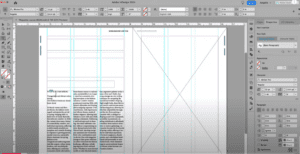
- Open Adobe InDesign and load the document containing the design you want to save with a transparent background.
- Ensure your design is complete and ready for export.
Step 2: Access the Export Menu
- Open the Export Option:
- Navigate to the top menu bar and click File.
- From the dropdown menu, select Export.
- Alternatively, use the shortcut Ctrl+E (Windows) or Cmd+E (Mac).
- Choose a Save Location:
- In the file explorer that opens, choose the folder where you want to save your file.
- Name Your File:
- Enter an appropriate name for your file in the File Name field. For example, you might call it “Leaf Transparent Background.”
- Select the File Type:
- Click on the Save as Type dropdown and choose PNG from the list of available formats.
- PNG is the format that supports transparent backgrounds.
- Proceed to Export Settings:
- Click Save to move to the Export PNG settings panel.
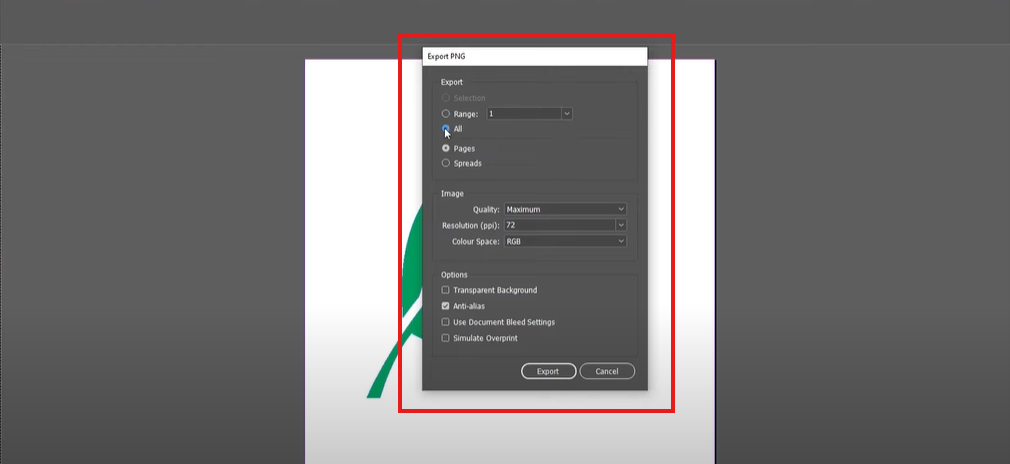
Step 3: Configure PNG Export Settings
- Select Pages to Export:
- In the Pages section, choose which pages of your document you want to include:
- All: Exports all pages in the document.
- Range: Specify page numbers if you only need certain pages.
- If your document has only one page, select All.
- In the Pages section, choose which pages of your document you want to include:
- Adjust Image Settings:
- Quality: Set the desired image quality (e.g., high for detailed output).
- Resolution: Choose the resolution based on your requirements:
- 72 DPI for web usage.
- 300 DPI for print-quality images.
- Color Space: Adjust the color profile if needed (e.g., RGB for digital use).
- Enable Transparent Background:
- At the bottom of the panel, ensure the Transparent Background option is checked.
- This is crucial; if unchecked, your exported file will have a solid background instead of being transparent.
Step 4: Export the File
- Start the Export:
- Once all settings are configured, click the Export button.
- The file will be saved in the location you selected earlier.
- Verify the Transparency:
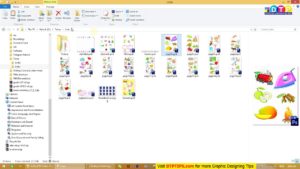
- Navigate to the folder where your file was saved.
- Open the file in an image viewer or import it back into your InDesign document to confirm the background is transparent.
Step 5: Test the Transparent Background
- Reimport the PNG:
- Drag the saved PNG file into a new or existing InDesign document.
- Place it over a colored or patterned background to ensure the transparency works as intended.
Conclusion
Exporting a file with a transparent background in Adobe InDesign is straightforward when you follow these steps. By saving your design as a PNG with transparency enabled, you can create versatile graphics for various applications.
Tags: save file with transparent background, transparent background InDesign, PNG export InDesign, Adobe InDesign tips, export transparent images, graphic design
Hashtags: #AdobeInDesign #TransparentBackground #InDesignTips #GraphicDesign #PNGExport #InDesignTutorial