Are you curious about running the original Windows 11 on your Android device? With the advancements in technology, it’s now possible to experience a full-fledged Windows environment right from your smartphone or tablet. In this article, we’ll guide you through the process of setting up Windows 11 on your Android device without using traditional emulators like Wine. This method leverages a cloud-based application, ensuring smooth performance and ease of use.
Minimum Requirements
Before we dive into the setup process, ensure your device meets the following requirements:
- Android Version: 10 or above
- Internet Connection: Active and stable
Step-by-Step Guide to Running Windows 11 on Android
Step 1: Download the PC on Cloud App
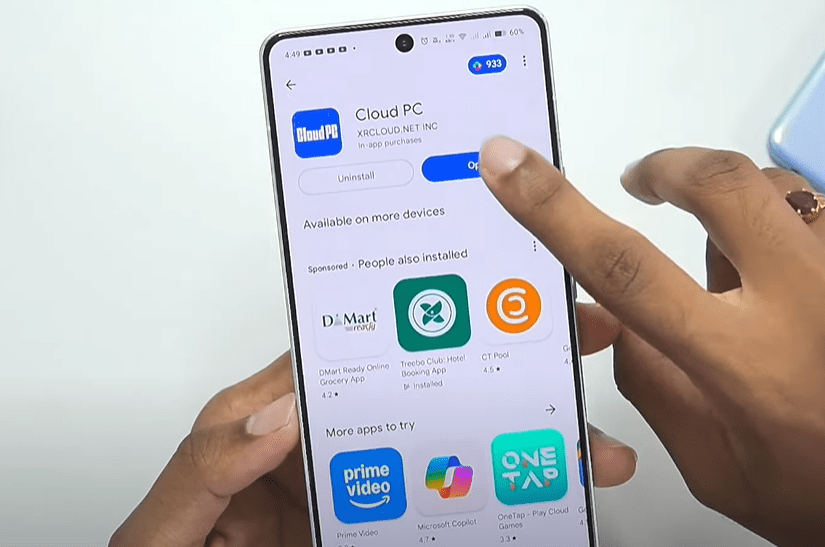
- Open the Google Play Store on your Android device.
- In the search bar, type “PC on Cloud” and hit search.
- Locate the app from the results and tap Install.
Step 2: Setting Up the App
- Once installed, tap Open to launch the app.
- Upon opening, you’ll see a disclaimer. Tap Agree and Enter.
- Click on Experience Now to proceed.
Step 3: Choose a Plan
- You’ll be presented with various plans. For beginners, we recommend starting with the Standard Plan, which offers a 7-day free trial with 30 running hours.
- Tap on the plan to activate your trial.
Step 4: Sign Up or Log In
- Sign up using your email or Facebook account.
- After logging in, your profile will display the active free trial.
Step 5: Configure Your Virtual Machine
- Tap on the Free Trial option to view virtual machine details.
- Under the operating system section, select Windows.
- Validate your payment method through Google Play (no charges for the free trial).
Step 6: Launching Windows 11
- Navigate to the Cloud PC section in the app.
- Tap Manage to view system specifications (4-core CPU, 40GB storage, Windows license included).
- Press Connect to start your virtual machine.
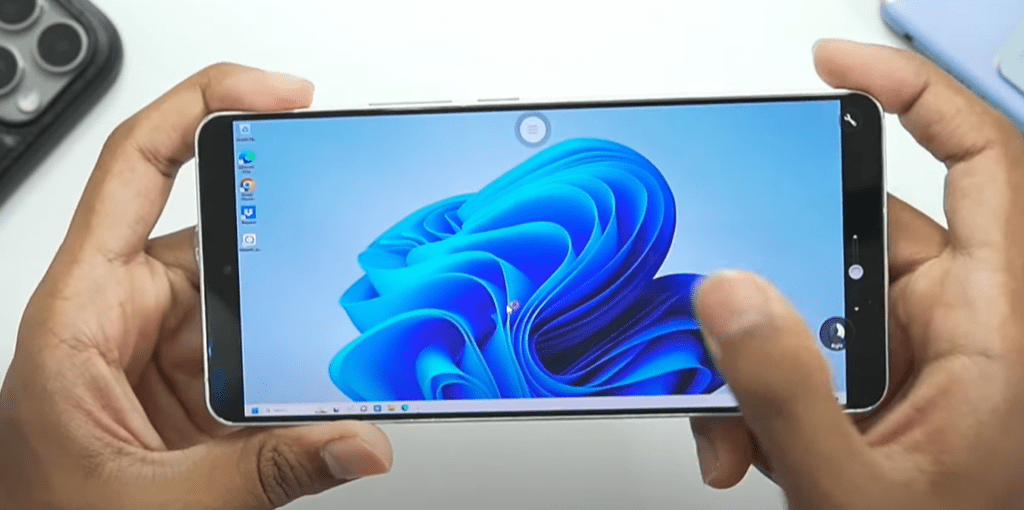
- Wait for the Cloud PC to load. Once done, you’ll see the familiar Windows 11 interface.
Exploring Windows 11 on Android
- You can use a virtual mouse cursor for navigation.
- Access features like File Manager, Settings, and Microsoft Apps.
- The virtual PC offers 40GB of storage (with 11-12GB free initially).
- Perform tasks such as document editing, coding, video editing, and even light gaming.
Optimizing Performance
- Go to Settings in the app.
- Adjust display resolution for better latency.
- Switch between HD and SD depending on your network speed.
- Enable on-screen keyboard and touch controls for ease of use.
Troubleshooting Tips
- If you encounter the error: “Cloud resources have run out, please try tomorrow,” wait for a few hours and retry.
- For reduced lag, lower the display resolution and ensure a stable internet connection.
Final Thoughts
Running Windows 11 on Android has never been easier. Whether you’re working on documents, coding, or exploring apps, the PC on Cloud app offers a seamless experience. While high-end gaming might require a paid plan, this setup is perfect for productivity on the go.
Tags: Windows 11 on Android, PC on Cloud, run Windows on Android, Android productivity, Windows 11 setup, cloud PC Android, virtual machine Android, Android apps, tech guide, Windows 11 tips
Hashtags: #Windows11 #Android #TechGuide #CloudPC #Productivity #VirtualMachine #AndroidApps #PConCloud