CorelDRAW is a versatile graphic design software, and one of its useful features is the ability to round the corners of rectangles or squares. In this detailed guide, we’ll show you step-by-step how to round corners, adjust them, and creatively use this feature in your designs. By the end of this article, you’ll be able to apply this skill effectively in various projects.
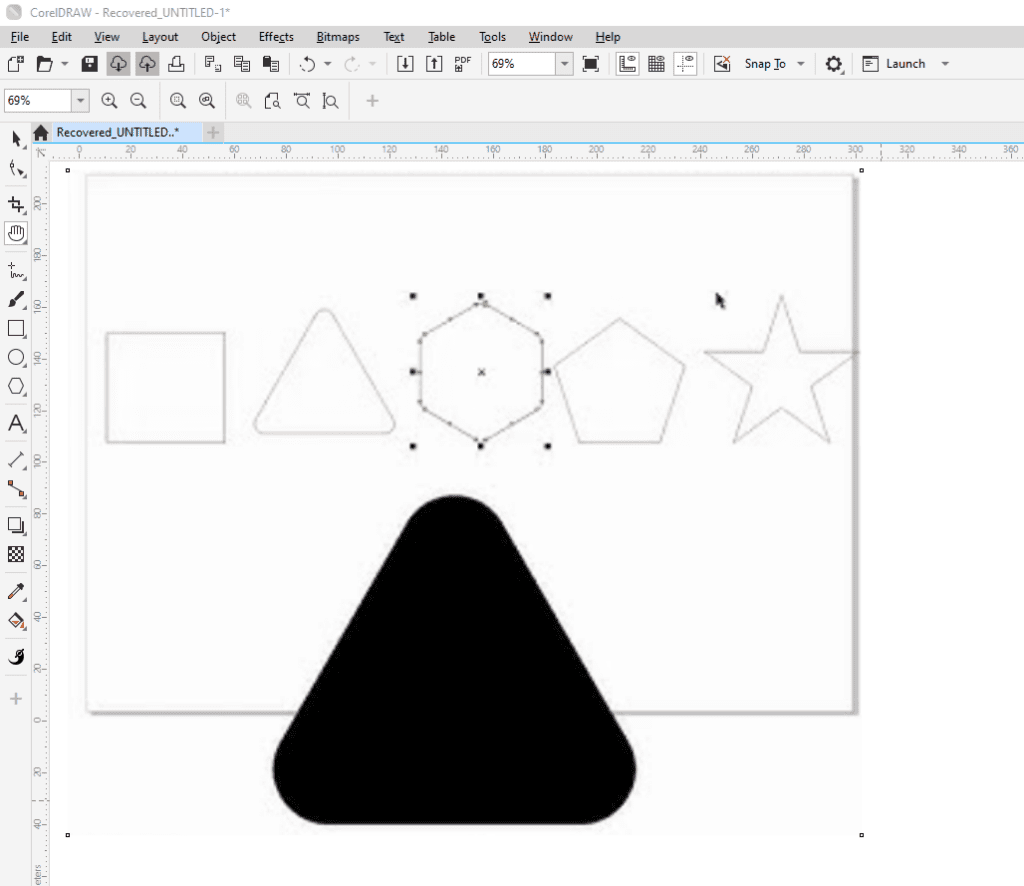
Step 1: Create a Rectangle or Square
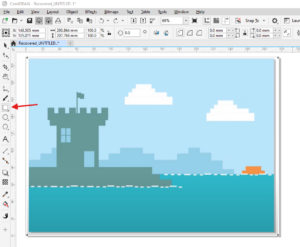
To start, open CorelDRAW and use the Rectangle tool to draw a rectangle or square. This is your base shape for experimenting with rounded corners.
Step 2: Use the Shape Tool
After creating your rectangle:
- Select the Shape Tool (located in the toolbox).
- Click on your rectangle. You’ll notice small squares (nodes) appearing at the corners of your shape.
Step 3: Round the Corners
- Click and drag any of the corner nodes to start rounding the corners.
- As you drag, you’ll notice the corners becoming rounded. CorelDRAW also displays the radius (in millimeters) in the properties bar at the top, allowing you to precisely control the degree of rounding.
Step 4: Explore Corner Styles
CorelDRAW offers different corner styles for added creativity:
- Round Corners: The standard rounded effect.
- Chamfered Corners: Creates an angled cut, giving a sharp and clean look.
- Inverse Rounded Corners: An inward curve, creating a unique effect.
To switch between these styles, use the dropdown menu in the properties bar while the rectangle is selected.
Step 5: Adjust Individual Corners
For more customization:
- Locate the Lock icon in the properties bar. By default, it is locked, meaning all corners will be adjusted uniformly.
- Click to unlock it. This allows you to modify each corner individually.
- Adjust the desired corners by dragging their respective nodes or by inputting specific values for precise control.
Step 6: Practical Application in Designs
Rounded corners are commonly used in banners, buttons, and graphic layouts. Here’s an example:
- Create a rectangle for your banner.
- Round only the top corners by unlocking the lock icon and setting the bottom corners to 0.
- Add a shadow to give the banner depth by selecting the Shadow tool, adjusting the shadow’s size and placement.
You can also use inverse rounded or chamfered corners for a more dynamic look, depending on your design’s theme.
Tips for Consistent Design
- Maintain uniform styles throughout your design. For example, if you use rounded corners on one element, avoid mixing it with chamfered or straight corners on other elements unless it’s intentional for your theme.
- Use shadows and colors to enhance the rounded-corner shapes for a professional finish.
Conclusion
Mastering the art of rounding corners in CorelDRAW opens up a world of possibilities for your designs. Whether you’re creating banners, buttons, or other graphic elements, this simple yet powerful tool can elevate your projects. Experiment with different corner styles and customize individual corners to suit your creative needs.
If you found this tutorial helpful, check back regularly for more CorelDRAW tips. Have questions? Drop them in the comments, and we’ll be happy to assist!
Tags
CorelDRAW, graphic design, rounded corners, rectangle shapes, CorelDRAW tutorial, chamfered corners, graphic layouts, creative design, CorelDRAW tips
Hashtags
#CorelDRAW #GraphicDesign #RoundedCorners #DesignTips #CorelDRAWTutorial #CreativeDesign
