Rounding corners in Adobe InDesign is an effective way to add a smooth and elegant look to your designs. While Adobe InDesign does not use the same corner-dragging functionality as Adobe Illustrator, it provides a straightforward method for customizing the corners of shapes. This article will guide you through the process step by step.
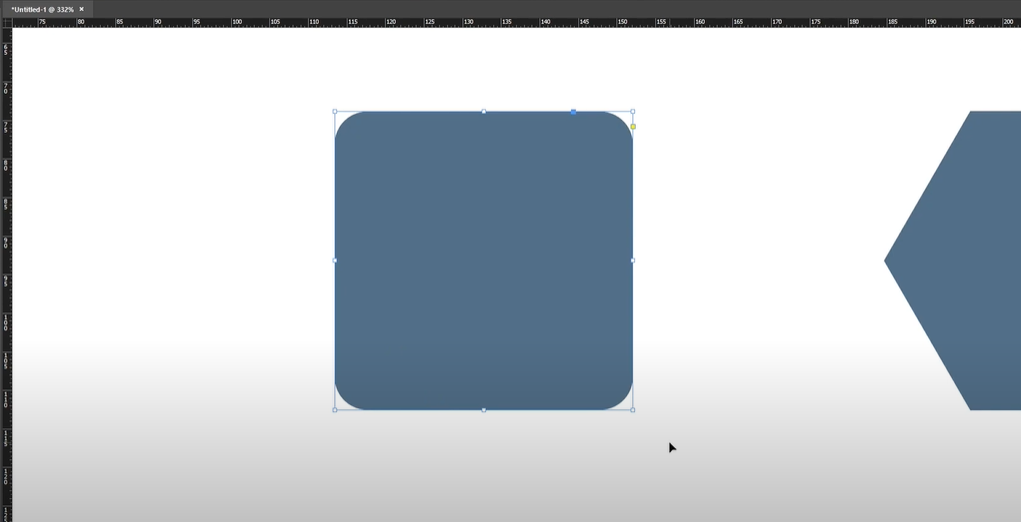
Step 1: Create Your Document and Shapes
Start by opening a new Adobe InDesign document. Create one or more shapes that you want to customize. These shapes could be rectangles, polygons, or other geometries.
Step 2: Select the Shape
Click on the shape whose corners you wish to round. Once the shape is selected, proceed to the top toolbar for customization options.
Step 3: Open Corner Options
- Look for the corner options in the top bar. These are typically represented by a dropdown or an icon showing corner styles.
- Click on this option to access the corner settings.
Step 4: Choose a Corner Style
In the corner settings:
- Select the Rounded corner style.
- Observe how the selected shape’s corners change from sharp edges to rounded curves.
Step 5: Adjust the Corner Radius
To fine-tune the curvature of the corners:
- Use the adjustment arrows (up and down) next to the corner radius field in the toolbar.
- Increase or decrease the radius value to achieve the desired level of rounding.
Step 6: Apply Corner Styles to Other Shapes
This method works for all shapes in InDesign, not just rectangles. For example:
- Select a polygon shape and apply the same Rounded corner style.
- Experiment with other corner styles such as Inset or Fancy to explore creative design options.
Tips for Precision
- Uniform vs. Individual Corners: If you want uniform rounding on all corners, ensure that the “Link Corners” option is active. To customize each corner independently, unlink them before adjusting.
- Adjust Corners Post-Creation: You can modify corner styles and radius even after creating and placing the shape in your design.
Conclusion
Rounding corners in Adobe InDesign adds a polished and creative touch to your designs. By following the steps in this article, you can easily customize the appearance of your shapes, making them visually appealing and professional.
Tags and Hashtags
Tags: round corners, Adobe InDesign tutorial, shape customization, corner styles, graphic design tips, InDesign features, creative design tools, layout design, Adobe Creative Suite
Hashtags: #RoundCorners #AdobeInDesign #DesignTutorial #GraphicDesign #InDesignTips #CornerStyles #CreativeDesign #AdobeSuite #ShapeCustomization
