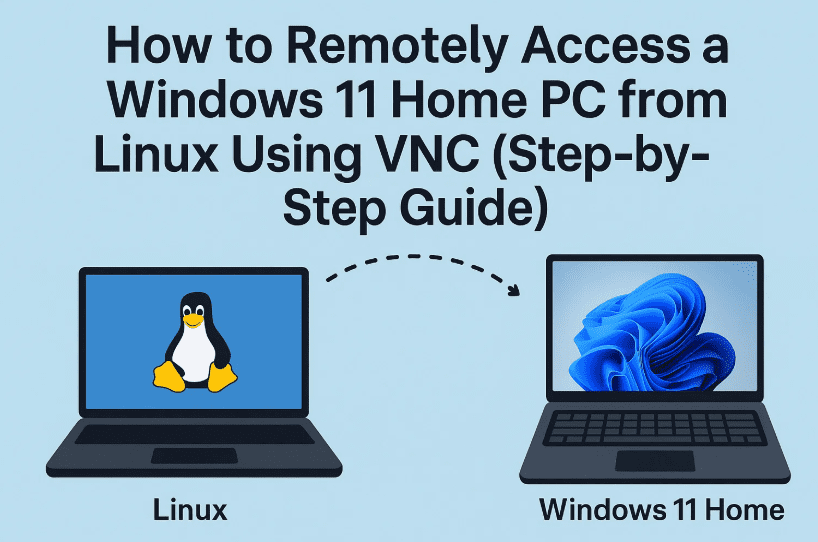
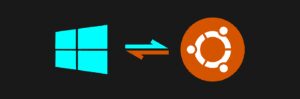
Remote desktop access between different operating systems can be tricky — especially when you’re trying to connect from Linux to a Windows 11 Home PC. That’s because Windows 11 Home doesn’t support RDP (Remote Desktop Protocol) out of the box.
But don’t worry — there’s a clean and efficient way to connect using VNC (Virtual Network Computing). In this guide, you’ll learn how to set up a VNC server on your Windows Home PC, and connect to it using a Linux system (like Ubuntu or Zorin OS) with a free tool called Remmina.
Let’s take it step-by-step and get your cross-platform remote desktop access working smoothly.
🧠 Why Not Use RDP for Windows Home?
Remote Desktop Protocol (RDP) is only available on Windows Professional, Enterprise, and Education editions. That means Windows Home users need a third-party alternative — and that’s where VNC comes in.
With a simple setup using free tools like TightVNC (on Windows) and Remmina (on Linux), you’ll be able to:
- Remotely control your Windows Home system from Linux
- Use your Linux laptop or desktop to work on your Windows PC
- Avoid paying for a Pro Windows upgrade
💻 What You’ll Need
Let’s move on to what you’ll need to make this work:
- A Windows 11 or 10 Home PC
- A Linux system (Ubuntu, Zorin OS, Fedora, etc.)
- A VNC server installed on Windows (e.g., TightVNC)
- A VNC client installed on Linux (e.g., Remmina)
🔧 Step 1: Install TightVNC Server on Windows 11 Home
Here’s how to set it up:
- Download TightVNC from the official website:
👉 https://www.tightvnc.com/download.php - Run the installer and choose Custom Installation.
- Make sure to include the VNC Server, not just the viewer.
- Set a VNC password during setup. This is required to connect remotely.
- Once installed, check that the TightVNC Server is running in the system tray (bottom-right corner of your screen).
💡 The VNC server must be active for remote access to work.
🌐 Step 2: Get Your Windows PC Name or IP Address
To connect via hostname or IP, you’ll need one of the two.
- Open Command Prompt on Windows.
- Type:
hostname— this gives you the computer’s name. - Or type:
ipconfig— look for the IPv4 address.
You can use either the IP address or hostname from your Linux machine. IP is more reliable unless you set up hostname mapping.
🐧 Step 3: Install Remmina on Your Linux Machine
On your Linux machine (e.g., Ubuntu or Zorin OS):
- Install Remmina using your terminal:
sudo apt update
sudo apt install remmina- Alternatively, visit the official Remmina website:
👉 https://remmina.org/
Choose the package or Snap/Flatpak installation method based on your Linux version.


🔌 Step 4: Connect from Linux to Windows Using VNC in Remmina
Now that both systems are ready, let’s make the connection.
Quick Connection:
- Open Remmina on Linux.
- In the address bar, type:
vnc://[IP_ADDRESS] or vnc://[HOSTNAME]- Press Enter.
- When prompted, enter the VNC password you set on Windows.
- That’s it! You should now see your Windows desktop inside a Remmina window.
🧠 This VNC password is not your Windows login password — it’s the one set during TightVNC installation.
🧪 Optional: Use Hostname Instead of IP (Linux Host File Trick)
If Remmina can’t find your Windows PC by hostname, you can manually map the IP in Linux.
Steps to edit the Linux hosts file:
- Open Terminal and type:

- Add a new line like:
192.168.1.25 win11home- Save the file with
Ctrl + O, then exit withCtrl + X.
Now you can use win11home in Remmina instead of typing the IP every time.
💾 Step 5: Save the Connection for Future Use
If you want one-click access later:
- In Remmina, click the “+” (Add New Connection) icon.
- Fill in the following:
- Name: Win11 Home (or anything you prefer)
- Protocol: VNC – Virtual Network Computing
- Server:
hostnameorIP address - Password: Your TightVNC password
- Click Save.
Now you’ll see the saved session in your Remmina list. Just double-click to connect!
❓ Frequently Asked Questions
Q1. Does this work with Windows 10 Home as well?
✅ Yes. The method works for Windows 10 or 11 Home editions.
Q2. Can I use this setup over the internet?
❌ Not directly. VNC is insecure over public networks. You should set up a VPN or SSH tunnel if connecting outside your local network.
Q3. What if the VNC connection fails?
Make sure:
- The VNC server is running on Windows.
- No firewall is blocking port 5900.
- You’re entering the correct IP address or hostname.
Q4. Is this method secure?
🔐 VNC itself is not encrypted. For sensitive tasks, consider using SSH tunnels, VPN, or secure remote tools like TeamViewer.
⚠️ Disclaimer
This article is meant for educational purposes only. Ensure you have permission before remotely accessing any device. While VNC is useful for local use, it should not be used over the internet without encryption or secure tunneling.
🏷️ Tags:
VNC, Linux to Windows remote access, Windows Home RDP alternative, TightVNC, Remmina setup, remote desktop Linux, cross-platform remote tools, Windows 11 home access, Zorin OS remote connection
🔖 Hashtags:
#RemoteDesktop #WindowsHome #VNC #Remmina #TightVNC #LinuxToWindows #ZorinOS #UbuntuTips #Windows11 #OpenSourceTools
✅ Final Thoughts
So far, we’ve seen that you don’t need Windows Pro or expensive software to remotely access your PC from Linux. With TightVNC and Remmina, you can set up a free and fast remote desktop solution — perfect for home users, developers, or anyone managing devices across platforms.
Ready to give it a shot?
With just a few tweaks, your Linux device can take control of your Windows Home PC in minutes!


