If you’ve ever experienced the frustration of losing a hard drive partition due to a blue screen of death or corruption, don’t worry – there is hope! In this guide, we’ll show you a simple trick to recover lost partitions and restore your valuable data.
What Happens When a Partition is Lost?
When a partition on your hard drive is lost, it means that all the data stored on that partition becomes inaccessible. This can happen due to various reasons, such as system crashes, accidental deletion, or corruption of the partition table. When this occurs, you might think your data is gone forever, but with the right tools, you can recover it.
Step-by-Step Guide to Recover Lost Partitions
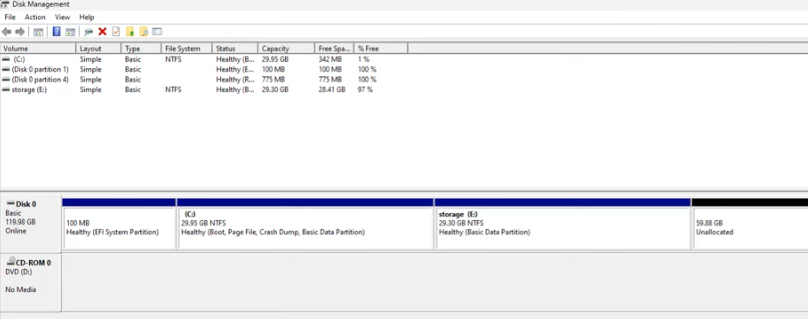
- Open Disk Management: First, go to Disk Management on your computer. You may see that your partitions are missing or marked as “unallocated.”
- Use a Partition Recovery Tool: For this process, we recommend using a free tool called EaseUS Partition Master. Although there is a Pro version available, the free version is sufficient for most recovery tasks. This tool offers various functions such as converting MBR to GPT, copying the OS and data to another hard drive or SSD, resizing, moving, merging, formatting partitions, and much more.
- Install the Software: Download and install EaseUS Partition Master on your system. You can choose either the free or the pro version, depending on your needs.
- Activate the Software: If you’ve chosen the Pro version, activate it using the key provided. This version includes additional features not available in the free version.
- Start Partition Recovery:
- Launch EaseUS Partition Master.
- Click on “Partition Recovery” and select the hard drive from which you want to recover the lost partition.
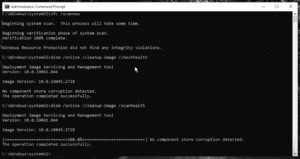
- Click “Scan” to begin the process. The tool will scan the drive to find any lost or deleted partitions.
- Review the Scan Results: After the scan, you will see a list of partitions marked as “Lost” with their recoverability status. If the status shows “Good,” there is a high chance of successful recovery.
- Recover the Partition:
- Select the lost partition you want to recover.
- Click “Proceed” to start the recovery process. The software will restore the partition and its data to its original state.
- Verify the Recovery: Once the process is complete, check the recovered partition in Disk Management. You should see your data intact and accessible.
Why Use EaseUS Partition Master?
EaseUS Partition Master is a powerful and user-friendly tool for partition management and recovery. It allows you to:
- Convert MBR to GPT and vice versa.
- Resize, move, create, delete, format, and merge partitions.
- Recover lost partitions with a high success rate.
- Copy the OS and data to another hard drive or SSD.
Conclusion
Losing a partition can be a nightmare, but with tools like EaseUS Partition Master, you can recover your lost data quickly and easily. Whether you’re dealing with a corrupt partition, accidental deletion, or other issues, this guide provides a straightforward solution to get your data back.
#DataRecovery #PartitionRecovery #EaseUSPartitionMaster #HardDriveRecovery #TechTips #WindowsHelp #RecoverLostData #DiskManagement