Losing important data, whether it’s pictures, videos, or documents, can be a stressful experience. However, recovering your deleted files is easier than you might think! In this post, I will walk you through how you can recover your lost data using the Speed Data Recovery software. Let’s dive in!
Step 1: Download and Install Speed Data Recovery
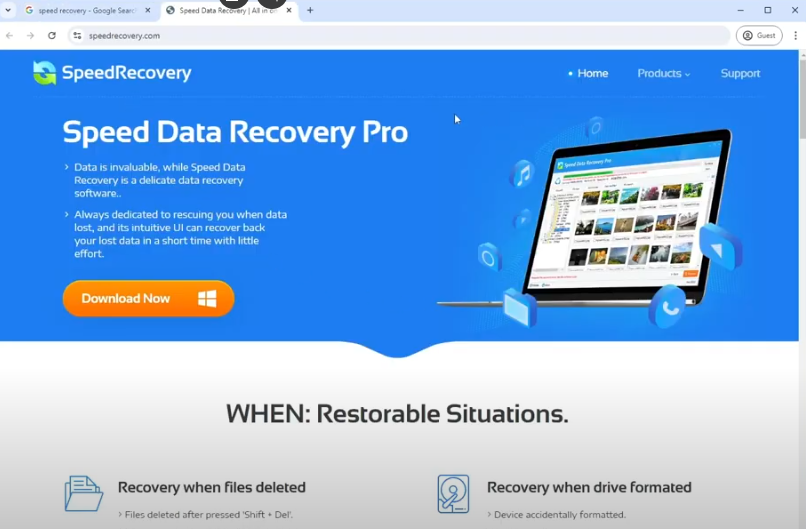
- Open Your Browser: Start by opening your browser and searching for the official website of Speed Data Recovery.
- Download the Software: On the homepage, you’ll find a “Download Now” button. Click on it to start downloading the software. Save the file to a location on your computer, such as your desktop.
- Install the Software: Once the download is complete, open the setup file and follow the installation instructions. Make sure to check all the necessary options during installation and click “Install.”
Step 2: Launch the Software and Begin Data Recovery
- Open the Software: After installation, the Speed Data Recovery software will launch automatically. You’ll be greeted with a simple and user-friendly interface.
- Delete Test Data: For demonstration purposes, let’s delete a folder containing important files, including documents, pictures, and videos, from your computer.
- Go to the folder you want to recover later, select the files, and delete them.
- After deleting the folder, clear it from the Recycle Bin as well.
Step 3: Recover Your Deleted Data
- Select the Drive: In the Speed Data Recovery software, choose the drive where your data was located before deletion. In our case, we deleted files from the E drive, so select the E drive.
- Start the Scan: Click on the “Scan” button, and the software will begin scanning for recoverable files. You’ll see two categories:
- Normal Files
- Deleted Files
- Review the Recovered Files: The software will display a list of recoverable files, including the folder you deleted. In this example, the folder named “Data One” will appear.
- Preview Recovered Files: Double-click on the folder to see if it contains your deleted files. The software will recover various file types, including documents, pictures, and videos.
Step 4: Recover and Save the Files
- Select the Files to Recover: Choose the specific files or folders you want to recover. For instance, you can select a deleted Word document, a picture, or any other file type.
- Recover the Files: Click on the “Recover” button, select the location where you want to save the recovered data (e.g., Desktop), and click “OK.” Your data will now be restored to the specified location.
Unlimited Data Recovery
One of the best features of Speed Data Recovery is that there’s no limit to the amount of data you can recover. Whether it’s a few MBs or several GBs, you can recover your deleted data without any restrictions.
Conclusion
With Speed Data Recovery, recovering deleted files has never been easier. Whether you accidentally delete a folder or lose important data, this software can help you recover everything with just a few clicks. If you found this post helpful, don’t forget to like and subscribe for more useful content.
Take care and happy data recovery!
#DataRecovery #FileRecovery #SpeedDataRecovery #DeletedFiles