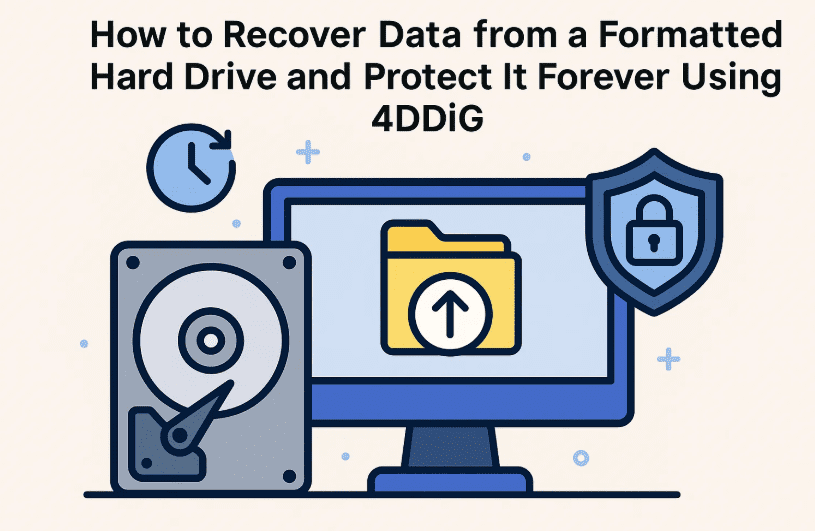
Imagine this: You accidentally formatted your hard drive. Years of family photos, work files, and personal documents — all gone in an instant. That sinking feeling in your stomach is all too real.
But don’t panic. You might still be able to get everything back.
In this article, I’ll walk you through a detailed, step-by-step process on how to recover data from a formatted hard drive, explain why recovery is possible, and also teach you how to prevent this disaster from happening again with backups using 4DDiG — a powerful and reliable data recovery and partition management tool.
Let’s start from the beginning.
🛑 Step 1: Stop Using the Drive Immediately
Here’s the deal — most people think that formatting a drive completely wipes everything out. But that’s not entirely true.
What actually happens when you format a drive?
- The operating system simply marks the space as “available”.
- Your data is still physically on the drive — just hidden from the system.
- This means the files can be recovered until new data overwrites the old one.
⚠️ That’s why it’s critical to stop using the formatted drive right away. Every action risks overwriting the data you want to recover.
🔧 Step 2: Recover Your Data Using 4DDiG Data Recovery Tool
If you’ve already formatted your hard drive, don’t try to dig around manually. It’s nearly impossible. Instead, use a trusted tool like 4DDiG by Tenorshare that simplifies the process and increases your chances of success.
Let’s go through the recovery process in a few easy steps.
✅ How to Recover Data with 4DDiG
1. Download and Install 4DDiG
Visit the official website:
👉 https://4ddig.tenorshare.com/
Choose your OS version (Windows or Mac) and install the program on a drive other than the one you’re trying to recover.
2. Launch the Software and Select the Formatted Drive
- Open 4DDiG Data Recovery.
- You’ll see a list of all connected drives.
- Select the formatted drive and click “Scan”.
3. Choose File Types and Begin Scanning
- 4DDiG allows you to select specific file types (photos, documents, videos, etc.) or scan for all types.
- Click on “Scan Deleted Files” to start the process.
⏳ Scanning time may vary based on the size of the drive and how much data was previously stored.


4. Preview and Recover Files
Once scanning is complete:
- Browse through the recoverable files.
- Use filters and categories to locate important data quickly.
- Select the files you want to recover and click “Recover”.
✅ Important: Always recover your files to a different drive than the original to avoid overwriting data.
And that’s it. Your files are back — safe and sound.
💾 Step 3: Prevent Future Data Loss with 4DDiG Partition Manager
Data recovery is a lifesaver — but prevention is always better than cure.
To ensure you never face this situation again, use 4DDiG Partition Manager to create regular backups of your drives or partitions.
Let’s go over how to do that.
✅ How to Back Up a Partition Using 4DDiG Partition Manager
1. Open 4DDiG Partition Manager
- Launch the program from your desktop.
- On the right-hand panel, click on “Backup”.
2. Choose What to Back Up
- Select “Disk/Partition Backup”.
- Pick the drive or partition that holds your critical data.
3. Set the Destination
- Choose a safe location for your backup (preferably an external drive or secondary internal drive).
4. Start Backup
- Click “Start” and let 4DDiG do the work.
- Within minutes, your data is backed up and secured.
Now, even if your system fails or you accidentally format your drive again, restoring everything will be as simple as clicking a button.
❓ Frequently Asked Questions
Q1: Can I recover data after a full format?
Yes. As long as the data hasn’t been overwritten, tools like 4DDiG can often recover files even after a full format.
Q2: Is 4DDiG safe to use?
Absolutely. 4DDiG is a trusted recovery tool used by professionals and recommended by many tech experts.
Q3: Can I back up system partitions with 4DDiG Partition Manager?
Yes, it allows full disk and system partition backup with easy restore options.
Q4: Will using the recovery tool void my warranty?
No. Recovery software doesn’t affect hardware warranties, but always check with your device manufacturer if unsure.
⚠️ Disclaimer
This tutorial is for educational purposes only. Always create backups of important data before performing formatting or recovery actions. Recovering data after overwriting may not always be successful. The software mentioned in this guide is third-party and should be downloaded from its official website only.
🏷️ Tags & Hashtags
Tags:
recover formatted hard drive, data recovery tutorial, 4DDiG guide, recover deleted files, partition backup tool, prevent data loss, Windows data recovery
Hashtags:
#DataRecovery #FormattedDriveFix #4DDiG #BackupSolutions #WindowsTips #RecoverLostData #PartitionManager #TechHelp
🙌 Final Thoughts
Losing important files is a nightmare, but thanks to tools like 4DDiG, recovery is absolutely possible — if you act fast and smart. But let’s be honest — no one wants to go through this again. That’s why setting up a proper backup strategy is the real solution.
So if this guide helped you recover your data or inspired you to start backing up, share it with a friend who might need it.
Stay safe, back up often, and see you in the next guide!


