Recording system audio—or internal audio—on your computer is essential for many purposes such as capturing music, podcasting, extracting audio from videos, or documenting system alerts. In this guide, we’ll walk you through how to do it using Audacity, a powerful, open-source audio recording and editing software that is completely free.
🎙 What is System Audio?
System audio refers to any sound your computer produces: media playback, app sounds, alerts, or streaming audio. Unlike external audio recorded through a microphone, internal audio directly captures what’s being played by your machine. Let’s explore how you can record this using Audacity.
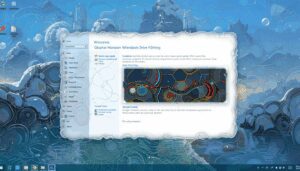
🔧 Step 1: Install Audacity
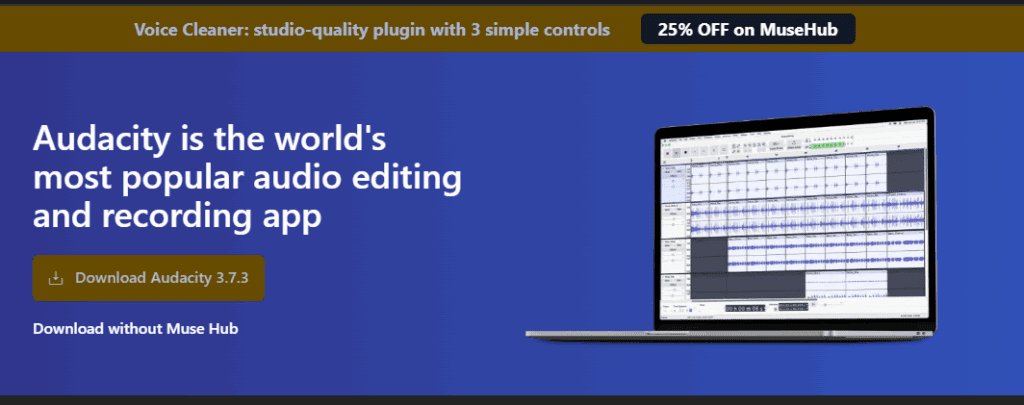
- Visit the Official Website:
Open your browser and go to https://www.audacityteam.org. - Download Audacity:
- Run the Installer:
- Locate the downloaded setup file.
- Double-click to launch the setup.
- Approve any system permission prompts.
- Choose your language and click OK.
- Follow the setup wizard to install the software.
- Create a desktop shortcut if you like, and click Install.
- Once complete, click Finish to launch Audacity.
🛠 Step 2: Set Up Audacity for Internal Audio Recording
By default, Audacity records from your microphone. To record system audio instead:
- Open Preferences:
- Go to Edit > Preferences or press
Ctrl + P.
- Go to Edit > Preferences or press
- Configure Audio Settings:
- In the Interface section, change the Host setting from “MME” (Multimedia Extensions) to Windows WASAPI.
This enables Audacity to capture audio being sent to your speakers.
- In the Interface section, change the Host setting from “MME” (Multimedia Extensions) to Windows WASAPI.
- Adjust Playback and Recording Devices:
- Set Playback Device to your computer’s main speakers (e.g., “Speakers (High Definition Audio)”).
- Set Recording Device to the same speakers but with “loopback” (e.g., “Speakers (High Definition Audio) (loopback)”).
- Audio Channels:
- Choose Mono or Stereo depending on your needs.
- Click OK to save your changes.
Alternatively, use the Audio Setup dropdown on the toolbar and select Audio Settings to configure these options.
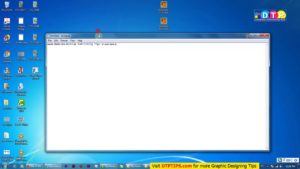
🔴 Step 3: Start Recording System Audio
- Click the Red Record Button:
- The timeline will start moving even if no waveform appears yet.
- Play Any Sound on Your Computer:
- The waveform should now appear, indicating audio is being captured.
- Stop Recording:
- Press the Stop button or use
Spacebar.
- Press the Stop button or use
- Playback to Verify:
- Press Play to listen and confirm your internal audio was recorded properly.
💾 Step 4: Export the Audio File
Once your recording is complete:
- Go to File > Export > Export Audio or use
Ctrl + Shift + E. - In the Export Audio window:
- Rename the file if desired.
- Choose a destination folder (e.g., Desktop).
- Select the audio format: WAV (lossless) or MP3 (compressed).
- Choose sample rate and quality settings as needed.
- Check the box to remove blank space before the first clip if required.
- Click Export to save the audio file to your chosen location.
You’ll now find your saved recording on the desktop or whichever folder you specified.
✅ Final Thoughts
Audacity is a feature-rich, flexible tool that makes internal audio recording straightforward. Whether you’re producing podcasts, capturing video call audio, or archiving system sounds, this method gets the job done effectively and for free.
⚠️ Disclaimer
Recording system audio may be subject to copyright laws depending on the source of the audio. Ensure you have permission to record and distribute any copyrighted content.
🔗 Software Link
- Audacity Official Website: https://www.audacityteam.org
🔖 Tags
audio recording, audacity tutorial, system audio, record internal audio, windows audio setup, free audio editor, audacity guide, mp3 export, wav export, windows wasapi, loopback recording
📢 Hashtags
#Audacity #AudioRecording #SystemAudio #RecordInternalAudio #FreeSoftware #AudioEditing #PodcastTools #AudioTips #WASAPI #WindowsAudio
If you have any questions or would like a tutorial on another Audacity feature, feel free to reach out. Happy recording!