Your system tray (also known as the notification area) can get cluttered quickly—especially if you run a lot of apps in the background. From antivirus icons to third-party tools, having too many icons here can be distracting and mess with your desktop’s clean look.
While the usual way to manage which icons appear is by diving into Taskbar Settings, there’s a quicker and simpler method to hide them into the tray overflow menu. In this guide, I’ll show you exactly how to do that in just a few seconds—no settings window needed!
Let’s walk through it.
🧠 What is the System Tray and Overflow Menu?
Before we dive in, here’s a quick refresher:
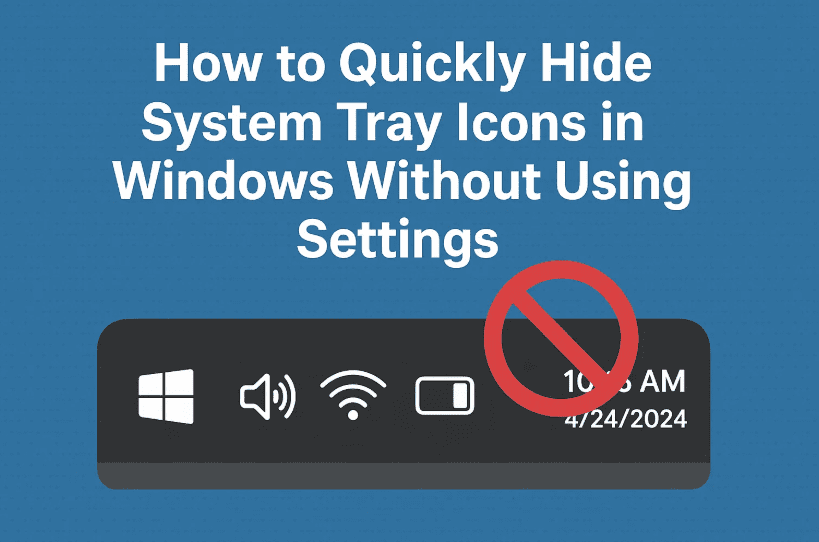
- The System Tray is the area on the bottom-right of your screen (near the clock) where app icons sit while running in the background.
- The Overflow Menu (the small upward arrow
^) contains icons that are running but hidden from direct view.
By moving icons from the main tray into the overflow, you can clean up the visible area without closing any apps.
✨ Let’s Start with the Quick Method (No Settings Needed)
If you’re someone who likes to keep your desktop tidy, you’re going to love how easy this is.
🧾 Here’s what to do:
- Go to your system tray (bottom-right corner of your taskbar).
- Click and hold the icon you want to hide.
- Drag it onto the small arrow (
^) icon.- As you hover over the arrow, you’ll see a small “unpin” icon appear.
- Release the mouse button.
- That’s it! The icon now appears in the overflow panel instead of the main tray.
You can repeat this for as many icons as you want to clean up your taskbar.
💡 Want them back in the main tray? Just reverse the process: open the overflow, drag the icon out, and drop it onto the visible tray area.
⚙️ Alternate Way: Using Taskbar Settings (Manual)
If for some reason you want to control these icons the traditional way, here’s how you can do it manually.
🧾 Steps:
- Right-click on the taskbar and select Taskbar settings.
- Scroll down to System tray icons or Other system tray icons (depends on your version).
- Toggle Off the icons you don’t want shown on the main tray.
This method works just fine, but it takes more time than simply dragging them into the overflow using the method above.
🤔 Why Hide System Tray Icons?
There are a few good reasons:

- 🧼 Cleaner Desktop: Less clutter = better focus.
- 🔒 Privacy: Hide icons for apps that are running silently (like screen recorders or clipboard managers).
- 💻 Performance Monitoring: Keep only the most important icons visible—like your antivirus or battery percentage.
❓ FAQs – You Asked, We Answered
Q1: Will hiding icons from the tray close the apps?
No, the apps will continue running in the background. This method only hides their icons from the main tray.
Q2: Can I still access apps in the overflow area?
Yes! Just click the arrow ^ to open the hidden icons panel.
Q3: Is this available in all versions of Windows?
Yes, this drag-and-drop functionality is available in Windows 10 and 11.
Q4: My icon won’t drag into the overflow menu. Why?
Some system icons or third-party apps may have restrictions. In that case, try the manual method via Taskbar settings.
🧼 Final Thoughts
So far, we’ve done a great job simplifying your workspace. This little-known drag-and-drop trick is incredibly useful if you want a clean, minimalist taskbar without disabling or closing running applications.
Just click, drag, and drop the icons into the overflow—no settings, no toggles, no hassle.
Go ahead, try it out and give your desktop that much-needed tidy-up!
🔖 Tags:
windows system tray, hide taskbar icons, windows quick tips, clean desktop windows, windows 11 tips, taskbar overflow, drag and drop icons, taskbar settings, windows customization, organize tray icons
📢 Hashtags:
#Windows11Tips #SystemTray #TaskbarCleanup #QuickWindowsTrick #HideIcons #WindowsProductivity #TechTips #TaskbarOverflow #CleanDesktop
Disclaimer: This guide is written based on Windows 10 and 11 default settings. Some system configurations or third-party applications may override or disable this drag-and-drop functionality. Always ensure your system is updated for the best experience.


