In the world of cybersecurity and penetration testing, two tools stand out for their usefulness in performing reconnaissance and vulnerability assessments: Nikto and Nmap. Whether you’re a budding ethical hacker or a seasoned IT professional, understanding how to use these tools is essential for identifying weaknesses within your network.
In this article, we’ll walk you through how to discover the IP address of your target device, perform scans using Nikto and Nmap, save the results, and analyze the findings to identify vulnerabilities, including outdated software and CVEs (Common Vulnerabilities and Exposures).
Step 1: Identifying the Target Device’s IP Address
Before running any scans, you need to identify the IP address of the device you want to assess.
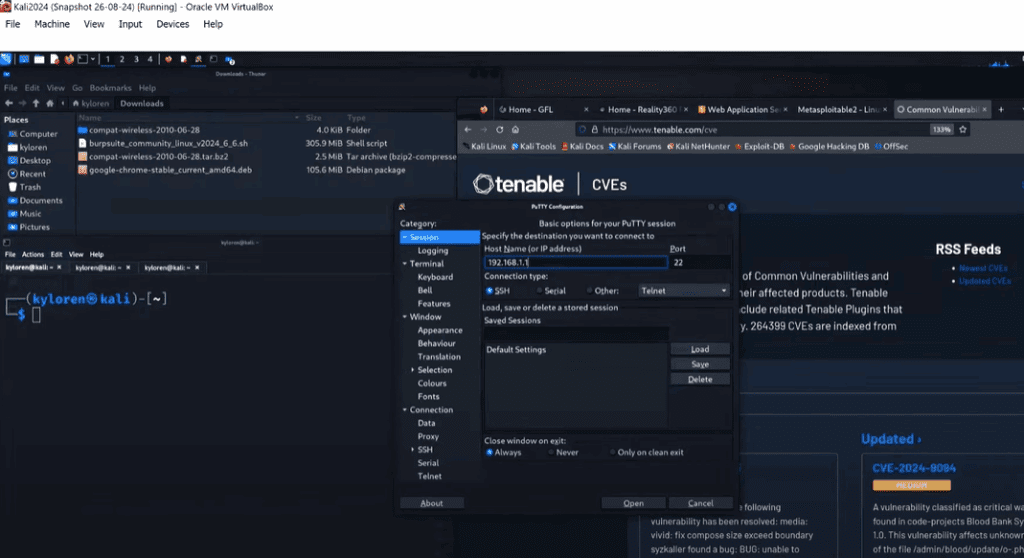
If you’re already familiar with the network and have access to the device, simply use the ifconfig command from the terminal or through SSH (like via PuTTY on Windows) to find the IP address.
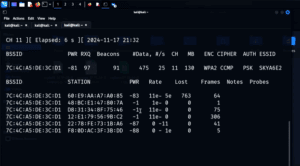
However, if you’re on a new or unfamiliar network, it’s best to perform a network scan using Nmap to discover connected devices. Nmap is a powerful tool that can scan an entire subnet and list active devices and their open ports.
Step 2: Running a Nikto Scan
Nikto is a command-line web server scanner designed to identify outdated software, misconfigurations, and vulnerabilities.
Basic Nikto Command Syntax:
nikto -h <IP_ADDRESS>
Replace <IP_ADDRESS> with the actual IP of the target device.
This command initiates a scan, which may take a few minutes depending on the complexity and number of issues detected. The results can reveal critical information such as:
- Outdated web servers (e.g., Apache)
- Known vulnerabilities
- CVE numbers associated with those vulnerabilities
Step 3: Saving the Scan Results
To preserve your findings for later use or reporting, it’s good practice to save your scan results to a file. This is done using output redirection:
nikto -h <IP_ADDRESS> > nikto-results.txt
After the scan completes, you can verify the saved file using the ls command, and then open it with:


cat nikto-results.txt
This output can be archived for internal use or shared with clients or team members for remediation steps.
Step 4: Analyzing Vulnerabilities and CVEs
One of the most important outputs from the Nikto scan is the list of vulnerable services and their CVE references.
For example, if the scan reports that the Apache version is outdated, it will often include a CVE identifier. You can research this CVE by visiting the Tenable CVE Database and pasting the CVE number in the search bar. The CVE entry will give you:
- A detailed description of the vulnerability
- Severity score (CVSS)
- Links to patches or updates
- Possible remediation steps
Step 5: Performing an Nmap Scan
Nmap complements Nikto by providing deeper insights about a device’s network configuration, open ports, and operating systems.
To run a comprehensive scan with Nmap, use:
nmap -A <IP_ADDRESS> > nmap-results.txt
The -A flag enables OS detection, version detection, script scanning, and traceroute — making this scan incredibly detailed.
Once completed, you can check the output using:
ls
cat nmap-results.txt
This scan might take a while, but the information is crucial for penetration testers looking for entry points and vulnerable services.
Step 6: Searching for Exploits with SearchSploit
Armed with the version numbers of services from the Nmap scan, you can now use SearchSploit — a command-line utility that references the Exploit-DB database of known vulnerabilities.
Let’s say your scan detected:
- vsftpd 2.3.4
- Samba 3.0.20
Use the following command to search for known exploits:
searchsploit vsftpd 2.3.4
searchsploit samba 3.0.20
SearchSploit will return a list of available exploits, including remote code executions (RCEs) and denial-of-service (DoS) vectors, which are valuable for determining how an attacker might compromise the system.
Step 7: Documenting and Reporting
Once all your scans are complete, consolidate your findings. Store the nikto-results.txt and nmap-results.txt in a secure location. These files can be used to:
- Share reports with clients or internal teams
- Keep records for auditing
- Reference during patching and remediation
Use this data to prioritize patching — especially for services with high CVE scores or known critical vulnerabilities.
Final Thoughts
What we’ve covered in this article is just the beginning of a comprehensive penetration testing and vulnerability assessment process. Tools like Nikto, Nmap, and SearchSploit form the foundation of discovering and understanding the security posture of networked systems.
By using the techniques described here, you’re taking vital first steps in securing your environment or preparing for a career in ethical hacking and cybersecurity.
Tags: nikto, nmap, penetration testing, vulnerability scanning, cybersecurity, ethical hacking, CVE, searchsploit, apache vulnerability, samba vulnerability, vsftpd, network reconnaissance, infosec, red teaming
Hashtags: #nikto #nmap #penetrationtesting #vulnerabilityscanning #cybersecurity #ethicalhacking #CVE #searchsploit #infosec #networksecurity


