Packaging an InDesign file is a crucial step when preparing your project for sharing or archiving. This article provides a detailed, step-by-step guide to help you package an InDesign file efficiently. Follow these steps to ensure all necessary components, such as fonts, graphics, and a PDF version of your file, are included.
Step 1: Save Your Document
Before you begin the packaging process, it is essential to save your InDesign document. Here’s how:
- Go to the File menu and select Save As.
- In the dialog box that appears, navigate to the location on your computer where you want to save the document.
- Enter a name for your file (e.g., “Package File”) in the File Name field.
- Click Save.
By saving your document, you ensure that all your latest changes are included in the packaged file.
Step 2: Start the Packaging Process
Once your document is saved, you can proceed with packaging it. Follow these steps:
- Go to the File menu and select Package. Alternatively, use the keyboard shortcut Ctrl + Alt + Shift + P (Windows) or Cmd + Option + Shift + P (Mac).
- The Package panel will appear. Click the Package button to continue.
Step 3: Choose a Save Location for the Package
After clicking the Package button, another panel will appear:
- Navigate to the location on your computer where you want to save the package.
- In the Folder Name field, enter a name for the package folder (e.g., “Final Project Package”).
Step 4: Customize Packaging Options
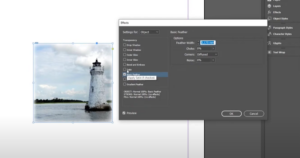
The packaging dialog box includes several options for what to include:
- Fonts: Check this option if you want to include the fonts used in the document.
- Graphics Links: Include linked graphics to ensure all visual elements are preserved.
- PDF: You can also include a PDF version of the document by selecting a PDF preset.
Review these options and adjust them based on your needs. For most scenarios, selecting all options is recommended.
Step 5: Finalize and Package the File
- Click the Package button to confirm your choices.
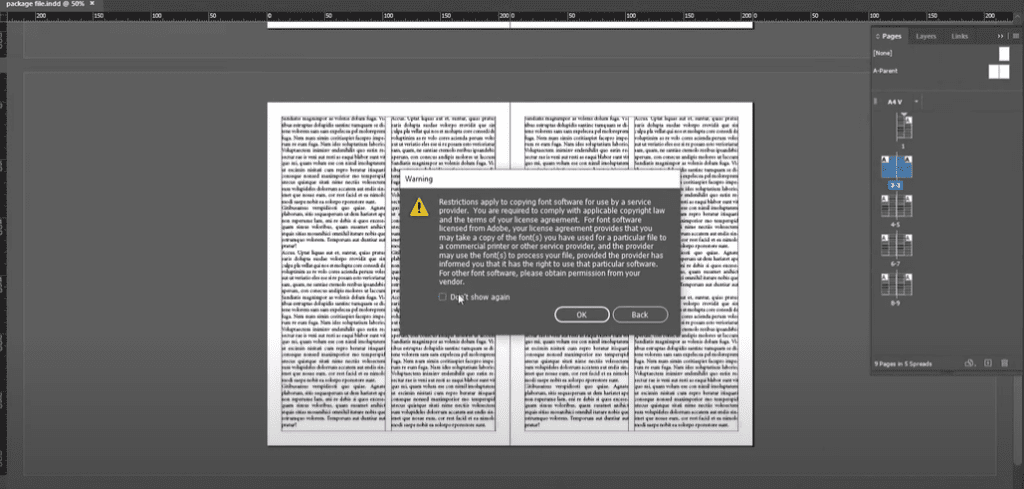
- A warning message may appear. Check the box for “Don’t Show Again” and click OK to proceed.
The file will now be packaged, and all selected components will be compiled into a folder.
Step 6: Verify the Packaged File
Once the packaging process is complete:
- Navigate to the location where you saved the package.
- Open the folder to verify its contents. It should include:
- The InDesign file.
- A PDF version of the document (if selected).
- Fonts used in the project.
- Linked graphics or images (if any).
Step 7: Share the Packaged File
To share the packaged file:
- Right-click on the folder and select Compress or Zip to create a compressed version.
- Send the compressed file to your colleague or client via email, file-sharing services, or other preferred methods.
Conclusion
Packaging an InDesign file ensures that all necessary assets are included for seamless sharing and collaboration. By following the steps outlined in this article, you can confidently prepare your project for delivery.
Tags and Hashtags
Tags: Adobe InDesign, Packaging InDesign File, Graphic Design, Document Preparation, InDesign Tips
Hashtags: #AdobeInDesign #GraphicDesign #InDesignTips #DocumentPackaging #DesignWorkflow


