If you’re a gamer or someone who regularly joins video calls, you’ve probably experienced annoying lag, high ping, or packet loss. These issues can ruin the experience. Fortunately, with a few tweaks to your network settings and Windows configuration, you can significantly improve your internet performance and reduce latency.
This article walks you through the best way to optimize your internet adapter to achieve lower ping and no delay.
Disclaimer: These steps aim to optimize your network configuration. However, if your high ping is caused by your Internet Service Provider (ISP) or remote server location, these tweaks might not resolve your issues. Always ensure your internet connection is stable and consider contacting your ISP if problems persist.
1. Create a Restore Point First
Before making any system changes, it’s a good practice to create a restore point. This will help you roll back settings if anything goes wrong.
Steps to Create a Restore Point:
- Press
Windows + Sand type Restore. - Select Create a Restore Point.
- In the System Properties window, click Create.
- Name it something like “Network Optimization Restore Point” and click Create.
- Once done, click Close.
To revert settings later:
- Return to the same window.
- Click System Restore, select the restore point, and follow the prompts.
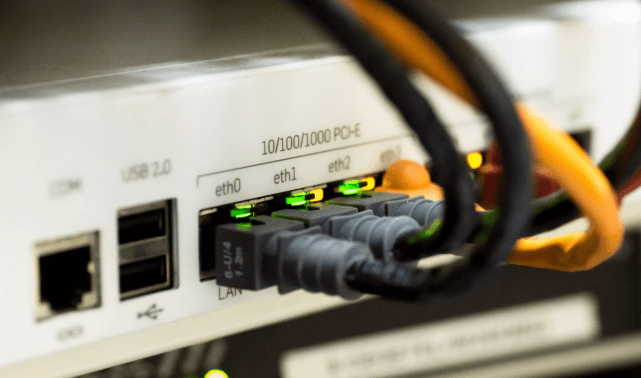
2. Switch from Wi-Fi to LAN
For serious online tasks like gaming or video conferencing, switch to a wired Ethernet (LAN) connection. Wi-Fi can often result in:
- Higher ping
- Jitter
- Packet loss
A direct LAN connection ensures stability and lower latency.
3. Use Resource Monitor to Close Unnecessary Bandwidth-Hogging Apps
Some background applications consume your bandwidth and degrade performance.
Steps:
- Press
Windows + Sand search for Resource Monitor. - Go to the Network tab.
- Under Processes with Network Activity, identify apps using high bandwidth.
- Right-click on the unnecessary app and choose End Process Tree.
Repeat this for any non-essential apps like browsers or editing software (e.g., Chrome, Wondershare Filmora).


4. Enable Fast UDP Traffic Sending via Registry Editor
UDP (User Datagram Protocol) plays a vital role in gaming. Enabling fast UDP transmission helps reduce lag.
Steps:
- Press
Windows + Sand search for Registry Editor. - Navigate to:
HKEY_LOCAL_MACHINE\SYSTEM\CurrentControlSet\Services\AFD\Parameters - Right-click on the right panel → New → DWORD (32-bit) Value.
- Name it:
FastSendDatagramThreshold - Double-click it and set the Value Data to:
64000 - Click OK and close the registry.
Be cautious while editing the registry. Any incorrect edits can affect system performance.
5. Check and Reduce Bufferbloat
Bufferbloat is caused by routers/switches having large buffers, leading to high latency during active network usage.
You can test your bufferbloat on Waveform Bufferbloat Test.
If results show high ping, follow this tweak:
- Open Command Prompt as Administrator:
- Press
Windows + S, typecmd - Right-click on Command Prompt → Run as Administrator
- Press
- Run this command (copy-paste from the article):
netsh int tcp set global autotuninglevel=normal - Press Enter. This will help manage buffer sizes more effectively.
6. Optimize Your Network Adapter Settings
This is the most crucial step to reducing latency.
Access Adapter Settings:
- Press
Windows + R→ typencpa.cpl→ press Enter. - Right-click on your Ethernet adapter → click Properties.
- Uncheck all items except:
- QoS Packet Scheduler
- Internet Protocol Version 4 (TCP/IPv4)
Configure Adapter:
- Click Configure.
- Go to the Power Management tab.
- Uncheck “Allow the computer to turn off this device to save power”.
- Go to the Advanced tab and change the following:
| Setting | Recommended Value |
|---|---|
| ARP Offload | Disabled |
| Flow Control | Disabled |
| Interrupt Moderation | Disabled |
| IPv4 Checksum Offload | Disabled |
| Large Send Offload v2 (IPv4) | Disabled |
| Large Send Offload v2 (IPv6) | Disabled |
| Speed & Duplex | Auto Negotiation |
| TCP Checksum Offload (IPv4) | Disabled |
| UDP Checksum Offload (IPv4) | RX & TX Enabled |
| Wake on Magic Packet | Disabled |
| Wake on Pattern Match | Disabled |
- Click OK to save the settings.
7. Restart and Test
After completing all the steps:
- Restart your computer and router/modem.
- Test your ping using online tools like Speedtest by Ookla or in-game network stats.
You should notice:
- Lower ping
- Less jitter
- Reduced packet loss
Conclusion
With these network optimizations, especially for Ethernet adapters, you can achieve a noticeable improvement in your internet experience. Whether you’re gaming or using Zoom for work, these steps help reduce lag and stabilize your connection.
If you found this guide helpful, bookmark it for future use. You can also tweak settings further based on your system’s performance.
Tags:
network optimization, lower ping, internet speed, windows settings, ethernet optimization, reduce latency, fix packet loss, gaming setup, network troubleshooting, registry tweaks
Hashtags:
#networkoptimization #lowerping #internetfix #windowsperformance #gamingnetwork #packetlossfix #latencyreduction #ethernetsetup #techguide #networktips


