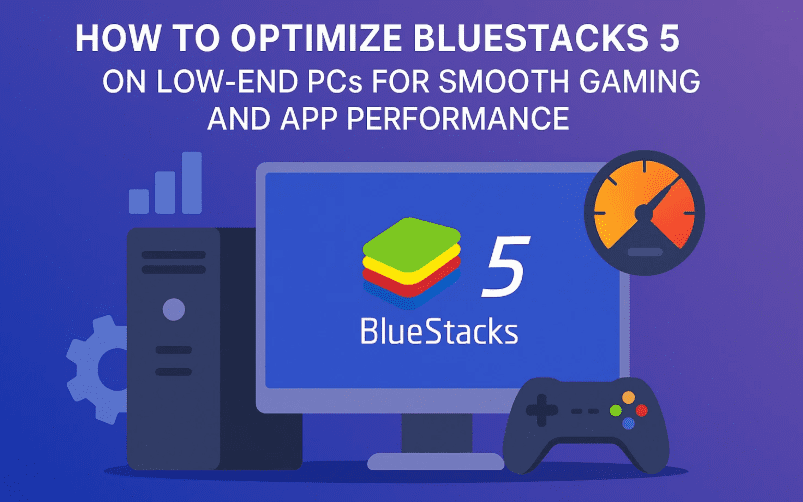
If you’re running BlueStacks 5 on a low-end PC and facing issues like lag, slow performance, or stuttering gameplay, don’t worry—there’s a way to make it faster and more responsive. In this guide, you’ll learn step-by-step how to optimize BlueStacks for smooth performance, using built-in Windows settings and tweaks within BlueStacks itself.
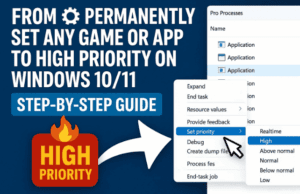
🚀 Step 1: Prioritize BlueStacks in Task Manager
- Right-click on the Windows Taskbar and select Task Manager.
- In Task Manager, go to the Details tab.
- Scroll down and find HD-Player.exe or Bluestacks.exe (usually named SDPlayer or similar).
- Right-click on the BlueStacks process > Choose Set Priority > Select Above Normal.
- Click Change Priority to confirm.
- Close Task Manager.
This change ensures Windows gives more processing resources to BlueStacks, improving responsiveness.
⚙️ Step 2: Adjust BlueStacks Settings for Performance
- Open BlueStacks 5.
- Click on the Menu (three horizontal lines) > Select Settings.
Under the Performance Tab:
- CPU Allocation:
Set to 2 Cores (Medium) – even if it’s currently set to High, downgrade it to Medium for better balance on low-end systems. - Memory Allocation:
Choose 2 GB (Medium) to prevent overloading your RAM. - Performance Mode:
Set it to High Performance. - Frame Rate:
Set it to 60 FPS. Also, Enable High Frame Rate checkbox should be turned on.- If your PC still lags, reduce the FPS to 30, but 60 is ideal for most low-end systems.
Click Save Changes and restart BlueStacks when prompted.
🖥️ Step 3: Optimize Display Settings
- Inside BlueStacks Settings, go to the Display tab.
- Under Display Resolution:
- If recommended is 1920×1080, reduce it to 1280×720.
- Lower resolutions reduce CPU/GPU load and improve performance.
- Under Pixel Density:
- Choose Medium (240 DPI). Avoid High DPI settings on low-end PCs.
- Mouse Cursor Style:
- Choose System Default Cursor for slightly better speed.
- Click Save Changes and restart BlueStacks.
🧠 Step 4: Set Graphics for Compatibility and Speed
Go to the Graphics tab in Settings:
- Graphics Engine Mode:
Select Performance (instead of Compatibility). - Graphics Renderer:
Choose OpenGL (more stable and faster on most low-end systems than DirectX). - Interface Renderer:
Keep this set to Auto. - ASTC Textures (Beta):
Make sure this is Disabled (it consumes more resources). - Save the changes and restart BlueStacks again.
🧹 Step 5: Disable Unnecessary Startup Programs
- Open Task Manager > Go to the Startup tab.
- Disable unnecessary apps from starting with Windows:
- Right-click and choose Disable on apps like:
- Cortana
- Microsoft Edge (if using Chrome instead)
- Spotify, Skype, etc.
- Right-click and choose Disable on apps like:
⚠️ Important: Do NOT disable security-related or driver-related apps like:
- Windows Defender
- Intel Graphics
- Realtek Audio
Reducing startup clutter ensures more RAM and CPU are available for BlueStacks.
🧼 Step 6: Uninstall Unused Applications
- Press Windows + R to open the Run dialog.
- Type
appwiz.cpland press Enter to open Programs and Features. - Uninstall apps you no longer use, such as:
- Duplicate media players
- Demo apps or trial software
- Any bloatware you don’t recognize or use
Removing these apps will free up storage, reduce background tasks, and make your system lighter overall.
✅ Final Tip: Regularly Clean & Maintain
- Keep your system drivers updated (especially graphics).
- Use tools like CCleaner to remove junk files.
- Restart your PC regularly to clear RAM.
🧩 FAQ: Common Questions
Q1. Will lowering the resolution reduce visual quality?
Yes, slightly—but it’s a worthy trade-off for smoother performance on a low-end PC.
Q2. Should I use DirectX instead of OpenGL?
Only if you experience visual glitches with OpenGL. Otherwise, OpenGL is generally better for low-end setups.
Q3. Can I set CPU and RAM allocation to High on a low-end PC?
No. Over-allocating can backfire, leaving Windows with too few resources, causing more lag.
Q4. Does enabling high FPS make BlueStacks faster?
Only if your system can handle it. Otherwise, keep it at 60 FPS for best balance.


🔗 Useful Links
🛡 Disclaimer
This guide is tailored for users running BlueStacks 5 on low-end systems. Changing core settings beyond the recommended values may cause instability depending on your hardware configuration. Proceed with caution and back up important data when possible.
📌 Tags & Hashtags
Tags: BlueStacks optimization, BlueStacks 5 settings, Android emulator performance, fix lag BlueStacks, speed up emulator, low-end PC tips
Hashtags:
#BlueStacks5 #LowEndPC #FixLag #EmulatorTips #GamingOnPC #AndroidEmulator #PerformanceBoost #TechTips
By following these tweaks and optimizations, your BlueStacks 5 experience should drastically improve—even on budget laptops or desktops. Let us know in the comments if you noticed a difference or if you have any custom settings that work well for your setup!
🎮 Want a mobile gaming controller for the best experience? https://amzn.to/4kzF3Z7 [Affiliate Link]