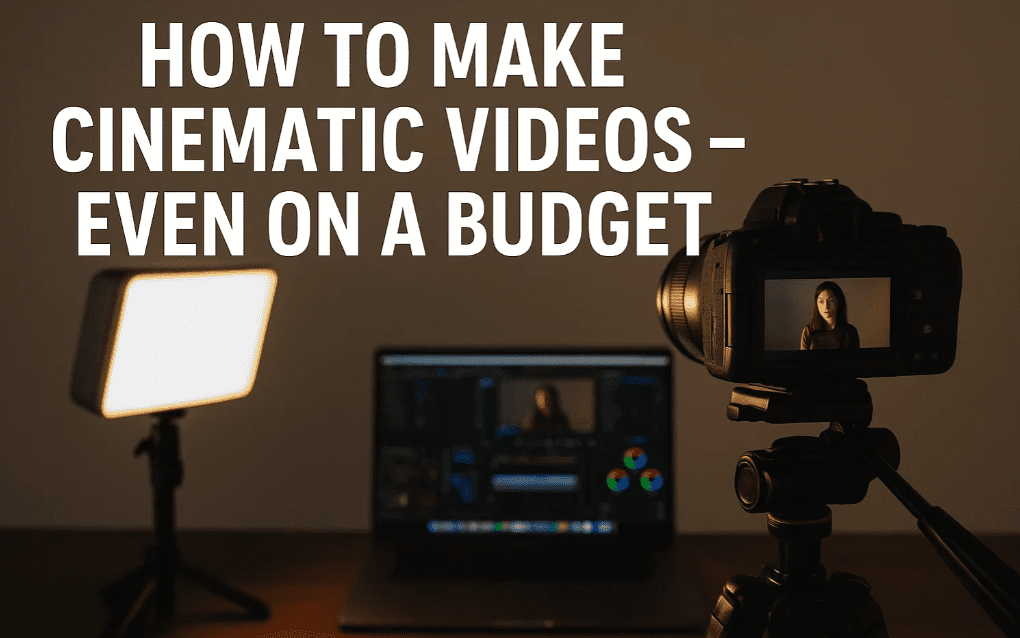
Creating cinematic videos doesn’t require expensive gear. Whether you’re shooting with an ₹80,000 camera or a 5-year-old ₹13,000 smartphone, the quality comes down to how you use your tools—not what they cost. In this article, we’ll walk you through six key areas that can transform even the most basic setup into a professional-looking cinematic video.
Let’s break down each one, and you’ll see a live difference as we apply these on the same video frame step-by-step.
1. Audio Quality Is Priority #1
Before worrying about how your video looks, make sure it sounds good. Viewers are far more forgiving of average visuals than they are of poor audio.
Recommended Budget Microphones:
- BA BY M1 (₹850)
- Maono AU A03 (₹2000)
- Hollyland Lark M2 (₹10,000)
Avoid mics like the Dig BMW103. Based on multiple tests, they don’t deliver the quality you’re aiming for.
Pro Tips:
- Use a clip-on mic or shotgun mic close to the subject.
- Reduce ambient noise by recording in quiet spaces.
- Turn off fans/AC and politely ask others to stay silent during recording.
- Record a few seconds of silence before starting – this “room tone” helps in noise reduction during editing.
2. Lighting: Control Is Power
Upgrading your lights makes a bigger visual difference than upgrading your camera.
Best Practice Setup:
- Key Light: Main source, angled 45° to the subject.
- Fill Light: Reduces harsh shadows. Can be a ring light or even window light.
- Background/Rim Light (Optional): Adds subject-background separation.
Budget-Friendly Lighting Alternatives:
- Use black curtains to block sunlight for full light control.
- DIY softboxes using cardboard, foil, and butter paper.
- Use standard LED bulbs with diffusion material.
- Try Godox SL60W or affordable LED ring lights.
3. Camera Settings: Master Manual Mode
Even if you use a phone, use manual camera settings for consistent, cinematic results.
Ideal Settings:
- ISO: Keep it as low as possible (max 400–800) to reduce noise.
- Aperture: The lower the better (for shallow depth-of-field).
- Shutter Speed: Should be double your FPS (e.g., 1/50s for 25 FPS).
- FPS: Stick to 24/25 FPS for natural cinematic motion.
Use apps like Filmic Pro on smartphones to manually adjust settings.
4. Framing: The Foundation of Cinematic Visuals
Good framing makes your video look professional, even without fancy lighting or gear.
Basic Framing Tips:
- Keep the frame balanced and focused on the subject.
- Use symmetry and selective color palettes (avoid clutter).
- Add foreground objects for depth (e.g., plant, lamp, etc.).
- Frame tightly and leave space for breathing room.
5. Color Grading: Bring It All Together
Raw footage often looks dull. Color grading enhances your mood and style.
Tools:
- Adobe Premiere Pro (or any other editor with color grading support)
Key Grading Steps:
- Fix exposure and adjust contrast.
- Use Hue vs Hue to replace harsh blue tones with teal/aqua for cinematic effect.
- Use HSL Secondary to enhance skin tones (add warmth or red tint).
- Apply a vignette using masks to darken edges and focus attention on the subject.
Avoid oversaturated reds, yellows, greens, or neon tones. Stick with subtle warm or earthy tones for best results.
6. Motion: Static ≠ Cinematic
We associate cinematic video with movement because movies always involve camera motion.


Add Movement Without a Crew:
- Use sliders (optional, costly).
- Add digital pans or zooms in post-production for subtle movement.
- Most editors allow keyframe animation to simulate camera motion.
Even a minor zoom or slide effect can give a static shot a more professional cinematic feel.
Final Thoughts
You don’t need a massive budget to make great videos. What you need is a clear understanding of audio, lighting, framing, and editing. When you work within your means and maximize your knowledge, even the most basic tools can produce stunning cinematic results.
“Gear doesn’t matter if your intent is strong. If it’s for you, you’ll find a way. If it’s not, you’ll find an excuse.”
Disclaimer:
Some of the tools or software mentioned here may contain affiliate links. If you make a purchase through these links, I may earn a small commission at no extra cost to you. This supports the content and allows me to keep sharing tutorials like this.
Useful Links:
Tags: cinematic video, mobile video setup, budget filmmaking, smartphone video tips, audio recording tips, lighting setup, camera settings guide, video framing, Premiere Pro color grading, cinematic color tones, video motion effects, DIY lighting, beginner video production
Hashtags:
#CinematicVideo #VideoEditing #LightingSetup #AudioTips #BudgetFilmmaking #ColorGrading #PremierePro #DIYFilmmaking #CameraSettings #ContentCreation #FramingTips #MobileVideography #FilmmakingTips
🎥 Looking for Gear for Your YouTube Channel? Here Are Some Amazing Tools You Can Try from Amazon (Affiliate Links)
Whether you’re just starting out or looking to upgrade your setup, these are some of the best gear options you can consider for shooting high-quality YouTube videos.
📸 Camera Gear (For High-Quality Footage)
- Canon EOS R7 – Great for crisp 4K video and fast autofocus: Buy on Amazon
- Canon EOS R5 – Top-tier full-frame mirrorless camera: Buy on Amazon
- Canon RF 24mm Lens – Ideal for vlogging and wide shots: Buy on Amazon
- Canon RF 35mm Lens – Perfect for cinematic B-roll and portraits: Buy on Amazon
🎙️ Audio Gear (For Clear Sound)
- Shure SM7DB – Industry-standard mic for vocals and voiceovers: Buy on Amazon
- DJI Mic – Wireless mic system for mobile creators: Buy on Amazon
- Hollyland Lark M2 – Compact dual-channel wireless mic: Buy on Amazon
💡 Lighting Setup (For a Professional Look)
- Godox SL60W – Reliable continuous light for video: Buy on Amazon
- Godox 120cm Softbox – Soft, even lighting for any subject: Buy on Amazon
📷 Tripods & Support
- Tygot Tripod – Budget-friendly option for beginners: Buy on Amazon
- Manfrotto Befree Tripod – Lightweight yet sturdy for travel shoots: Buy on Amazon