Creating gradients in Adobe Illustrator is a fundamental skill for any designer. In this blog post, we’ll explore the different gradient tools and steps to create beautiful gradients. Whether you’re a beginner or looking to refine your skills, this guide will help you understand the process thoroughly.
How to Make a Gradient in Illustrator
Introduction to Gradients
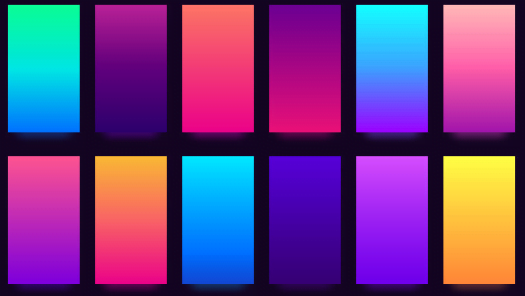
Gradients are smooth transitions between colors that can add depth, dimension, and visual interest to your designs. Illustrator offers several gradient types and tools to create and customize these transitions.
Types of Gradients
- Linear Gradient: A straight transition from one color to another.
- Radial Gradient: A circular transition from one color to another, radiating from a central point.
- Freeform Gradient: Allows for more complex and customized gradients by adding points of color that blend together.
Tools and Steps
1. Creating a Linear Gradient
- Select the Object: Use the Selection Tool (V) to select the object you want to apply the gradient to.
- Open the Gradient Panel: Go to Window > Gradient, or press
Ctrl + F9(Windows) orCmd + F9(Mac). - Apply the Gradient: With the Gradient panel open, click the Linear Gradient button. This will apply a default black-to-white gradient.
- Customize the Gradient:
- Adjust Colors: Double-click on the gradient sliders to change the colors. You can choose from the Color Picker, Swatches, or enter specific color values.
- Adjust Gradient Slider: Drag the gradient sliders to adjust the position of colors.
- Angle and Direction: Use the Angle field or the Gradient Tool (G) to change the direction of the gradient.
2. Creating a Radial Gradient
- Select the Object.
- Open the Gradient Panel.
- Apply the Radial Gradient: Click the Radial Gradient button in the Gradient panel.
- Customize the Gradient:
- Follow the same steps as for the linear gradient to adjust colors and position.
- Use the Gradient Tool (G) to adjust the size and position of the radial gradient.
3. Creating a Freeform Gradient
- Select the Object.
- Open the Gradient Panel.
- Apply the Freeform Gradient: Click the Freeform Gradient button in the Gradient panel.
- Customize the Gradient:
- Add Points: Click anywhere on the object to add a color point.
- Adjust Colors: Double-click on points to change their color.
- Adjust Position: Drag points to move them around the object.
- Adjust Blending: Use the control handles to adjust how colors blend between points.
Additional Tips
- Gradient Annotator: When using the Gradient Tool (G), a Gradient Annotator appears on the object, allowing for more intuitive adjustments.
- Transparency: You can adjust the opacity of individual color stops for more complex effects.
- Gradient Mesh: For more intricate gradients, consider using the Gradient Mesh tool (U), which allows you to create a mesh of gradients on an object.
Conclusion
Creating gradients in Illustrator is a versatile skill that enhances your design projects. By mastering linear, radial, and freeform gradients, you can add stunning effects to your artwork. Experiment with different colors, positions, and blending options to discover endless creative possibilities.
Practice Exercise
Try creating a simple object, like a circle or a square, and apply each type of gradient to it. Play around with the gradient settings to get comfortable with the tools and their capabilities.
Happy designing!
#AdobeIllustrator, #GraphicDesign, #Gradients, #DesignTutorial, #IllustratorTips, #VectorArt, #DigitalArt, #CreativeCloud, #DesignInspiration, #ArtAndDesign