Introduction
Linking text boxes in Adobe InDesign is an essential skill for creating seamless, flowing text across multiple text frames. This feature is especially useful for designing newsletters, magazines, and long documents. This article will walk you through the step-by-step process to link text boxes effectively in InDesign.
Step 1: Create the First Text Box
- Select the Type Tool
- Open your InDesign document.
- In the Tools panel, select the Type Tool (keyboard shortcut:
T).
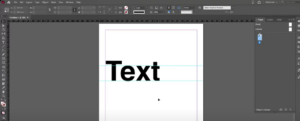
- Draw a Text Box
- Click and drag on the canvas to create a text box.
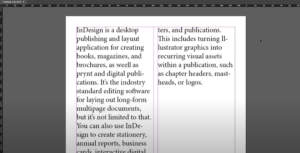
- Fill with Placeholder Text
- Right-click inside the text box and select Fill with Placeholder Text from the context menu.
- This populates the text box with sample text for practice purposes.
- Adjust the Text Box
- Resize or reposition the text box as needed using the Selection Tool (keyboard shortcut:
VorEsc).
- Resize or reposition the text box as needed using the Selection Tool (keyboard shortcut:
Step 2: Link Text to Another Text Box
- Identify Overflow Text
- If your text exceeds the size of the text box, a small red square with a plus sign appears in the lower-right corner of the text box.
- This indicates that the text is overflowing.
- Create the Second Text Box
- Use the Type Tool (
T) to draw a second text box elsewhere on the page.
- Use the Type Tool (
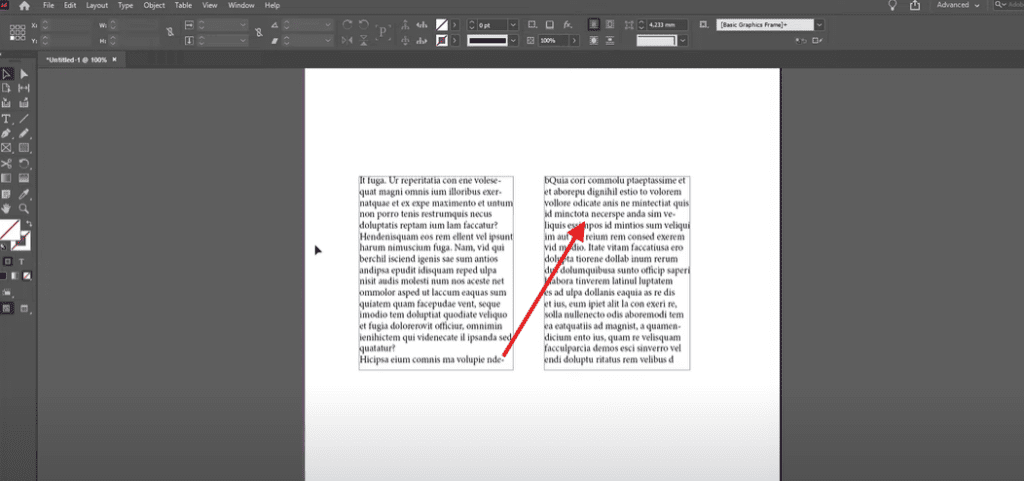
- Link the Text Boxes
- Click on the red square in the first text box. Your cursor will change to a text-linking icon.
- Drag to the second text box and release.
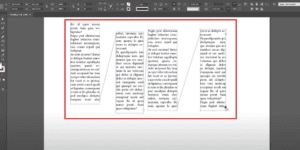
- The text will flow seamlessly from the first text box into the second one.
- Test the Link
- Adjust the size of the first text box by dragging its bottom edge upward.
- You will see the overflow text automatically appear in the second text box.
Step 3: Linking Separate Text Boxes
- Set Up Two Individual Text Boxes
- Create two separate text boxes using the Type Tool.
- Fill each with placeholder text if desired.
- Link the Text Boxes
- Select the first text box.
- Click on the red square (if it’s not red, click on the square anyway to activate the linking tool).
- Click on the second text box to link them together.
- Verify the Connection
- Adjust the size of the first text box.
- Observe how the text flows from the first box into the second.
Why Linking Text Boxes is Useful
- Dynamic Text Management: Easily flow text across multiple pages or columns.
- Flexible Layout Adjustments: Resize or reposition text boxes without worrying about losing text content.
- Efficient Workflow: Manage long-form content like articles, books, and brochures with ease.
Conclusion
Linking text boxes in Adobe InDesign is a simple but powerful tool that enhances your layout capabilities. Whether you’re managing overflow text or connecting multiple frames, this skill ensures smooth text handling and a professional design. Use these steps to master linking text boxes and elevate your InDesign projects.
#AdobeInDesign #GraphicDesign #InDesignTips #TextLinking #DesignWorkflow #InDesignTutorials #CreativeDesign #TextManagement

