Justifying text is an essential technique in layout design that can make your documents look professional and polished. In Adobe InDesign, you can align and justify text with just a few simple steps. This guide will walk you through the process of justifying text and the different justification options available in InDesign.

Step 1: Open Your Document and Select Text
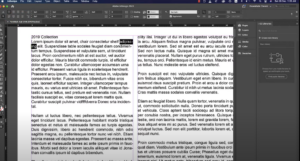
- Open your Adobe InDesign project that contains the text you want to justify.
- Use the Type Tool from the toolbar (shortcut:
T) to select the text box containing the text. - Click and drag to highlight all the text you want to justify, or press
Ctrl+A(Windows) orCmd+A(Mac) to select all text in the box.
Step 2: Locate the Text Alignment Options
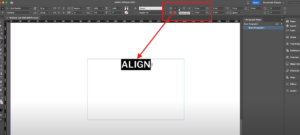
- Look at the Control Bar at the top of the workspace. This bar contains various text formatting options, including alignment and justification.
- Find the alignment section, which includes icons for left align, center align, right align, and justify.
Step 3: Choose Your Justification Style
Adobe InDesign offers multiple justification options to suit different layout requirements:
1. Justify with Last Line Left-Aligned
- Click the icon for “Justify with Last Line Left-Aligned.”
- This aligns all lines of the paragraph except the last, which remains left-aligned.
- Use this option for a clean, professional look when the last line does not need full justification.
2. Justify with Last Line Center-Aligned
- Click the icon for “Justify with Last Line Center-Aligned.”
- This centers the last line of the paragraph while justifying all other lines.
- Ideal for designs with a creative or artistic flair, such as invitations or posters.
3. Fully Justified
- Click the icon for “Justify All Lines.”
- This justifies all lines, including the last line, creating a fully aligned block of text.
- Best used in books, newspapers, or documents where full justification is essential for a formal layout.
Step 4: Fine-Tune Text Justification
After selecting your justification style, you can further refine the appearance of your text:
- Adjust Word Spacing:
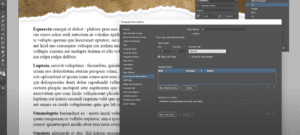
- Navigate to Paragraph Settings (located in the Control Bar or under Type > Paragraph in the menu).
- Customize word, letter, and glyph spacing for tighter or looser justification.
- Hyphenation:
- Enable or disable hyphenation to control line breaks within words. This can be found in the Paragraph Settings panel.
- Manual Adjustments:
- If needed, adjust kerning (spacing between individual characters) or tracking (spacing across selected text) for improved readability.
Why Use Justified Text?
- Professional Appearance: Justified text gives your documents a clean and structured look.
- Space Efficiency: It ensures text fills the available space evenly, creating balanced layouts.
- Enhanced Readability: Proper justification can make your content easier to read, especially in print materials.
Conclusion
Justifying text in Adobe InDesign is a quick and effective way to improve the appearance of your layouts. With options for fully justified text and variations for the last line, you have the flexibility to choose a style that fits your design. By following the steps outlined above, you can easily justify text and create visually appealing documents.
Tags
Adobe InDesign, text justification, text alignment, justify text, design tips, professional layout, Adobe tutorials, graphic design, InDesign techniques, alignment options
Hashtags
#AdobeInDesign #TextJustification #DesignTips #GraphicDesign #InDesignBasics #AdobeTutorials #CreativeDesign #TextAlignment
