If you’re looking to install Kali Linux on your PC or laptop, you’re in the right place. This article will guide you through the entire process, from downloading the necessary files to setting up Kali Linux on your system.
Let’s get started!
Step 1: Download Kali Linux ISO File

- Open your browser and go to the official Kali Linux website: https://www.kali.org.
- Click on the “Get Kali” button available on the homepage.
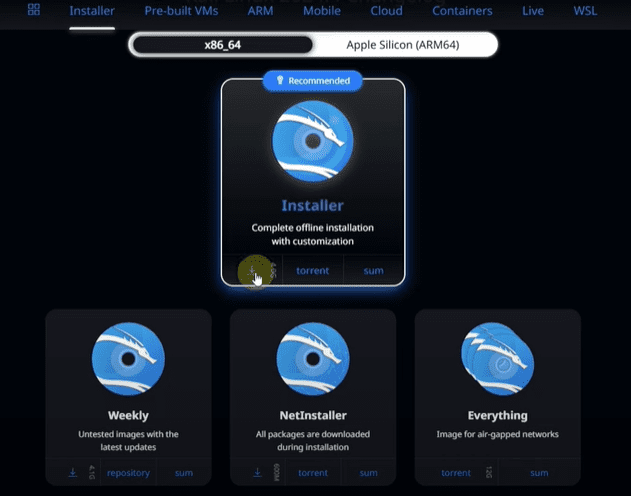
- Once you are redirected, click on “Installer Images.”
- Select the image under the “x86 64-bit” category.
- Choose the “Installer” option for a complete offline installation with customization features.
- Click on the download button. The ISO file is around 4.1 GB in size, so it might take some time depending on your internet speed.
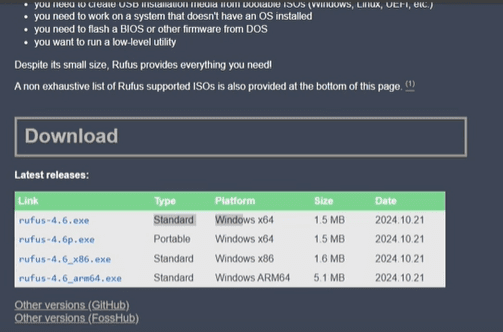
Step 2: Download Rufus
- Open your browser again and search for “Rufus download.”
- Click on the official Rufus website.
- Once you are on the site, download the standard version of Rufus.
- Wait for both the Kali Linux ISO file and Rufus to finish downloading.
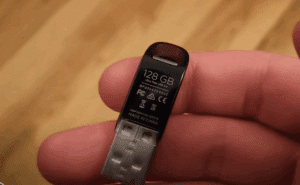
Step 3: Prepare a USB Drive
- You will need an 8GB or larger USB drive for this installation.
- Insert the USB drive into your computer.
- Open Rufus once it’s downloaded.
Step 4: Create a Bootable USB Drive
- In Rufus, select your inserted USB drive under “Device.”
- Click “Select” and choose the Kali Linux ISO file you downloaded.
- Under “Partition scheme,” you will see two options: MBR and GPT.
- To choose the correct option:
- Press
Windows + X, and select Disk Management. - Right-click on your main hard drive (Disk 0 or the disk where Windows is installed) and click Properties.
- Go to the Volumes tab and check the Partition Style.
- If it shows GPT, choose GPT in Rufus.
- If it shows MBR, select MBR in Rufus.
- Press
- After setting the correct partition scheme:
- Click Start.
- When prompted, select Write in DD Image mode.
- Confirm any warnings about data loss by clicking OK.
Congratulations! Your bootable Kali Linux USB is now ready.
Step 5: Boot from the USB Drive
- Restart your computer.
- As soon as it starts, press the Boot Menu key (commonly F12, Esc, or F9 depending on your laptop/PC model).
- From the Boot Menu, select your USB drive.
Step 6: Begin Kali Linux Installation
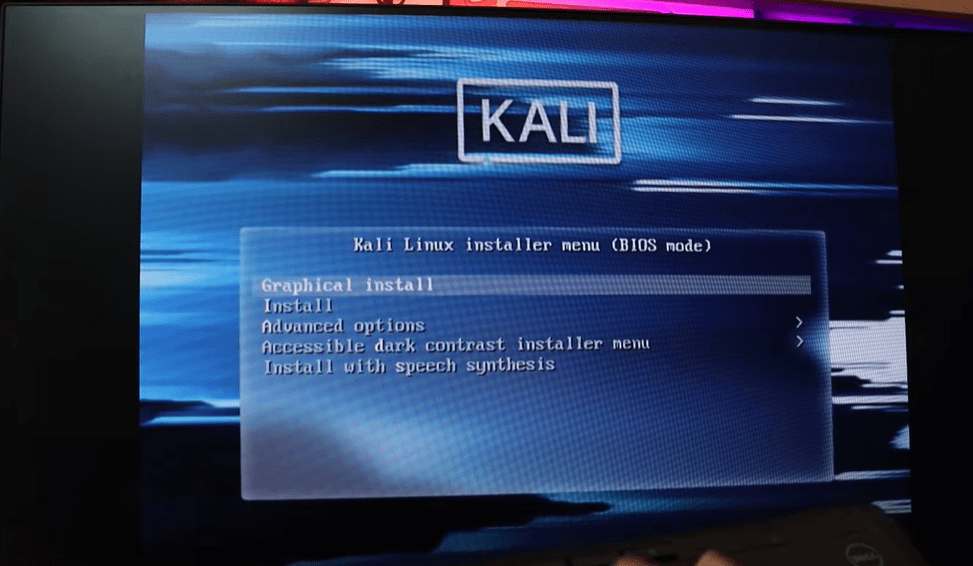
- Once the USB boots up, select Graphical Install and press Enter.
- Choose your preferred language.
- Select your country.
- Choose “American English” as the keyboard layout and click Continue.
Step 7: Configure Network
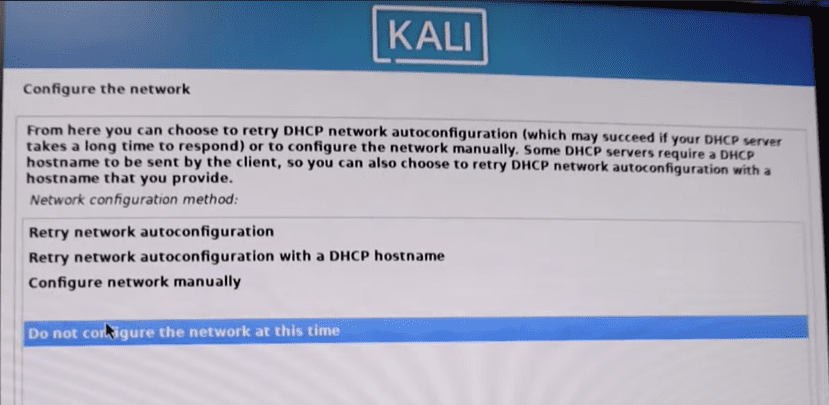
If you encounter a network configuration error:
- Click Continue.
- Select Do not configure the network at this time.
This happens because the computer is not connected to the internet during installation. It’s normal and not a problem.
Step 8: Set Up User Account
- Enter your full name when prompted.
- Set up a username.
- Create a strong password.
- Click Continue after each step.
Step 9: Disk Partitioning
Important: This step can delete all data from your system. Proceed with caution.
- Choose Use entire disk if you want to erase everything and install Kali Linux as the only operating system.
- If you want to install alongside other systems, you can choose Use largest continuous free space.
- Carefully select your system’s internal storage device (not your USB drive).
- Select All files in one partition.
- Confirm by clicking Continue and Yes when asked to write changes to disk.
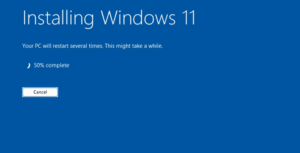
Step 10: Complete the Installation
- The installation will now proceed. Wait patiently as Kali Linux installs.
- After installation, remove the USB drive when prompted.
- Restart your system.
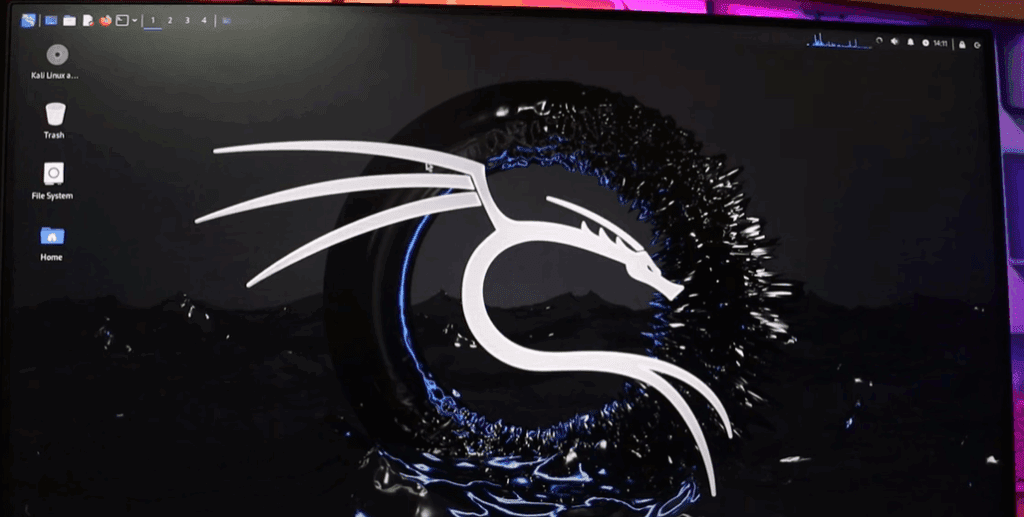
Your Kali Linux installation is now complete! You can log in using the username and password you set earlier.
Tags: kali linux installation, install kali linux, kali linux bootable usb, create bootable usb, install kali on pc, install kali on laptop, kali linux setup, kali linux tutorial, rufus tutorial, boot menu key, disk partitioning
Hashtags: #KaliLinux #LinuxInstallation #InstallKali #BootableUSB #TechGuide #Rufus #PCSetup #LaptopSetup #OperatingSystem #LinuxTutorial