Disclaimer:
This article is intended for educational purposes only. The tools and techniques discussed here should only be used ethically and legally, never for any malicious or unauthorized activity.
Installing Kali Linux on a USB flash drive is a great way to keep your penetration testing and cybersecurity tools portable. With a bootable USB, you can run Kali Linux from almost any computer without affecting its operating system or storage.
This guide walks you through the complete process in three key steps.
What You’ll Need
Before getting started, make sure you have the following:
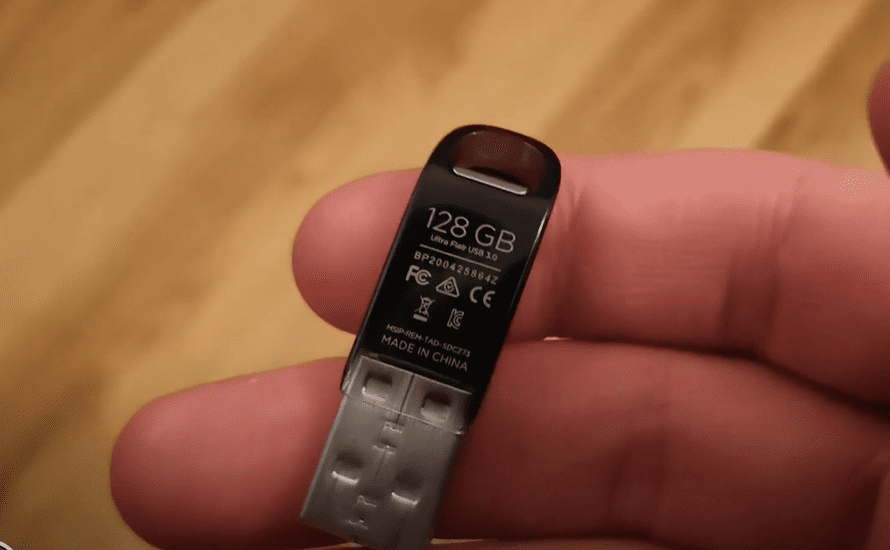
- A USB Flash Drive — Minimum 32 GB (larger is better for persistence).
- Kali Linux Live ISO Image — Downloadable from the official Kali Linux website.
- Balena Etcher — A utility to flash the ISO image onto the USB.
In this tutorial, we used a 128 GB USB flash drive, but 32 GB is sufficient for basic usage.
Step 1: Download Kali Linux ISO
- Open a web browser and visit the official Kali Linux website:
https://www.kali.org - Click on “Get Kali” from the homepage.
- Scroll down to find the “Live Boot” section — this is what you’ll need for a USB installation.
- Download the latest Kali Linux Live ISO (at the time of writing, version 2024.4 is the latest). Click the download arrow to begin.
Step 2: Download and Install Balena Etcher
- Visit: https://etcher.balena.io
- Choose the correct version of Etcher for your operating system (Windows, macOS, or Linux).
- Download and install the application.
(Installation is simple and intuitive, so we’ll skip detailed instructions.)
Step 3: Flash Kali Linux to the USB Drive
- Launch Balena Etcher from your applications menu.
- In the Etcher interface:
- Select the Kali ISO image by browsing to the location where you downloaded it.
- Choose your USB flash drive as the target device.
- Double-check to ensure the correct drive is selected (flashing will erase all data on the USB).
- Click the “Flash” button to begin the process.
- Etcher will now write the Kali Linux OS onto the USB drive. This process may take several minutes.
💡 Tip: Grab a cup of tea while you wait!
Step 4: Booting into Kali Linux from USB
Once the flashing process is complete, it’s time to boot into Kali Linux.
Important: Change Boot Order in BIOS
Before your system can boot from the USB, you must make sure the BIOS (or UEFI) is configured to check USB devices before the internal hard drive.
- Restart your laptop and enter the BIOS settings (commonly by pressing F2, F12, DEL, or ESC — varies by device).
- Set USB storage as the first boot option.
- Save changes and exit.
Your system should now boot directly into Kali Linux when the USB is plugged in.
Step 5: Start Kali Linux in Persistent Mode
- When prompted, you’ll see a Kali Linux boot menu.
- Choose the “Live USB Persistence” option to retain files and settings across sessions.
After a short loading period, the Kali Linux desktop will appear — ready for use.
Conclusion
You’ve now created a fully functional, portable version of Kali Linux on a USB flash drive. This setup is invaluable for ethical hackers, security professionals, and anyone wanting to keep their tools on the go.


Stay ethical, stay legal — and happy hacking!
Tags:
kali linux, usb boot, install kali on usb, live usb kali linux, balena etcher, linux tools, ethical hacking, cybersecurity tools, portable linux, kali persistent usb
Hashtags:
#KaliLinux #USBInstallation #LiveUSB #EthicalHacking #CyberSecurity #LinuxTools #PortableHacking #BalenaEtcher #PenTesting


